Showing posts with label Cakes. Show all posts

Thursday, May 30, 2013

Vanilla Cake w/ Strawberry Cream Frosting

Vanilla Cake with Strawberry Cream Frosting

Ingredients:
Frosting -
  • 2 8-oz packages of cream cheese, room temperature (I used low-fat)
  • 1 cup (2 sticks) unsalted butter, room temperature
  • 4 cups powdered sugar
  • 1/2 cup seedless strawberry jam
  • 3/4 cup chilled heavy whipping cream
Cake -
  • 3 cups cake flour
  • 3/4 tsp salt
  • 1/2 tsp baking powder
  • 1/2 tsp baking soda
  • 3 cups sugar
  • 1 cup (2 sticks) unsalted butter, room temperature
  • 7 large eggs
  • 2 TBSP vanilla extract
  • 1 cup sour cream (I used low fat)
  • 6 TBSP plus 1/3 cup seedless strawberry jam
  • 2 1/4 lbs strawberries, hulled, sliced (about 6 cups), divided
MAKE THE FROSTING
1) Put a small/medium bowl in the freezer to chill.  In a separate large mixing bowl, beat cream cheese and butter until smooth. Beat in sugar, then jam. Remove that chilled bowl from the freezer and beat cream in that chilled bowl until peaks form. Fold whipped cream into frosting. Cover; chill for a couple of hours until it’s firm enough to spread. (If you are in a hurry, you could put the frosting in the freezer to chill quickly.)
MAKE THE CAKE
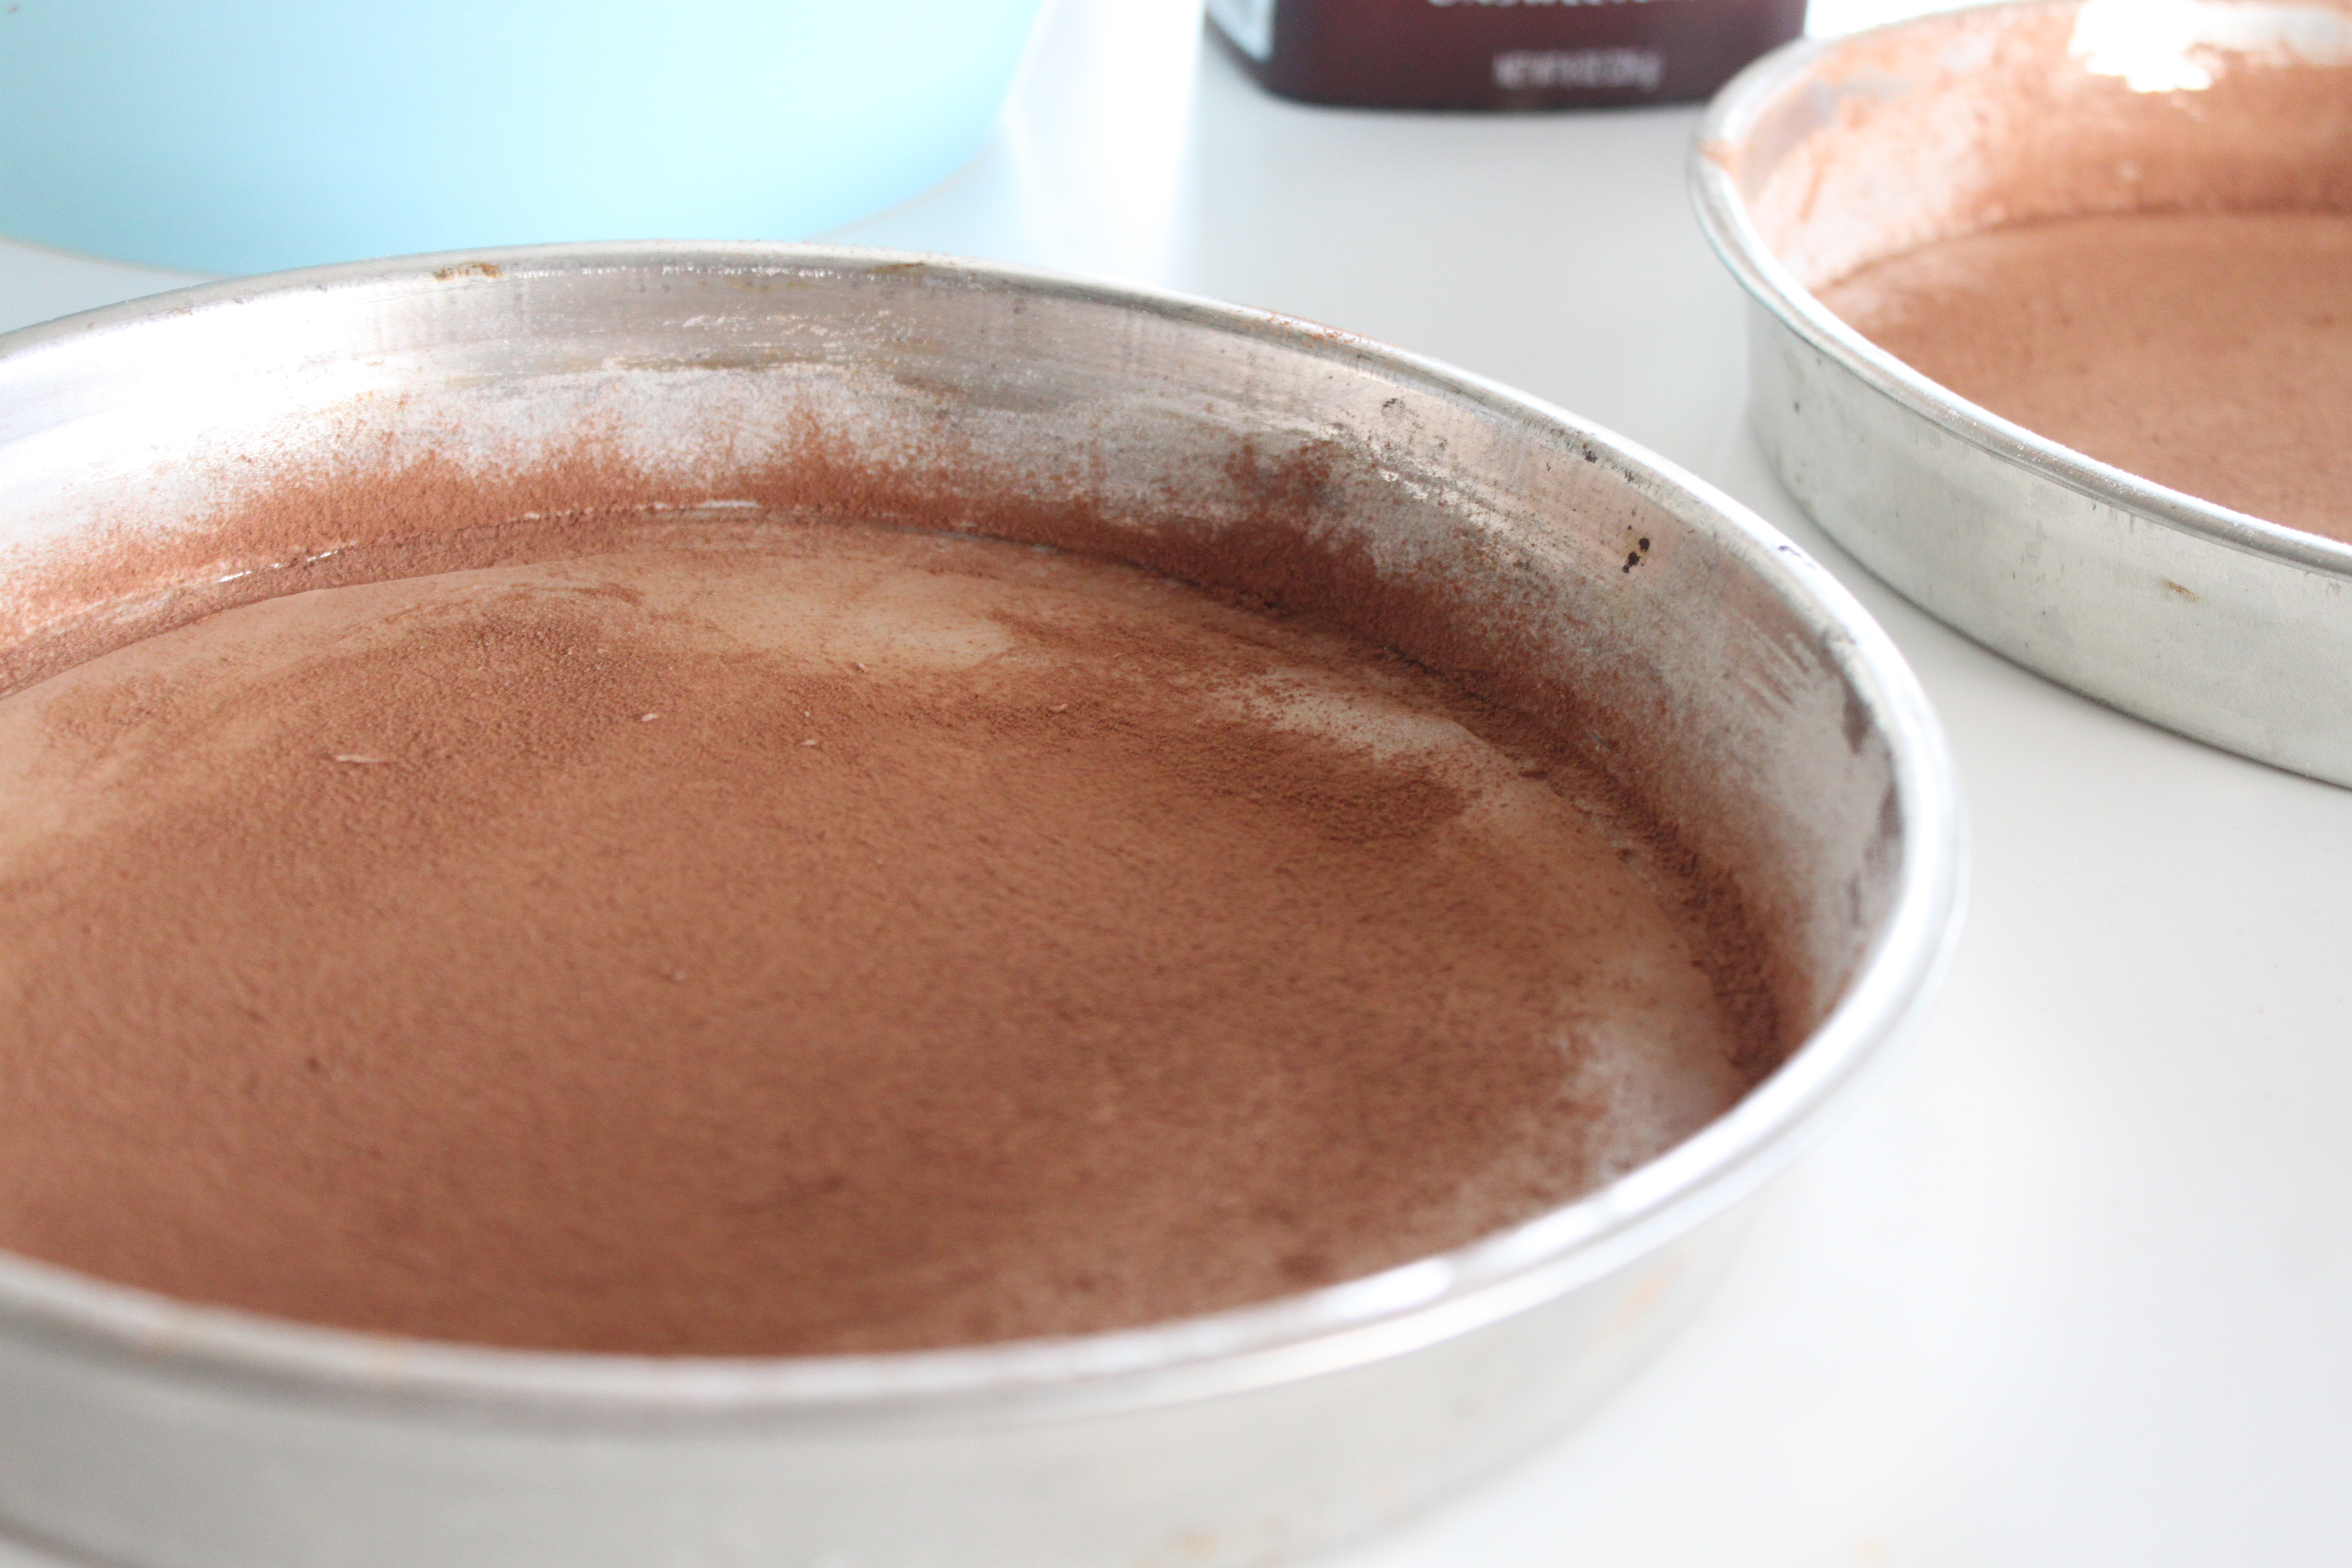
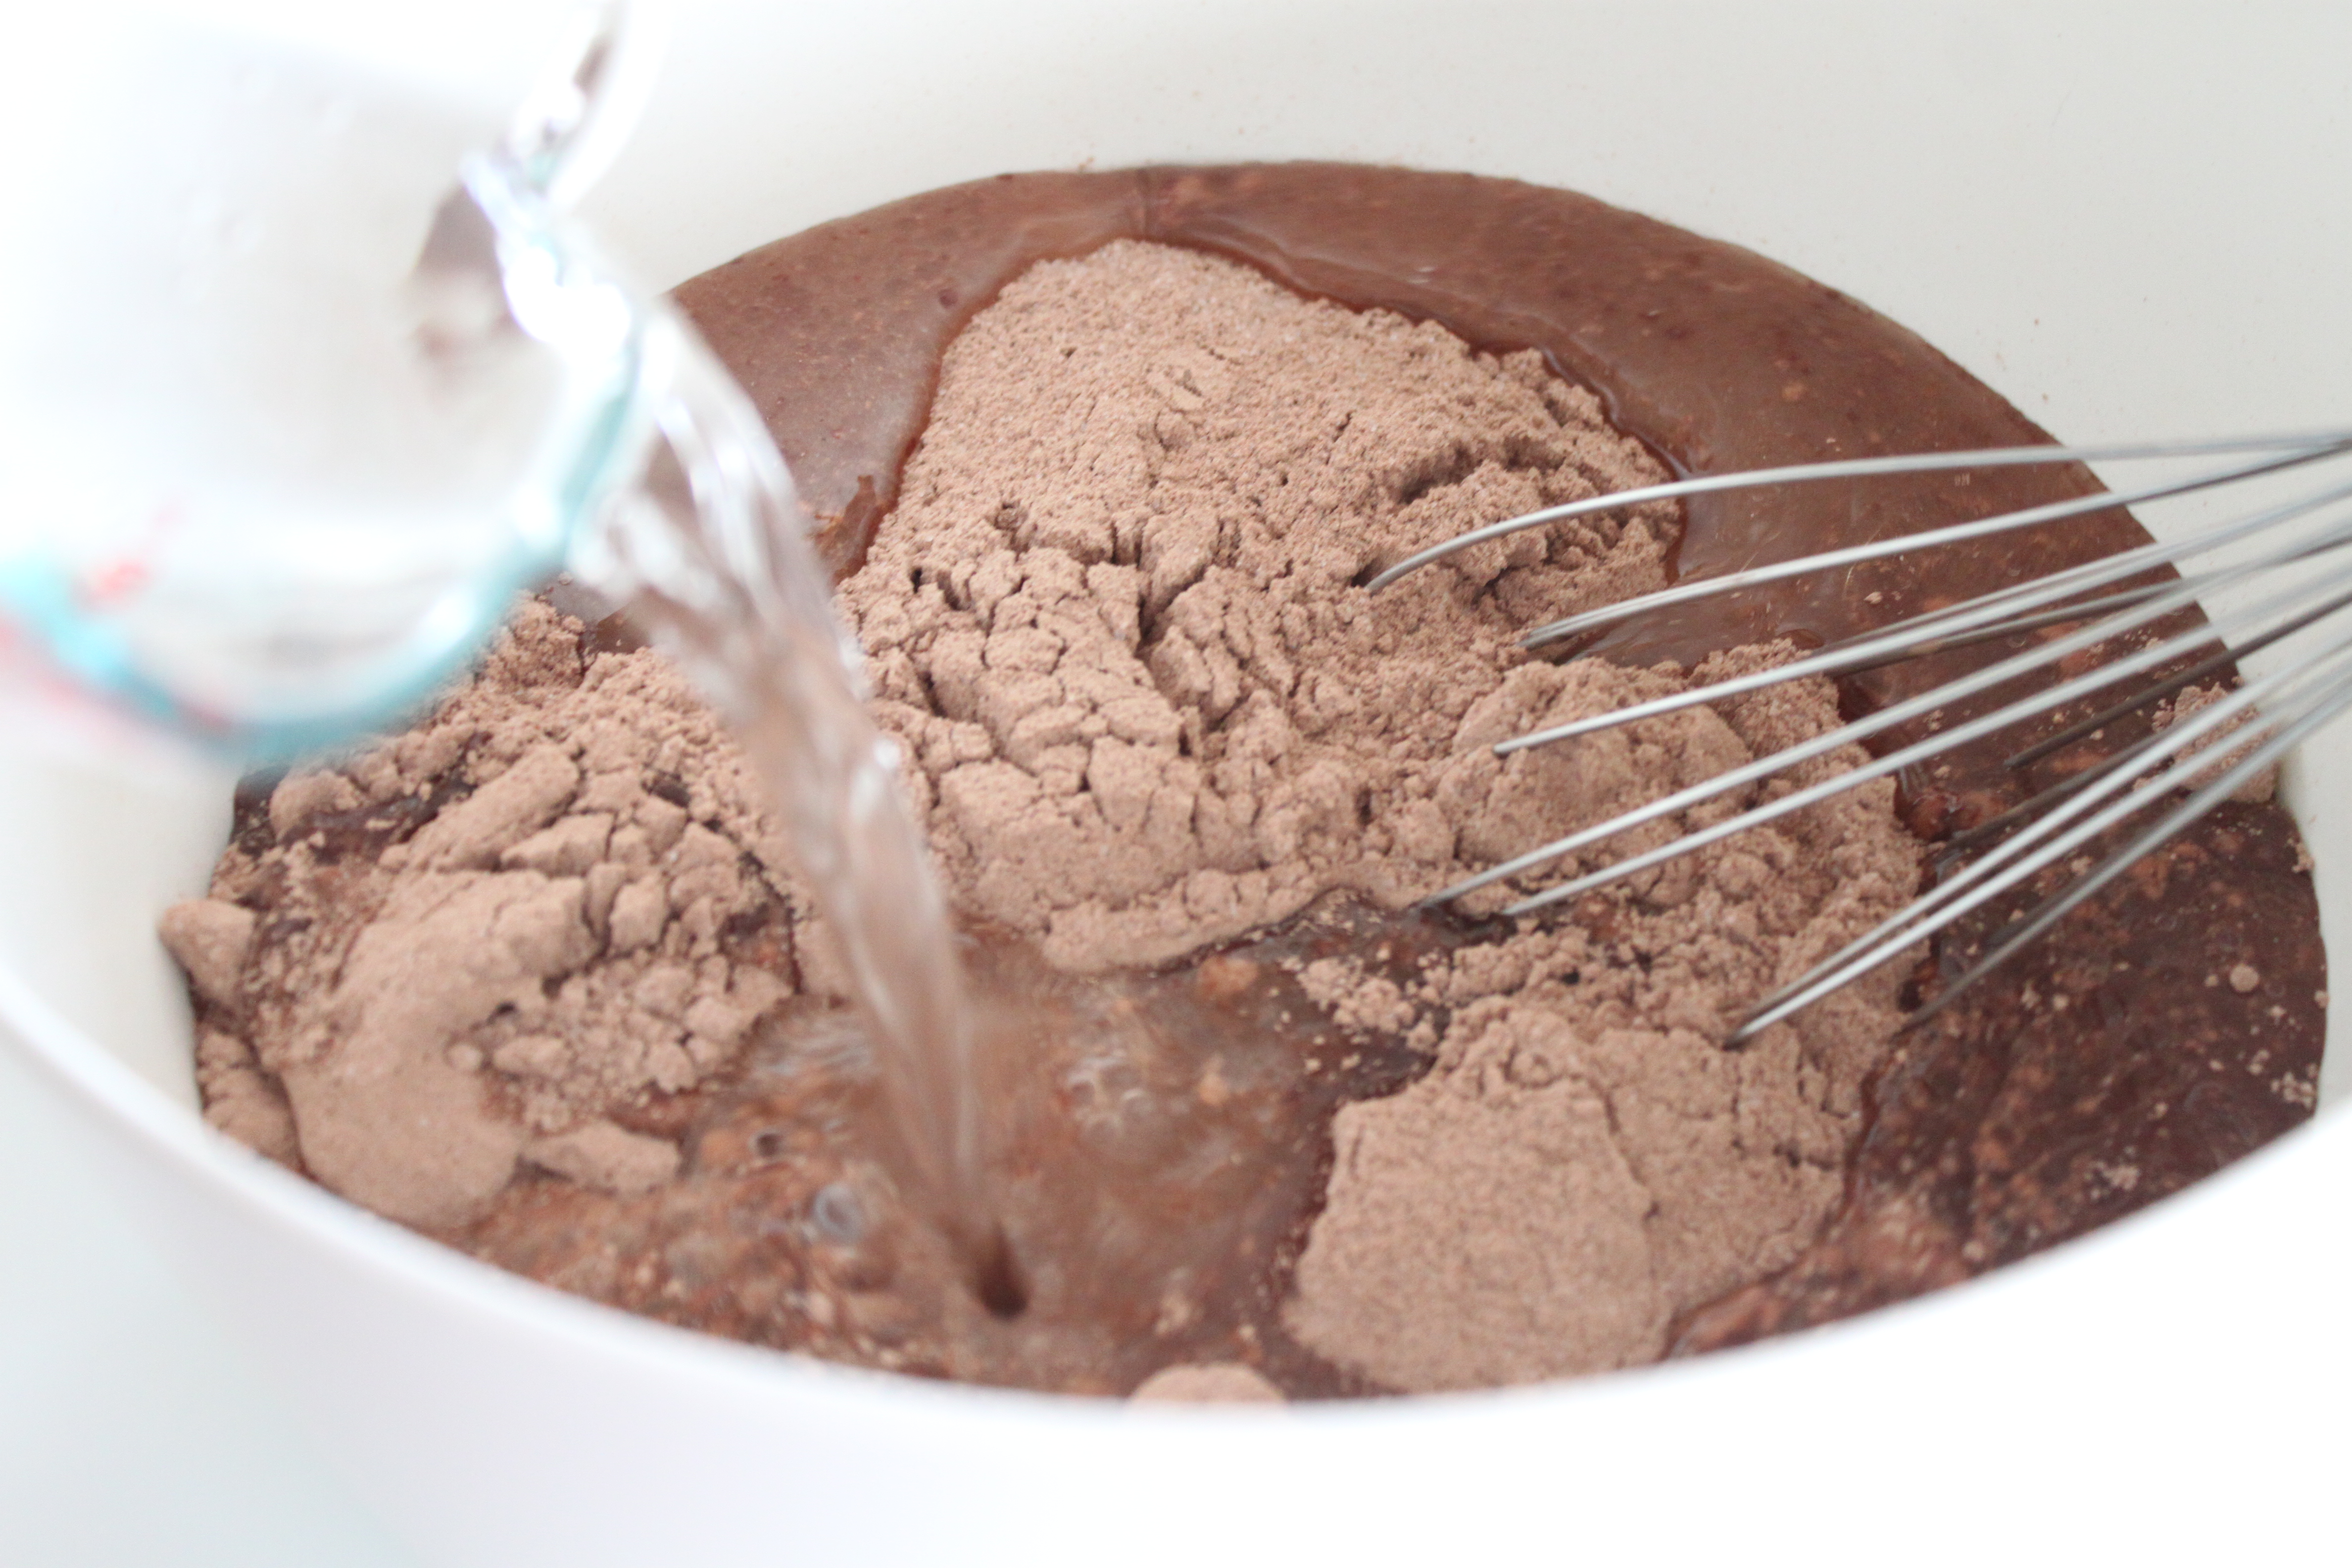
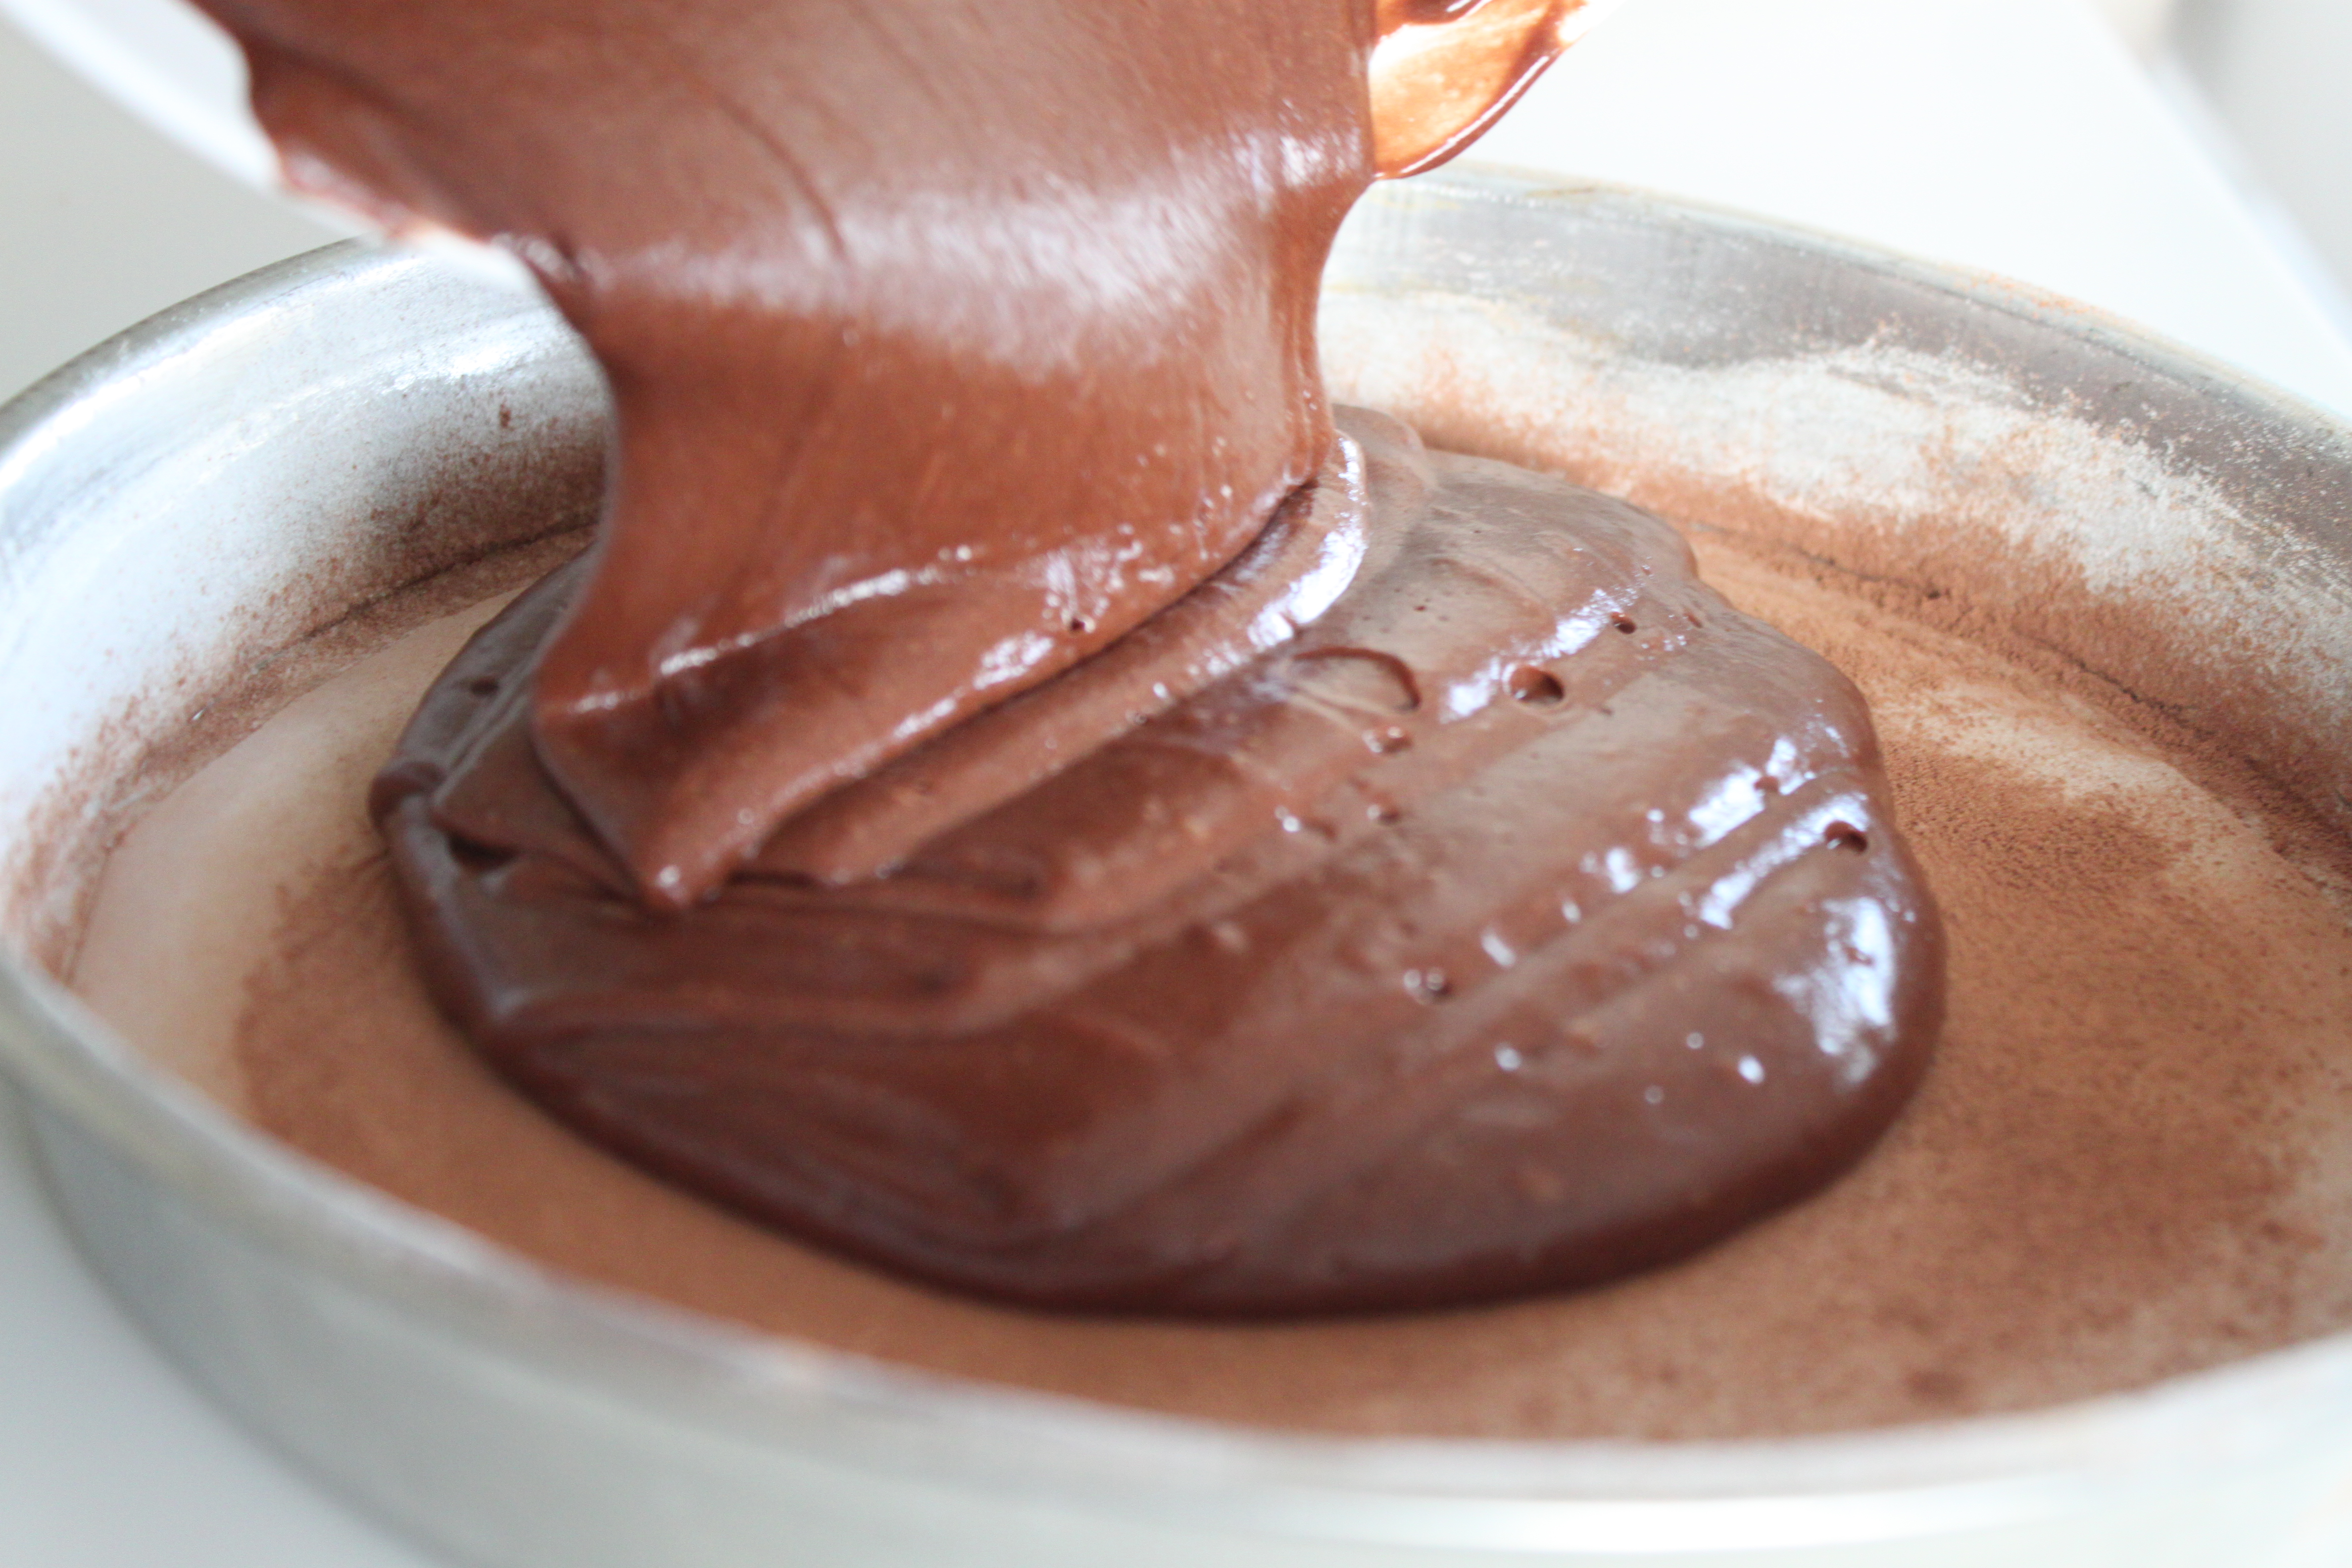
2) Preheat the oven to 325 degrees F. Butter and flour two 9-inch cake pans with 2-inch high sides. (I used 10″ cheesecake pans – aka springform pans – because they were the only round pans I had with high enough sides and they worked great!)  In a medium bowl, whisk together flour, salt, baking powder, and baking soda. In a large bowl, cream butter and sugar together until light and fluffy. Add eggs, one at a time, beating after each addition. Beat in vanilla. Add sour cream, and beat for 30 seconds. Add flour mixture in three additions, beating to blend after each addition. Divide batter into prepared pans.
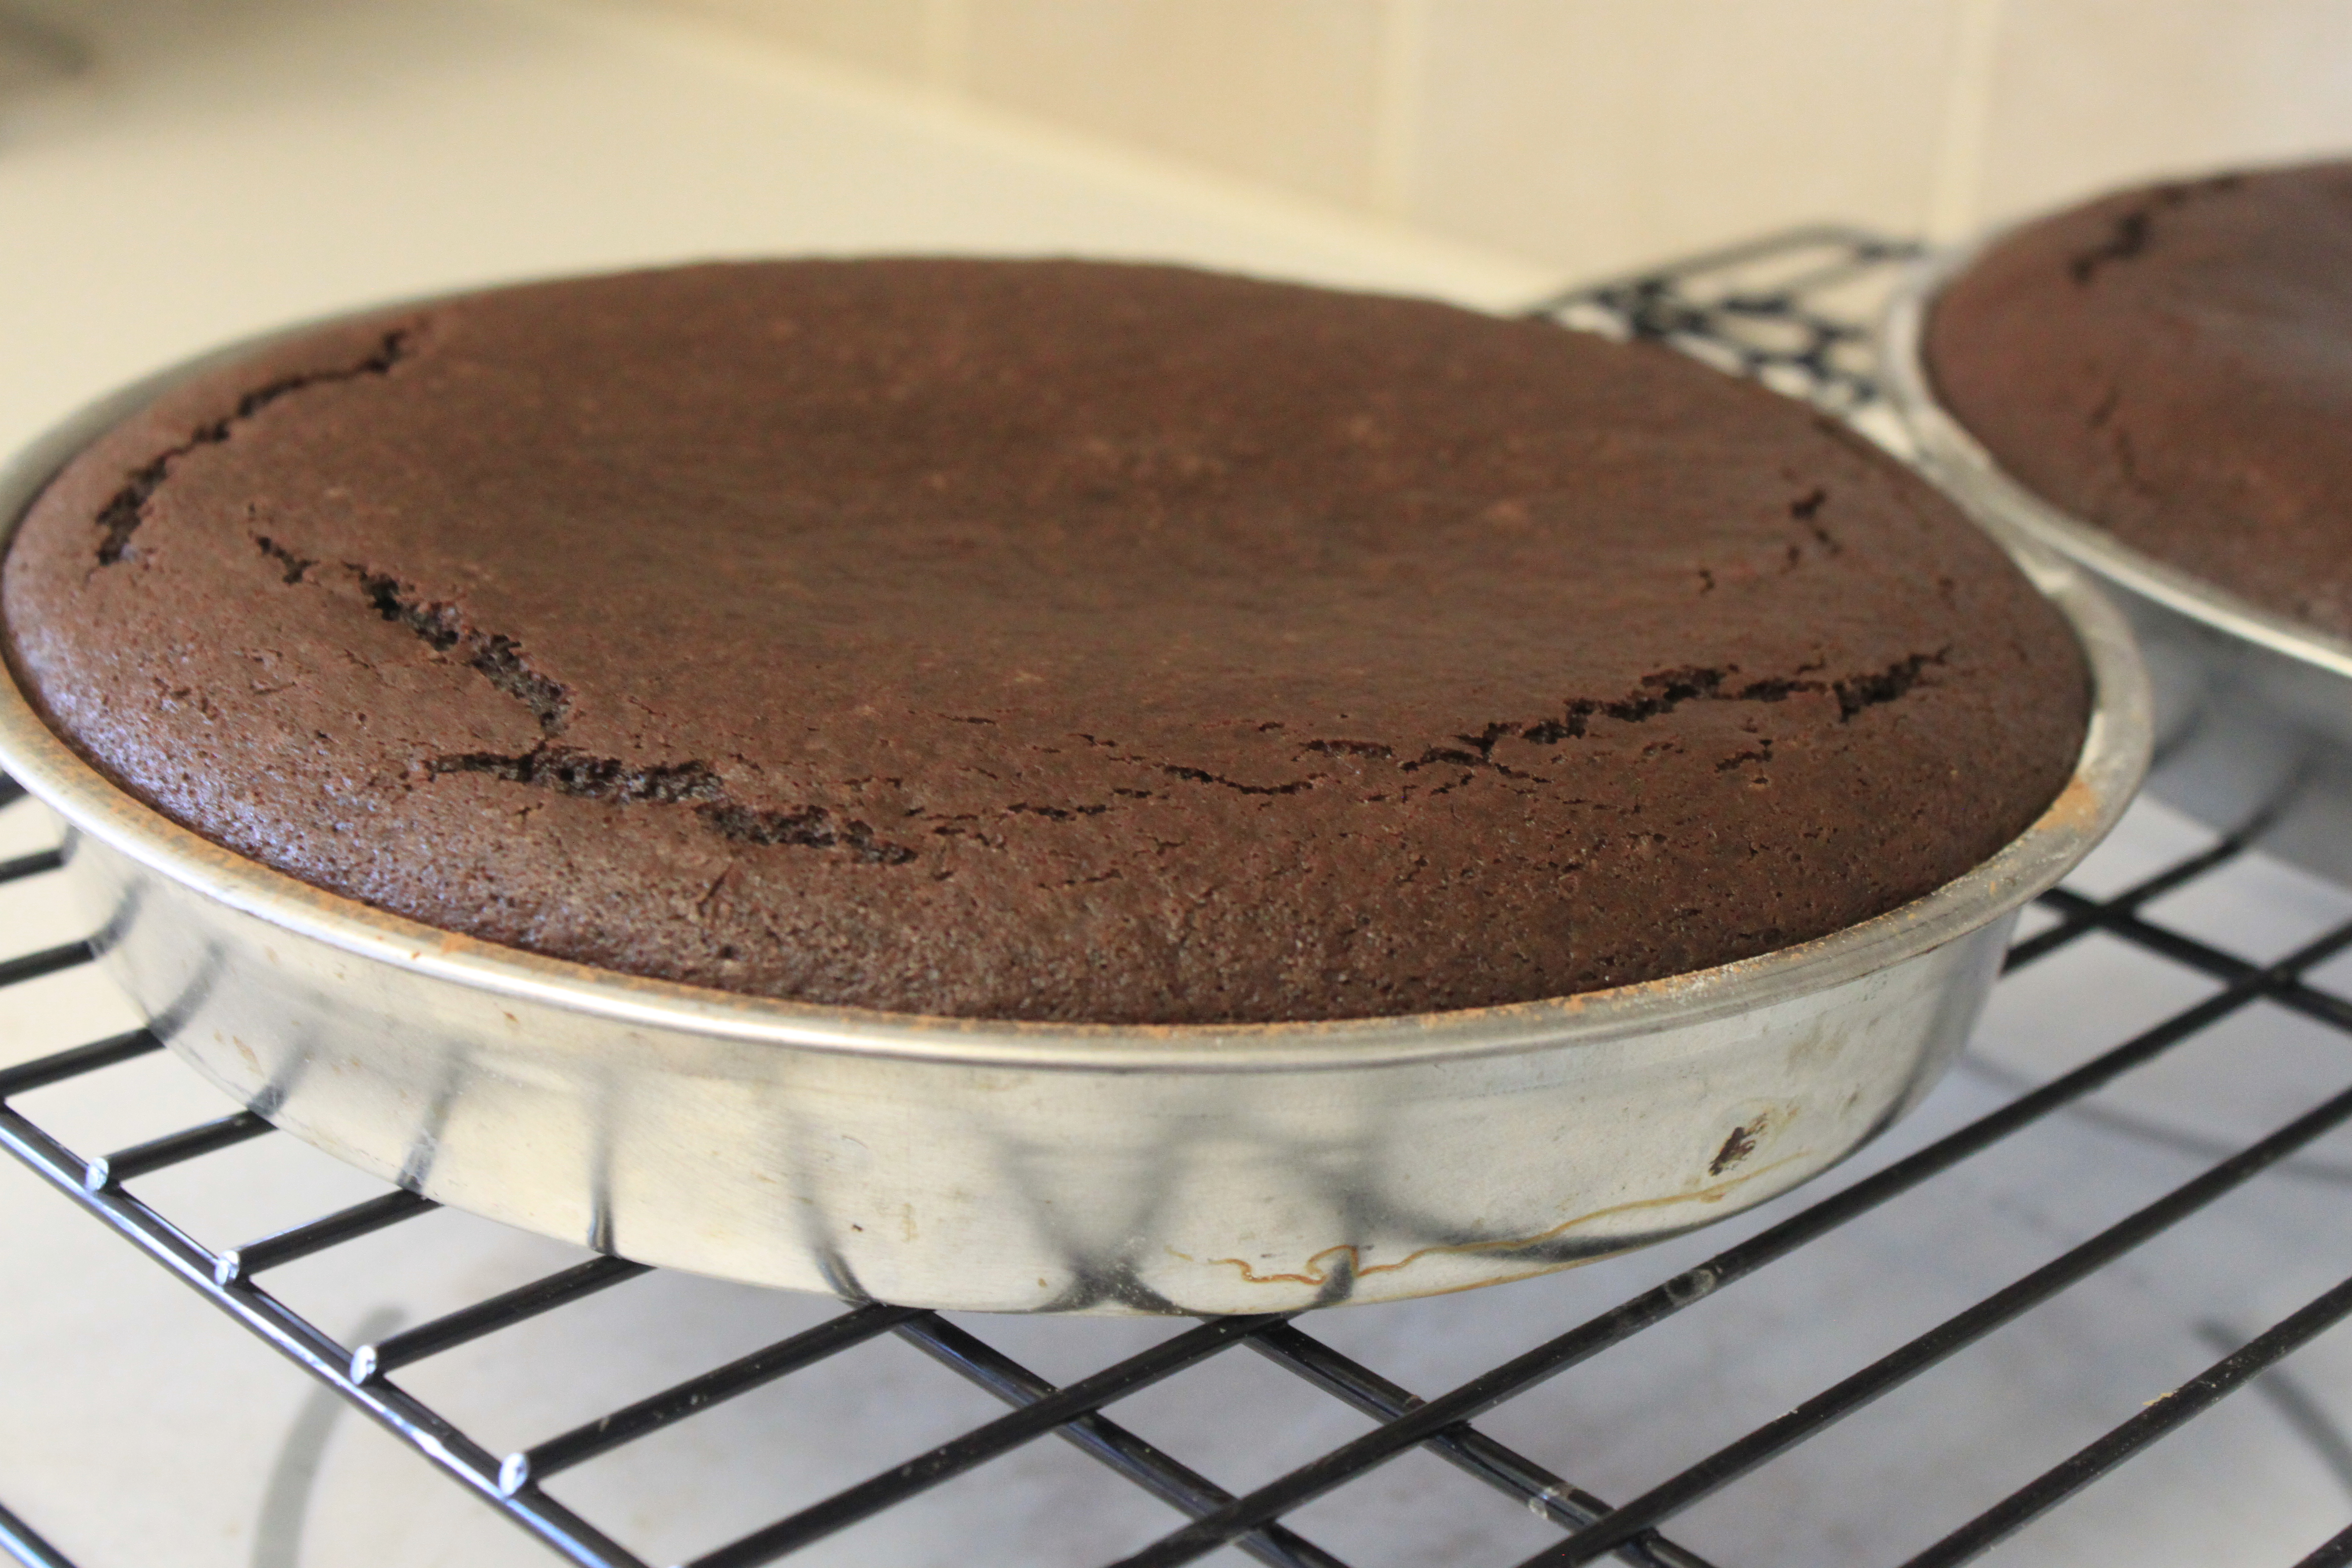
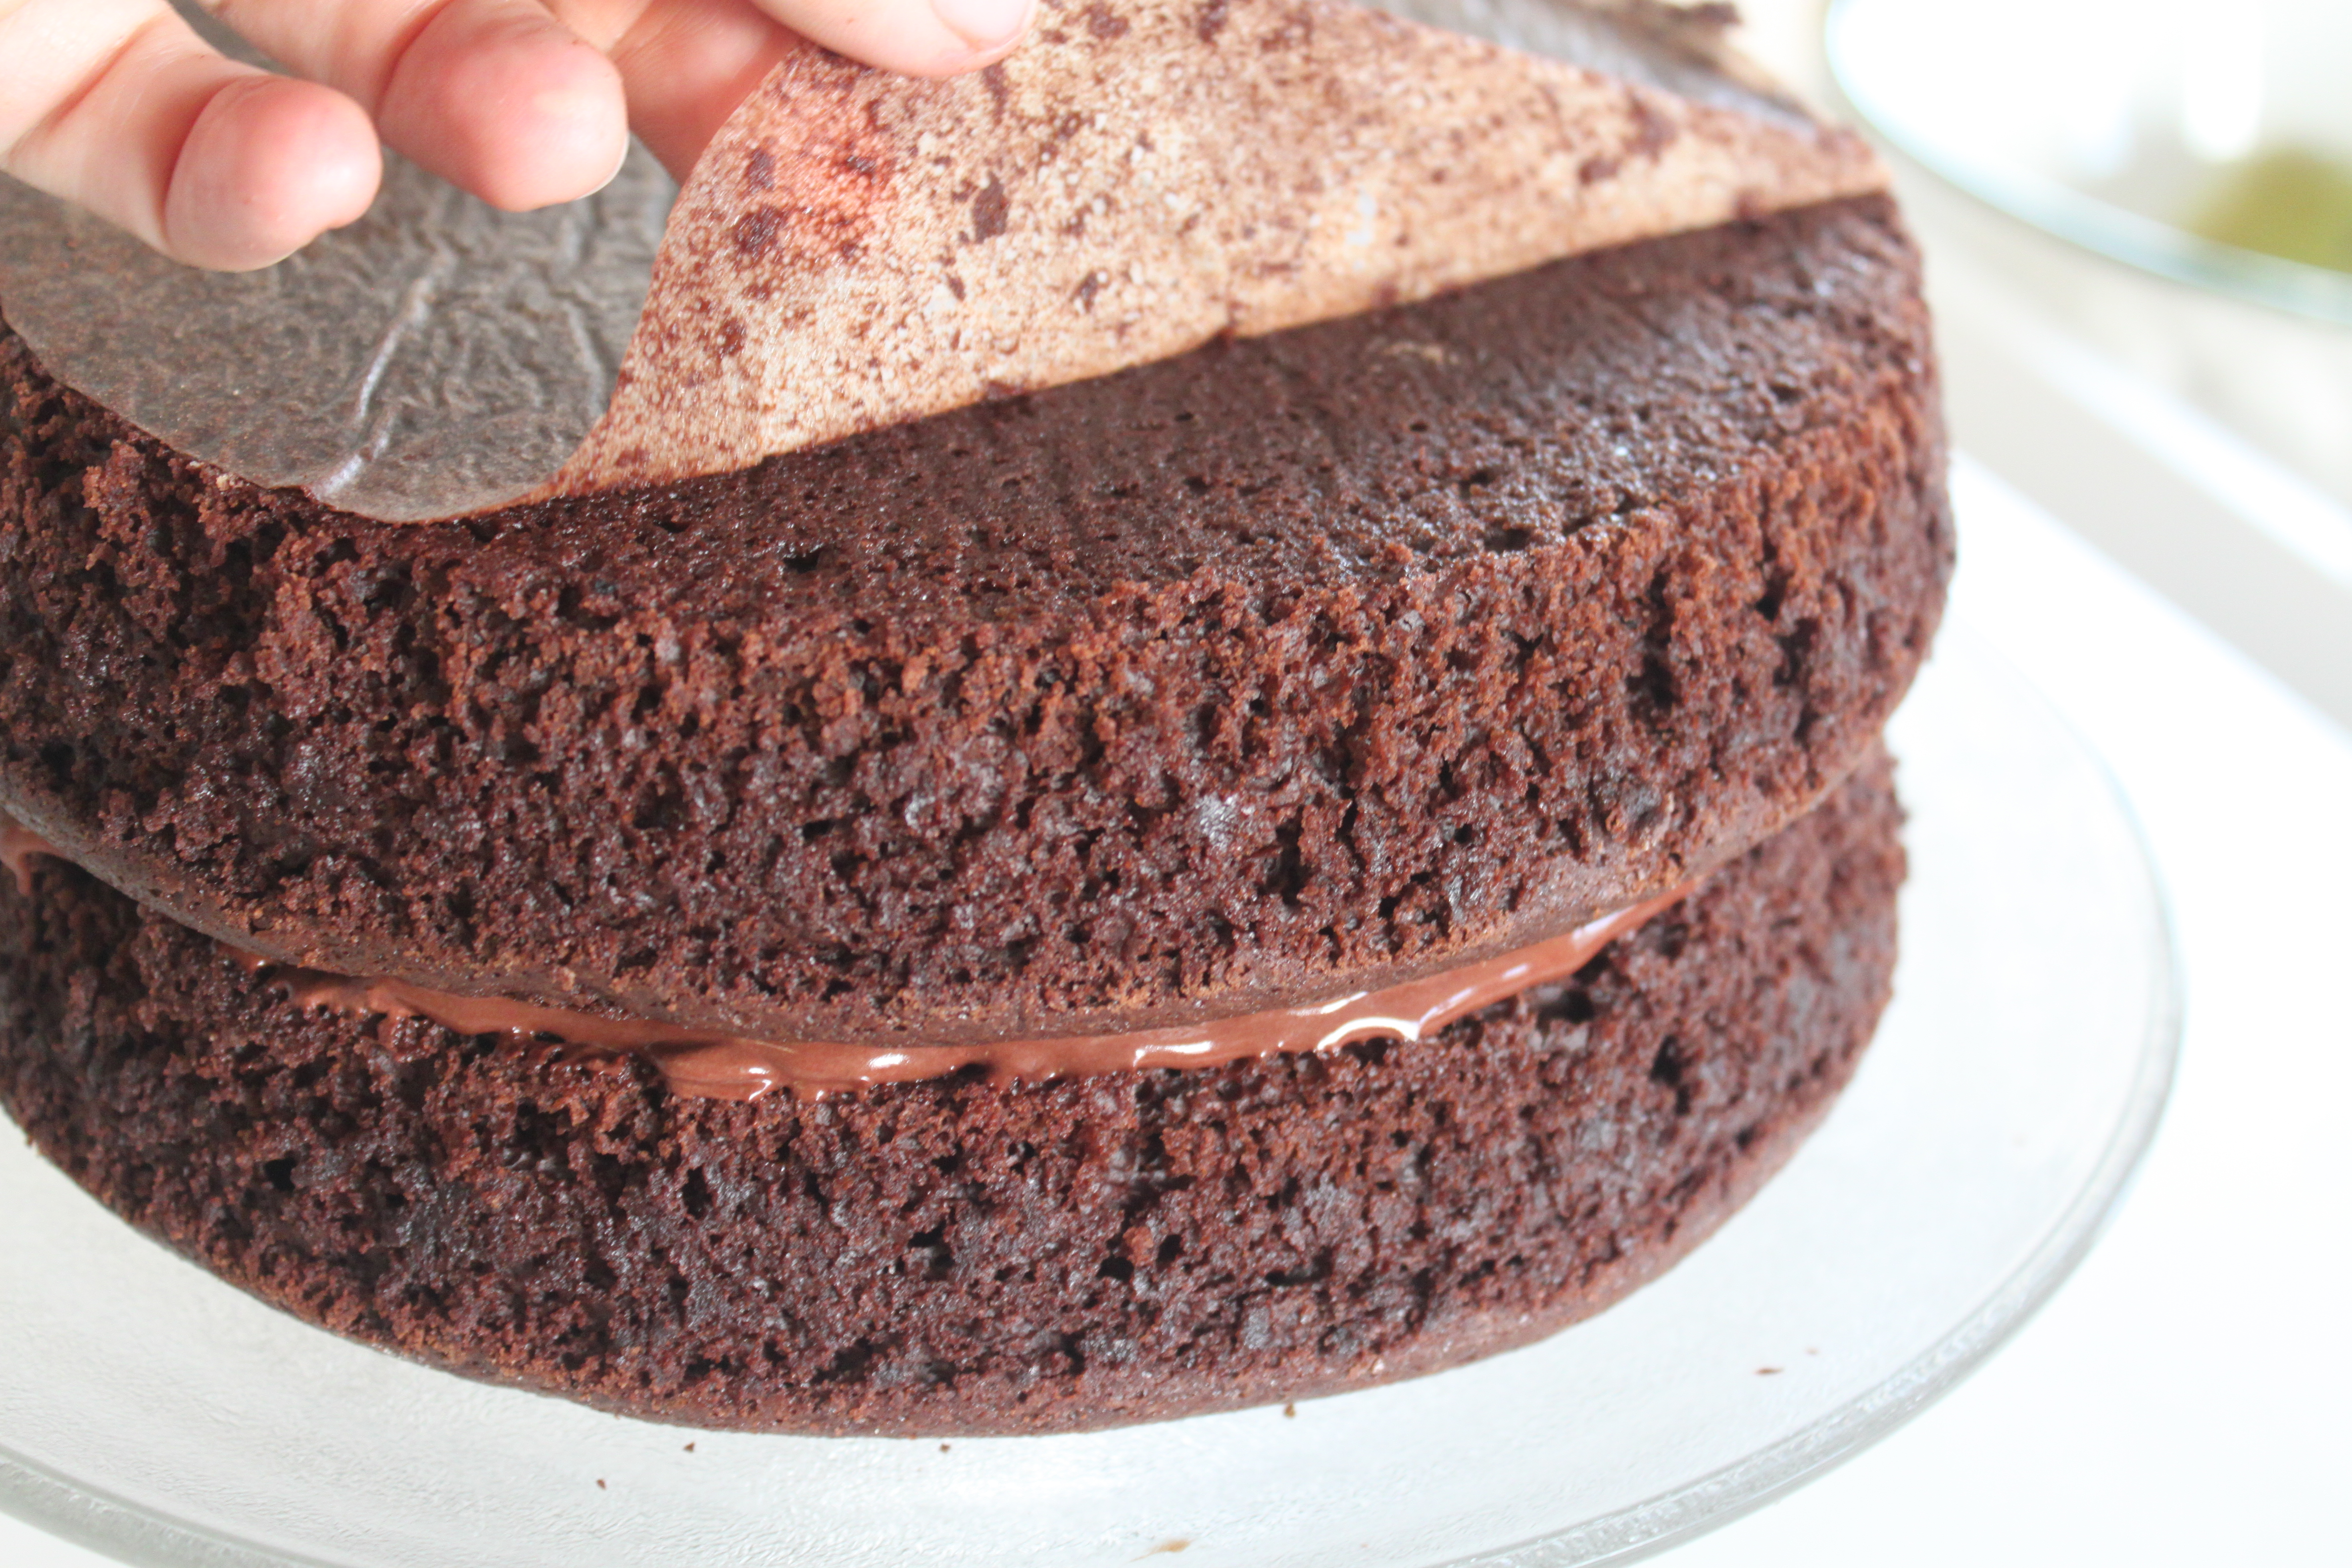
2) Bake cake until a toothpick inserted into the center comes out clean, 50-60 minutes. Remove from oven and cool for 10 minutes. Run a sharp knife around the edges of the pans, then turn cakes out onto a rack to cool completely. I threw the two cake layers in thefreezer for about an hour to make the cake assembly easier.
3) Using a serrated knife, divide each layer in half horizontally. Place one half, cake side down, on a cake plate.
4) Spread 3 TBSP of strawberry jam over the cake, then spread 3/4 c of the frosting over the jam. Arrange 3/4 c of the sliced strawberries on top of the frosting in a single layer. Repeat two more times with cake layer, jam, frosting, and strawberries.
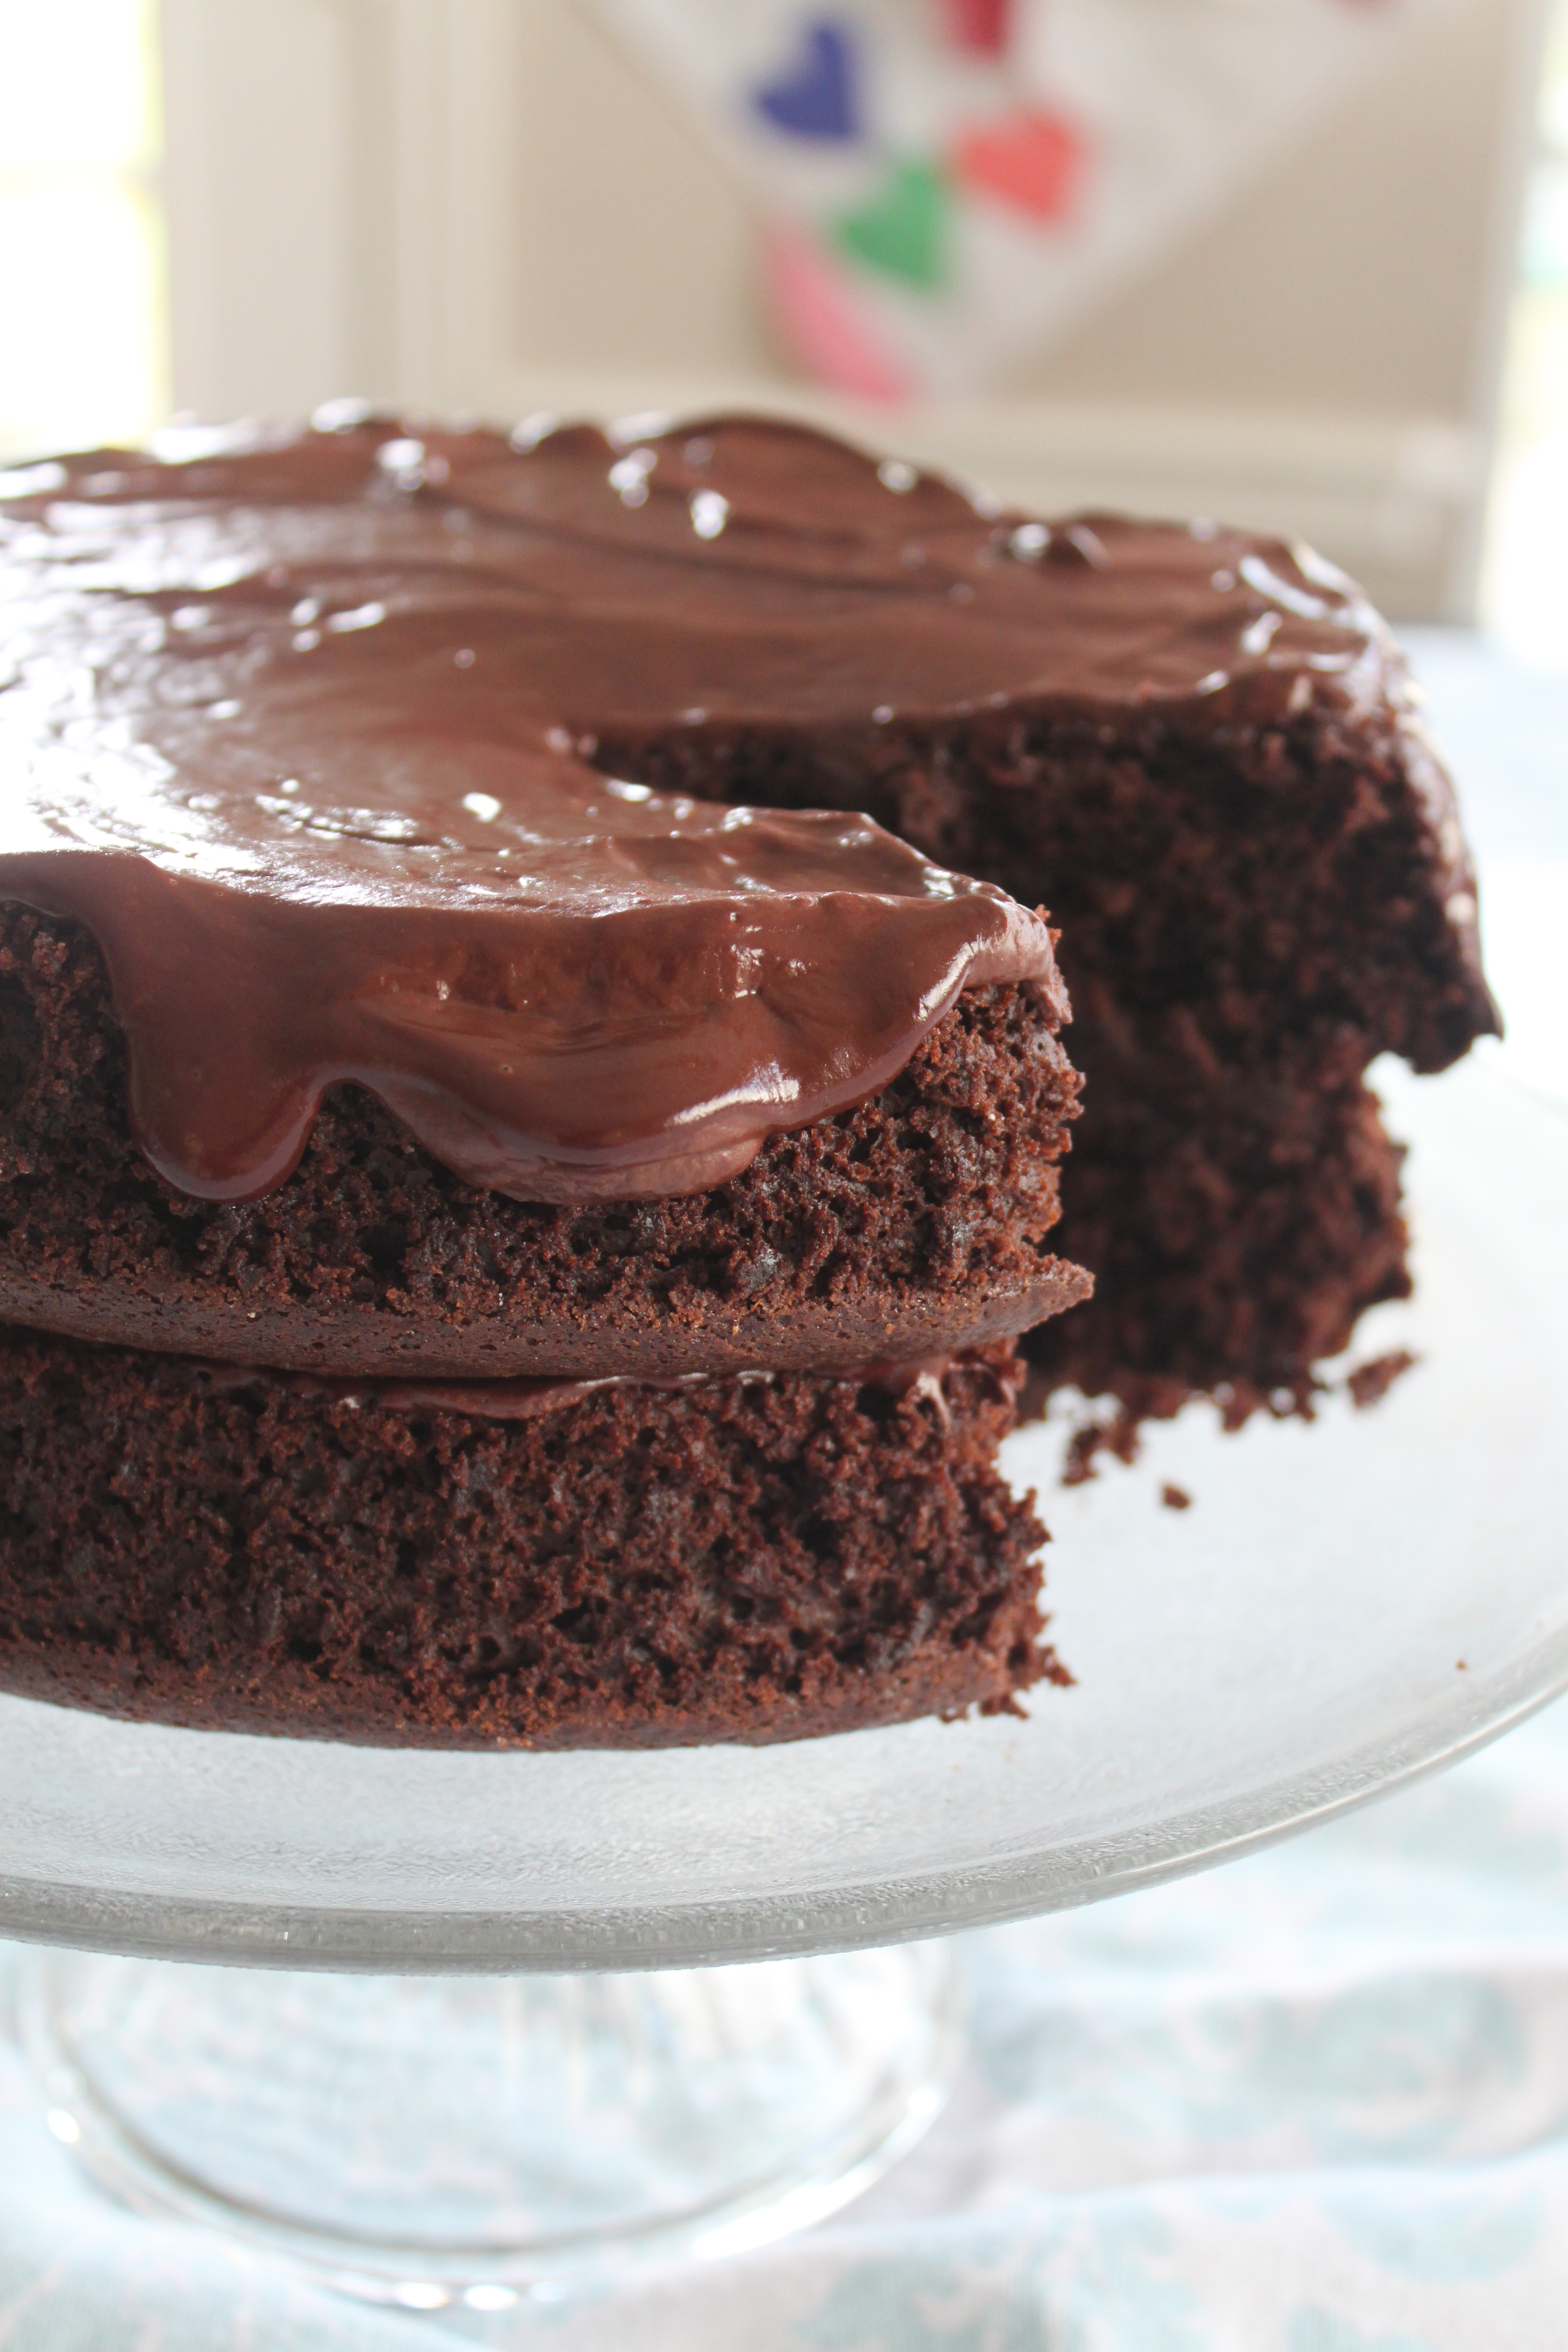
5) Top with remaining cake layer, cut side down. Spread two cups of frosting over the top and sides of the cake in a thin layer, then frost with remaining frosting. Stir remaining jam to loosen, then spoon teaspoonfuls onto the top and sides of the cake. Use the back of a spoon to swirl jam decoratively into the frosting. This recipe makes a very big 4-layer cake that will feed a lot of people. It says it has 12 servings but I definitely think it feeds even more!

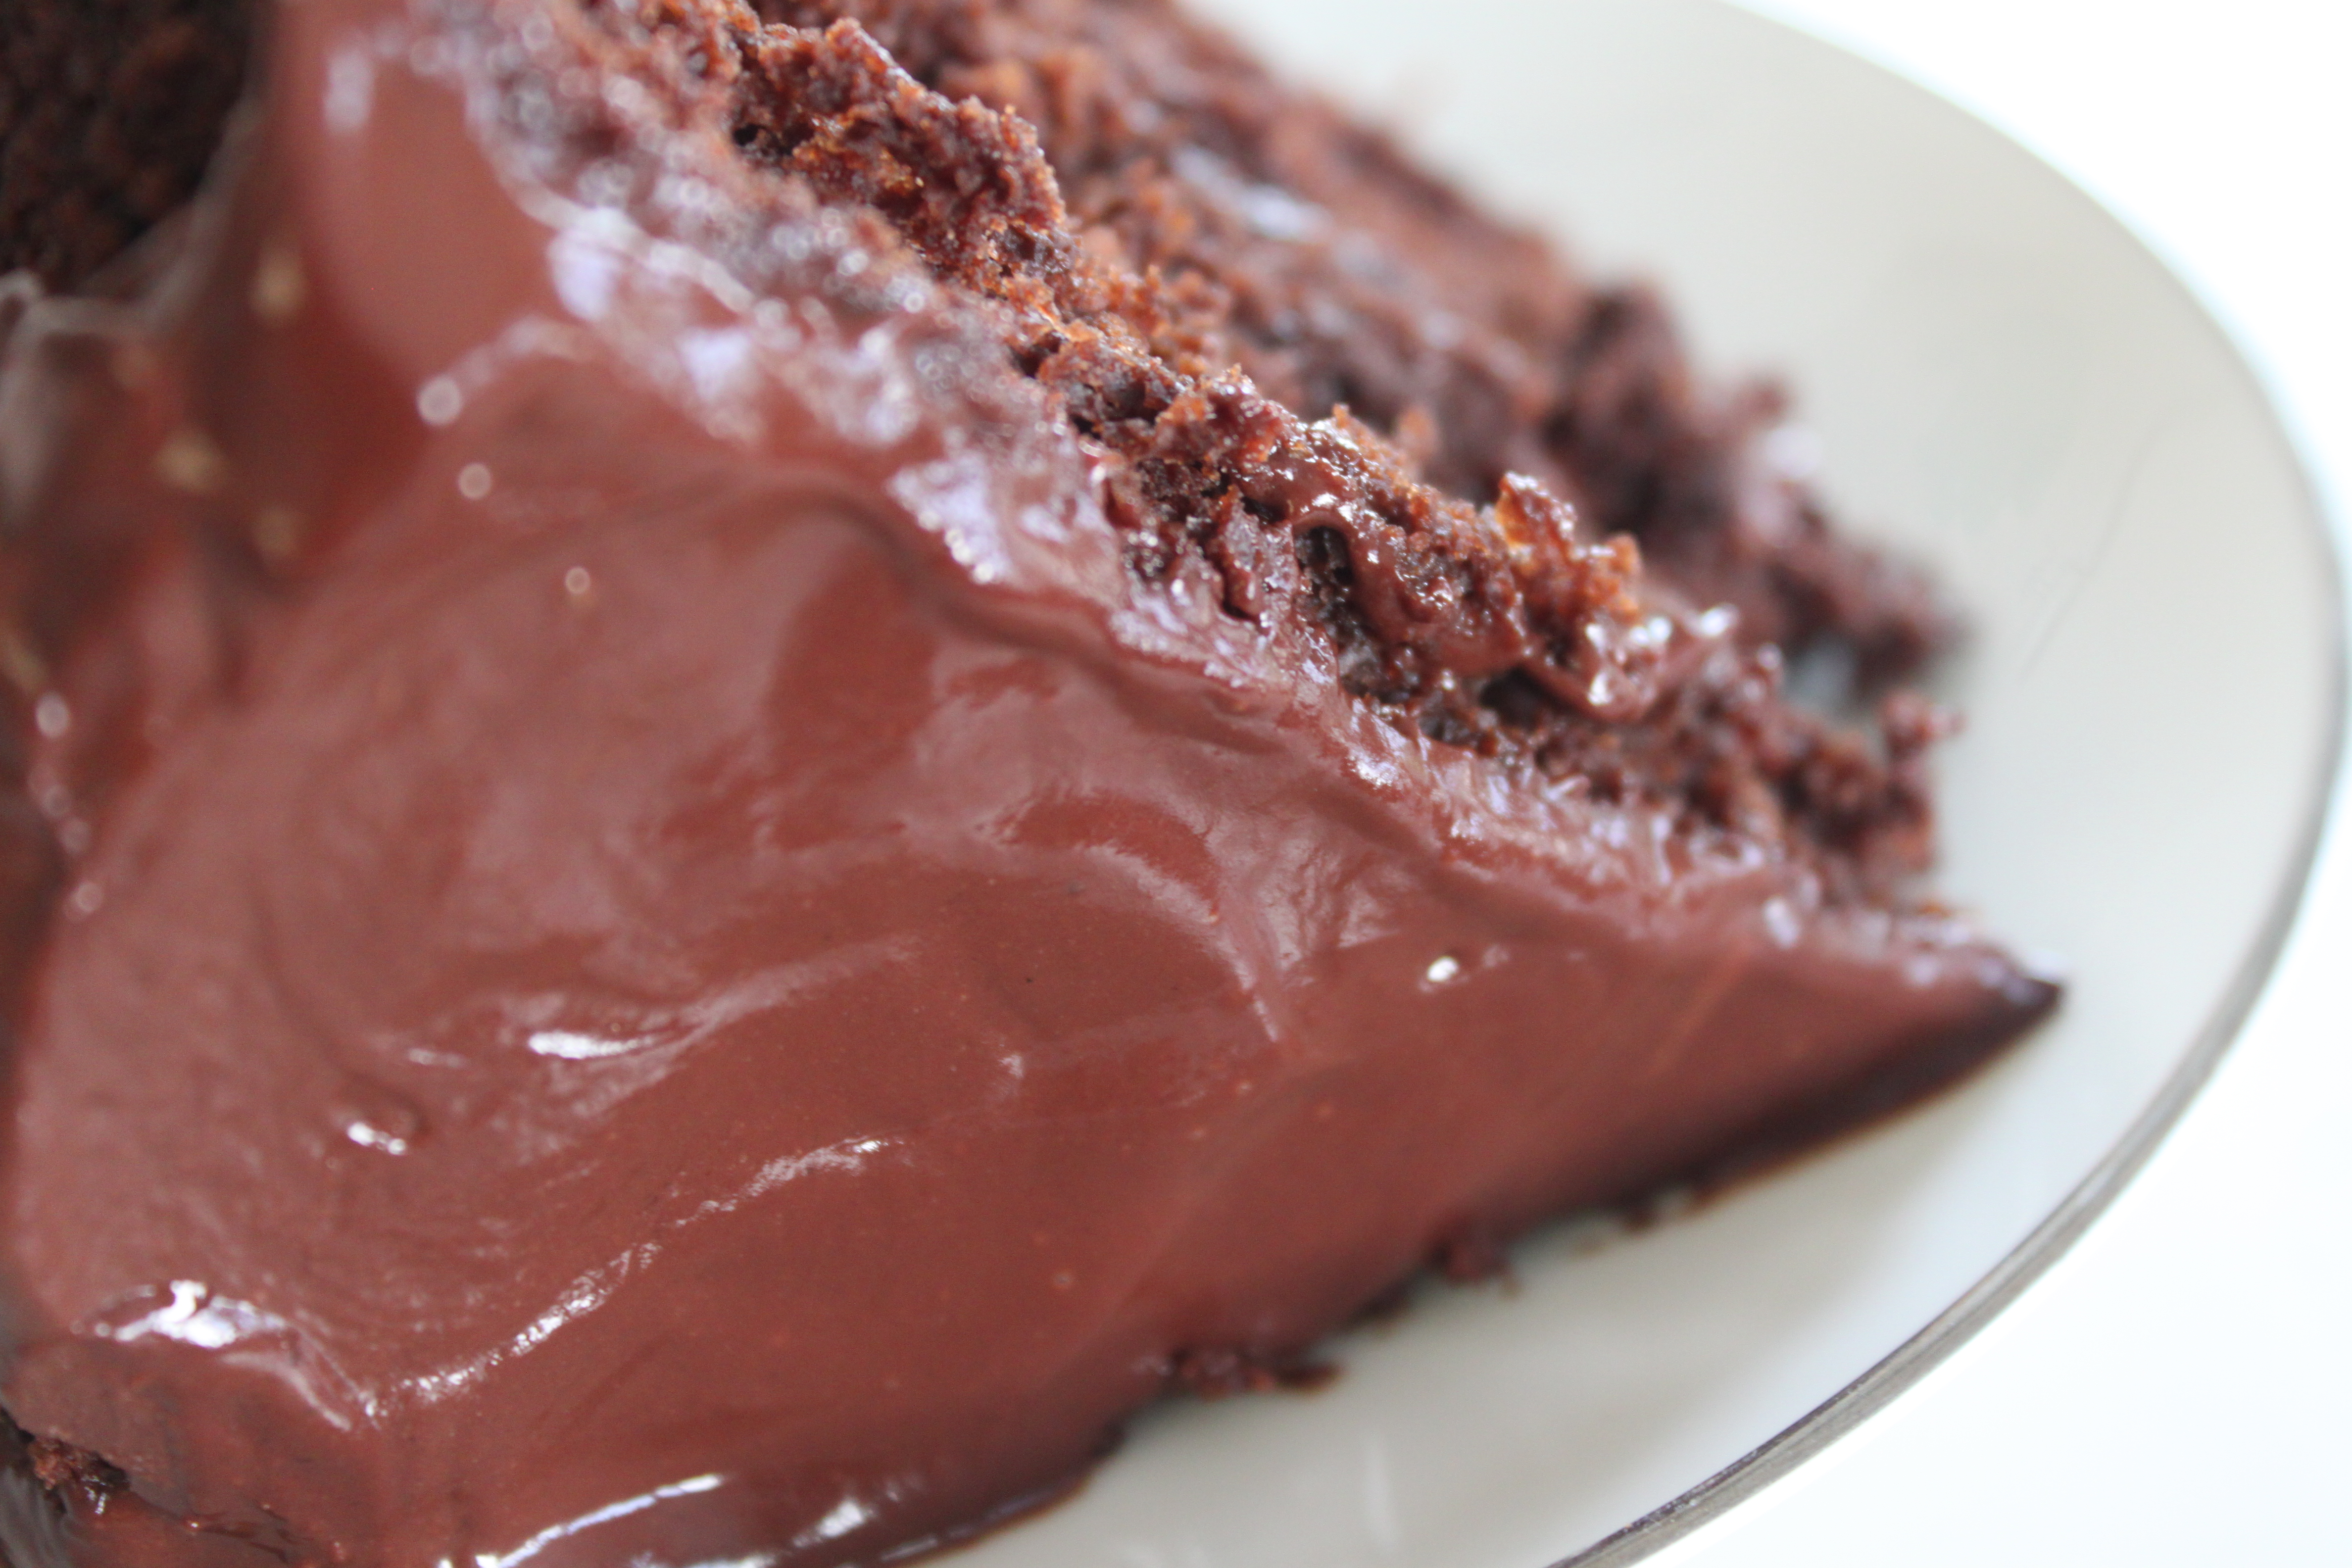
BEST. STRAWBERRY. CAKE. EVER.


Vanilla Cake with Strawberry Cream Frosting Recipe

 
Ingredients
  • Frosting -
  • 2 8-oz packages of cream cheese, room temperature (I used low-fat)
  • 1 cup (2 sticks) unsalted butter, room temperature
  • 4 cups powdered sugar
  • ½ cup seedless strawberry jam
  • ¾ cup chilled heavy whipping cream
  • Cake -
  • 3 cups cake flour
  • ¾ tsp salt
  • ½ tsp baking powder
  • ½ tsp baking soda
  • 3 cups sugar
  • 1 cup (2 sticks) unsalted butter, room temperature
  • 7 large eggs
  • 2 TBSP vanilla extract
  • 1 cup sour cream (I used low fat)
  • 6 TBSP plus ⅓ cup seedless strawberry jam
  • 2¼ lbs strawberries, hulled, sliced (about 6 cups), divided
Instructions
  1. FROSTING: Put a small/medium bowl in the freezer to chill. In a separate large mixing bowl, beat cream cheese and butter until smooth. Beat in sugar, then jam. Remove that chilled bowl from the freezer and beat cream in that chilled bowl until peaks form. Fold whipped cream into frosting. Cover; chill for a couple of hours until it’s firm enough to spread. (If you are in a hurry, you could put the frosting in the freezer to chill quickly.)
  2. CAKE: Preheat the oven to 325 degrees F. Butter and flour two 9-inch cake pans with 2-inch high sides. (I used 10″ cheesecake pans – aka springform pans – because they were the only round pans I had with high enough sides and they worked great!) In a medium bowl, whisk together flour, salt, baking powder, and baking soda. In a large bowl, cream butter and sugar together until light and fluffy. Add eggs, one at a time, beating after each addition. Beat in vanilla. Add sour cream, and beat for 30 seconds. Add flour mixture in three additions, beating to blend after each addition. Divide batter into prepared pans.
  3. Bake cake until a toothpick inserted into the center comes out clean, 50-60 minutes. Remove from oven and cool for 10 minutes. Run a sharp knife around the edges of the pans, then turn cakes out onto a rack to cool completely. I threw the two cake layers in the freezer for about an hour to make the cake assembly easier.
  4. Using a serrated knife, divide each layer in half horizontally. Place one half, cake side down, on a cake plate.
  5. Spread 3 TBSP of strawberry jam over the cake, then spread ¾ c of the frosting over the jam. Arrange ¾ c of the sliced strawberries on top of the frosting in a single layer. Repeat two more times with cake layer, jam, frosting, and strawberries.
  6. Top with remaining cake layer, cut side down. Spread two cups of frosting over the top and sides of the cake in a thin layer, then frost with remaining frosting. Stir remaining jam to loosen, then spoon teaspoonfuls onto the top and sides of the cake. Use the back of a spoon to swirl jam decoratively into the frosting. This recipe makes a very big 4-layer cake that will feed a lot of people. It says it has 12 servings but I definitely think it feeds even more!

Friday, March 22, 2013

Chocolate Cake From Food Storage


Thanks goes to Tammy over at Tammy’s Kitchen for the recipe it was adapted from.   To frost, I use a storage friendly version of Chocolate Ganache, halving the original recipe to keep the costs for ingredients down.
A very good, “you’d never know it was a mix” pantry-ready chocolate cake!
***
Ingredients:
Deluxe Chocolate Cake Mix (1)
Cake mix:
2 cups all-purpose flour
1 3/4 cups sugar
1 cup cocoa, sifted
2 tsp. baking powder
1 tsp. baking soda
1/2 tsp. salt
1/4 cup shortening powder
3 TBS whole egg powder, sifted
To make the cake:
1 3/4 cup water
1/2 cup vegetable oil
***
Deluxe Chocolate Cake Mix (7)
Chocolate Ganache
1 (4 oz.) bar quality bittersweet chocolate
1/4 cup + 2 TBS water
***
Instructions:
Preheat oven to 350.  Stir together all cake mix ingredients, sifting as needed.  When ready to make, prepare cake pan(s) by oiling using a brush, dusting with flour and (if desired) lining the pans with waxed paper.  Add water and oil to cake mix, stir well and pour into prepared pan(s).  Bake according to the following time guidelines:
9 x 13 inch pan:  35-38 minutes
9 inch cake pans:  30-33 minutes
cupcakes:  19-22 minutes
To prepare the ganache, chop the bar of chocolate.  Place the chocolate in a small bowl and set aside.  Mix the water and heavy cream powder until dissolved and heat over medium heat, watching closely, until just boiling.  Pour hot cream mixture over chocolate and whisk until smooth.  If preparing a layered cake, divide, using half of the ganache between layers and the other half poured over the top, starting in the center of the cake and working outward.
***
Mix the dry ingredients, making sure to sift everything that needs sifting.  I’d sift it all again once it’s stirred together just to be sure there aren’t any lumps.
Deluxe Chocolate Cake Mix (2)
Store in a quart sized storage bag for up to a year (or probably longer).
Deluxe Chocolate Cake Mix (3)
Once ready to bake, if you’re making a layered cake, do yourself a favor and prepare the pans right so your cake comes out clean (*see notes).  I decided to dust the pans lightly with cocoa this time since it’s a chocolate cake.
Deluxe Chocolate Cake Mix (4)
Add in the water and oil, stirring well, and pour the batter into pan(s).
Deluxe Chocolate Cake Mix (5)
Deluxe Chocolate Cake Mix (6)
Bake and allow to cool (as much as you can) before pouring the ganache.  The heat from the cake will affect the way the ganache spreads.  You want it to spread uniformly, so a cool cake is better.
Deluxe Chocolate Cake Mix (9)
Making the ganache.  Chop the chocolate and mix up the heavy cream.
Deluxe Chocolate Cake Mix (8) Deluxe Chocolate Cake Mix (10)
Heat the cream mixture on the stove just until boiling, then pour into chocolate.
Deluxe Chocolate Cake Mix (11)
Whisk until smooth.
Deluxe Chocolate Cake Mix (12)
When you’re ready to assemble it, half of the ganache goes in between the layers…
Deluxe Chocolate Cake Mix (13)
(btw, notice how nicely the wax paper preserves the top of the cake!)
Deluxe Chocolate Cake Mix (14)
…and the other half goes over top of the cake.  You’ll want to work from the center outward in spreading it to help it spread evenly.  And here it is, our beautiful 3 minute mix of a cake.  (No one will ever guess it took you three minutes to mix up this cake!)
Deluxe Chocolate Cake Mix (16)
Enjoy!  (And yes, it tastes as wonderful as it looks!)   Life is good.
Deluxe Chocolate Cake Mix (15)
~~~~~~~~~~~~~~~~~
Notes:
  • Personally, I’m notorious for losing my cakes (still stuck to the pans) once it’s time to turn them out.  Even oiling and flouring the pans seem insufficient for my bad luck.  The best way I’ve found to do it involves an extra step of tracing and inserting an additional oiled and floured piece of wax paper.  It’s an extra step, but the cake always comes out nicely this way.
(Step by step credit:  Better Homes and Gardens)
  1. Brush pan with shortening
    Using a pastry brush or paper towel, brush solid shortening evenly over the bottom of the pan, being careful not to leave any uncoated, shiny spots.
  2. Grease sides and corners  When greasing the sides and corners of the pan, turn the pan as you grease. Don’t grease all the way to the top of the pan; grease only about 1 inch up the sides.
  3. Flour the pan
    When pan is completely greased, sprinkle a couple of spoonfuls of all-purpose flour into the bottom of it. If you’re baking a chocolate cake, consider using unsweetened cocoa powder instead of flour for a nice deep brown color.
  4. Evenly distribute flour
    To distribute the flour over the pan, hold one edge of the pan and tap the opposite edge with your free hand. The flour will “skate” over the greased surface and stick to it. When the bottom of the pan is coated, tilt the pan, tapping to move the flour over the sides. Tap out any extra flour into your sink.
How to Line a Pan with Waxed Paper or Parchment Paper
The extra step of lining the bottom of the pan with waxed or parchment paper is an even surer method for getting the cake out of the pan. Keep in mind that you can only use this method for cakes baked in flat-bottom pans. (Use the grease-and-flour method, above, for fluted tube pans).
  1. Trace the pan  After greasing your pan (following the steps above), set the pan on a piece of waxed or parchment paper and trace around it with a pencil.
  2. Cut paper  With a clean pair of scissors, cut just inside the traced line on the paper.
  3. Fit paper, then grease and flour  Fit the cut piece of paper into the pan, pressing it into the corners and smoothing out any wrinkles or bubbles. Unless otherwise specified in the recipe, grease the top of the paper and then flour the pan (following the steps above).

Friday, February 15, 2013

Chocolate Crepes


Chocolate Crepes with Fresh Strawberry Cream

Happy Valentine’s Day!  Whether you go all-out or small and simply let your sweeties know you care, we hope you have a delicious day in every way.  Here’s one more tempting treat to tantalize you!
My mom and I are headed out for a fun and relaxing girl’s weekend.  We’ll be back with more good eats on Tuesday!

Chocolate Crepes with Fresh Strawberry Cream


Chocolate Crepes
3/4 cup flour
4 tablespoons unsweetened cocoa powder
1 teaspoon baking powder
1/2 teaspoon salt
1/3 cup powdered sugar
2 eggs
2/3 cup milk
1/3 cup plus 2 tablespoons water
1/2 teaspoon vanilla
Sift together the flour, cocoa, baking powder, salt and powdered sugar.  Mix together the eggs, milk, water and vanilla.  Make a well in the dry ingredients; pour in the liquid ingredients.  Combine with a few swift strokes until just combined.  Ignore the lumps; they will take care of themselves.  Heat a 5 inch skilled over medium heat.  Coat skillet with nonstick cooking spray.  Add a small amount of batter (we are talking less than 1/4 cup) and QUICKLY lift the skillet and rotated it to cover the bottom of the pan.  Cook until brown underneath (it cooks quick so watch it close) and flip to cook the other side.  Repeat with remaining batter.
Fill crepes with fresh strawberry cream.  You can roll them or fold them in fourths.  I highly recommend you add additional sliced strawberries.

Fresh Strawberry Cream
1 cup heavy whipping cream
1/3 cup powdered sugar
4-6 large strawberries pureed to make 1/4 cup
fresh strawberries for serving, optional
Whip cream until soft peaks form.  Add sugar and puree and continue to whip to a stiff consistency.
 http://www.caramelpotatoes.com/2013/02/14/chocolate-crepes-with-fresh-strawberry-cream/

Monday, December 24, 2012

Sugar Plums with NUTS

SUGAR PLUMS


Twas the night before Christmas
and all through the house . . .
not a creature was stirring,
not even a mouse!The children were nestled,
all snug in their beds . . .
While visions of sugar plums,
danced in their heads . . .

"A Visit From Saint Nicholas" by Clement C Moore


PHOTO CREDITS: The English Kitchen


Sugar Plums*
Makes 18 to 2

These keep for weeks in the refrigerator. 

Gift & presented in  paper cups & a lovely gift tin!

3 ounces (1/2 cup) chopped pitted dates
3 ounces (1/2 cup) chopped toasted walnuts
1 ounce (1/4 cup) dried cranberries
1 ounces (1/4 cup) chopped pitted prunes
1 ounce (1/4 cup) chopped toasted hazlenuts
2 TBS fruit jam
1/2 tsp ground cinnamon
1/8 tsp ground cloves
3.5 ounces (1/2 cup) granulated sugar

Do by hand or food processor does a quick & easy job.

Begin by placing the chopped dates, walnuts, cranberries, prunes & hazelnuts

in the bowl of a food processor. Pulse until everything is chopped very 
small & they begin to clump together a bit. Add the jam & spices & pulse until
 it all begins to come together. (when you press some of the mixture between
 your fingers it should hold itself into a ball. Don't over process, so keep
 checking. You want to see individual pieces of the fruit & nuts, not a paste.

Place the granulated sugar in a bowl. Take out tablespoons of the fruit 

mixture & shape into balls by rolling it in the palms of your hands, Drop
 the balls into the granulated sugar and give them a good coating. Place into
 little paper cups. Repeat until all of the mixture is used up. Store in the
 refrigerator in an airtight container.

http://theenglishkitchen.blogspot.com/2010/12/sugar-plums.html

POTATO Cake Irish

GRANNY'S POTATO CAKE  
2 c. white sugar
1 c. butter
1 c. hot mashed Irish potatoes
1/2 c. sweet milk
3 c. flour
4 eggs, well beaten
1 c. chopped walnuts or pecans
1 tsp. melted chocolate
1 tsp. cinnamon, cloves
1 tsp. vanilla
2 tsp. baking powder


Sift flour, cinnamon, cloves, and baking powder. Combine sugar and butter; cream together. Add mashed potatoes, then add the eggs; beat well. Mix in flour mixture and milk; add vanilla and nuts. Bake in 3 layer pans at 350 degrees until toothpick comes out clean.


FROSTING:

1 box powdered sugar
1/2 c. Crisco
2 tbsp. cocoa
4 tsp. coffee
1 tsp. vanilla

Mix in enough cream to make filling soft enough to spread.


IRISH MASHED POTATOES

ingredients

  • 3 pounds peeled Yukon gold or red potatoes, halved
  • 2 1/2 cups coarsely chopped cabbage
  • 6 garlic cloves, peeled
  • 1 chicken-flavored bouillon cube
  • 1/2 cup (4 ounces) 1/3-less-fat cream cheese
  • 1/4 cup fat-free milk
  • 1/4 cup fat-free sour cream
  • 1/2 teaspoon kosher salt
  • 1/4 teaspoon black pepper
  • Cooking spray

Preparation

  1. Preheat oven to 350°.
  2. Combine first 4 ingredients in a large stockpot; cover with water. Bring to a boil; cover, reduce heat, and simmer 30 minutes. Drain.
  3. Return potato mixture to pan. Add cream cheese and the next 4 ingredients (cream cheese through pepper); mash with a potato masher. Spoon potato mixture into a 1 1/2-quart casserole coated with cooking spray. Cover and bake at 350° for 45 minutes or until thoroughly heated.
  4. Note: This can be made a day ahead; just cool, cover, and refrigerate. Reheat in oven or microwave.
Cooking Light 
NOVEMBER 1999