Thanks goes to Tammy over at Tammy’s Kitchen for the recipe it was adapted from. To frost, I use a storage friendly version of Chocolate Ganache, halving the original recipe to keep the costs for ingredients down.
A very good, “you’d never know it was a mix” pantry-ready chocolate cake!
***
Ingredients:
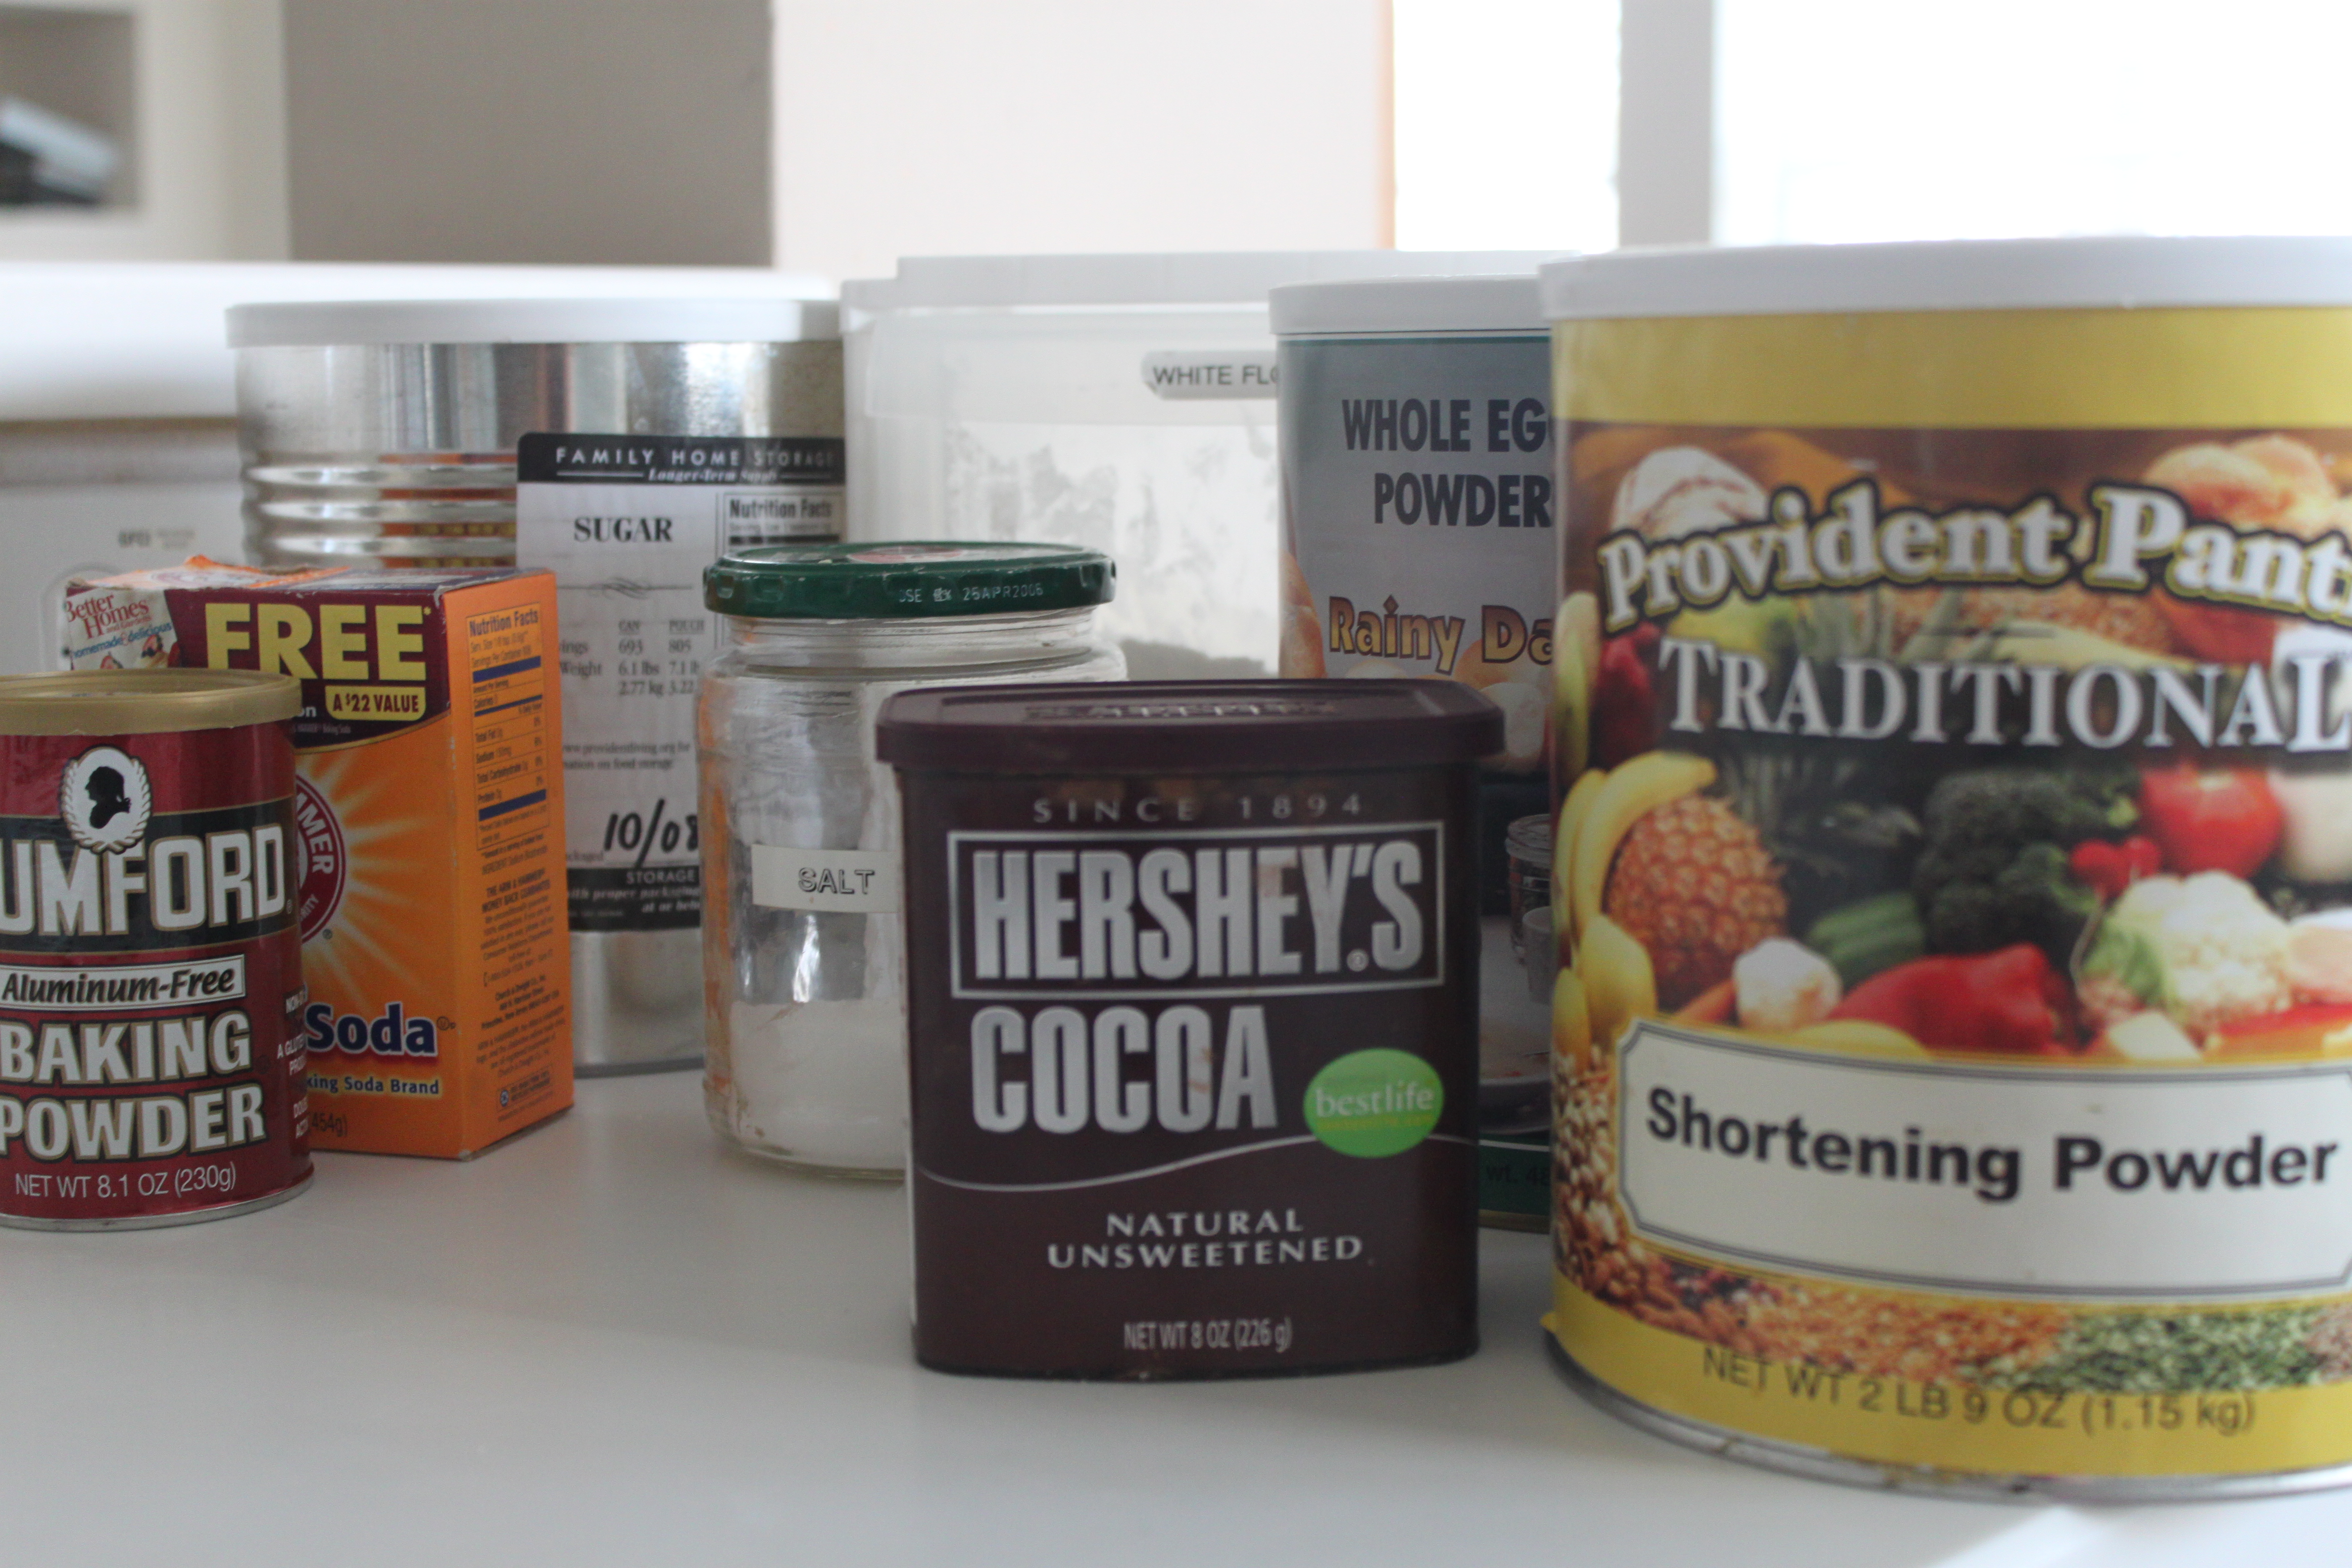
Cake mix:
2 cups all-purpose flour
1 3/4 cups sugar
1 cup cocoa, sifted
2 tsp. baking powder
1 tsp. baking soda
1/2 tsp. salt
1/4 cup shortening powder
3 TBS whole egg powder, sifted
To make the cake:
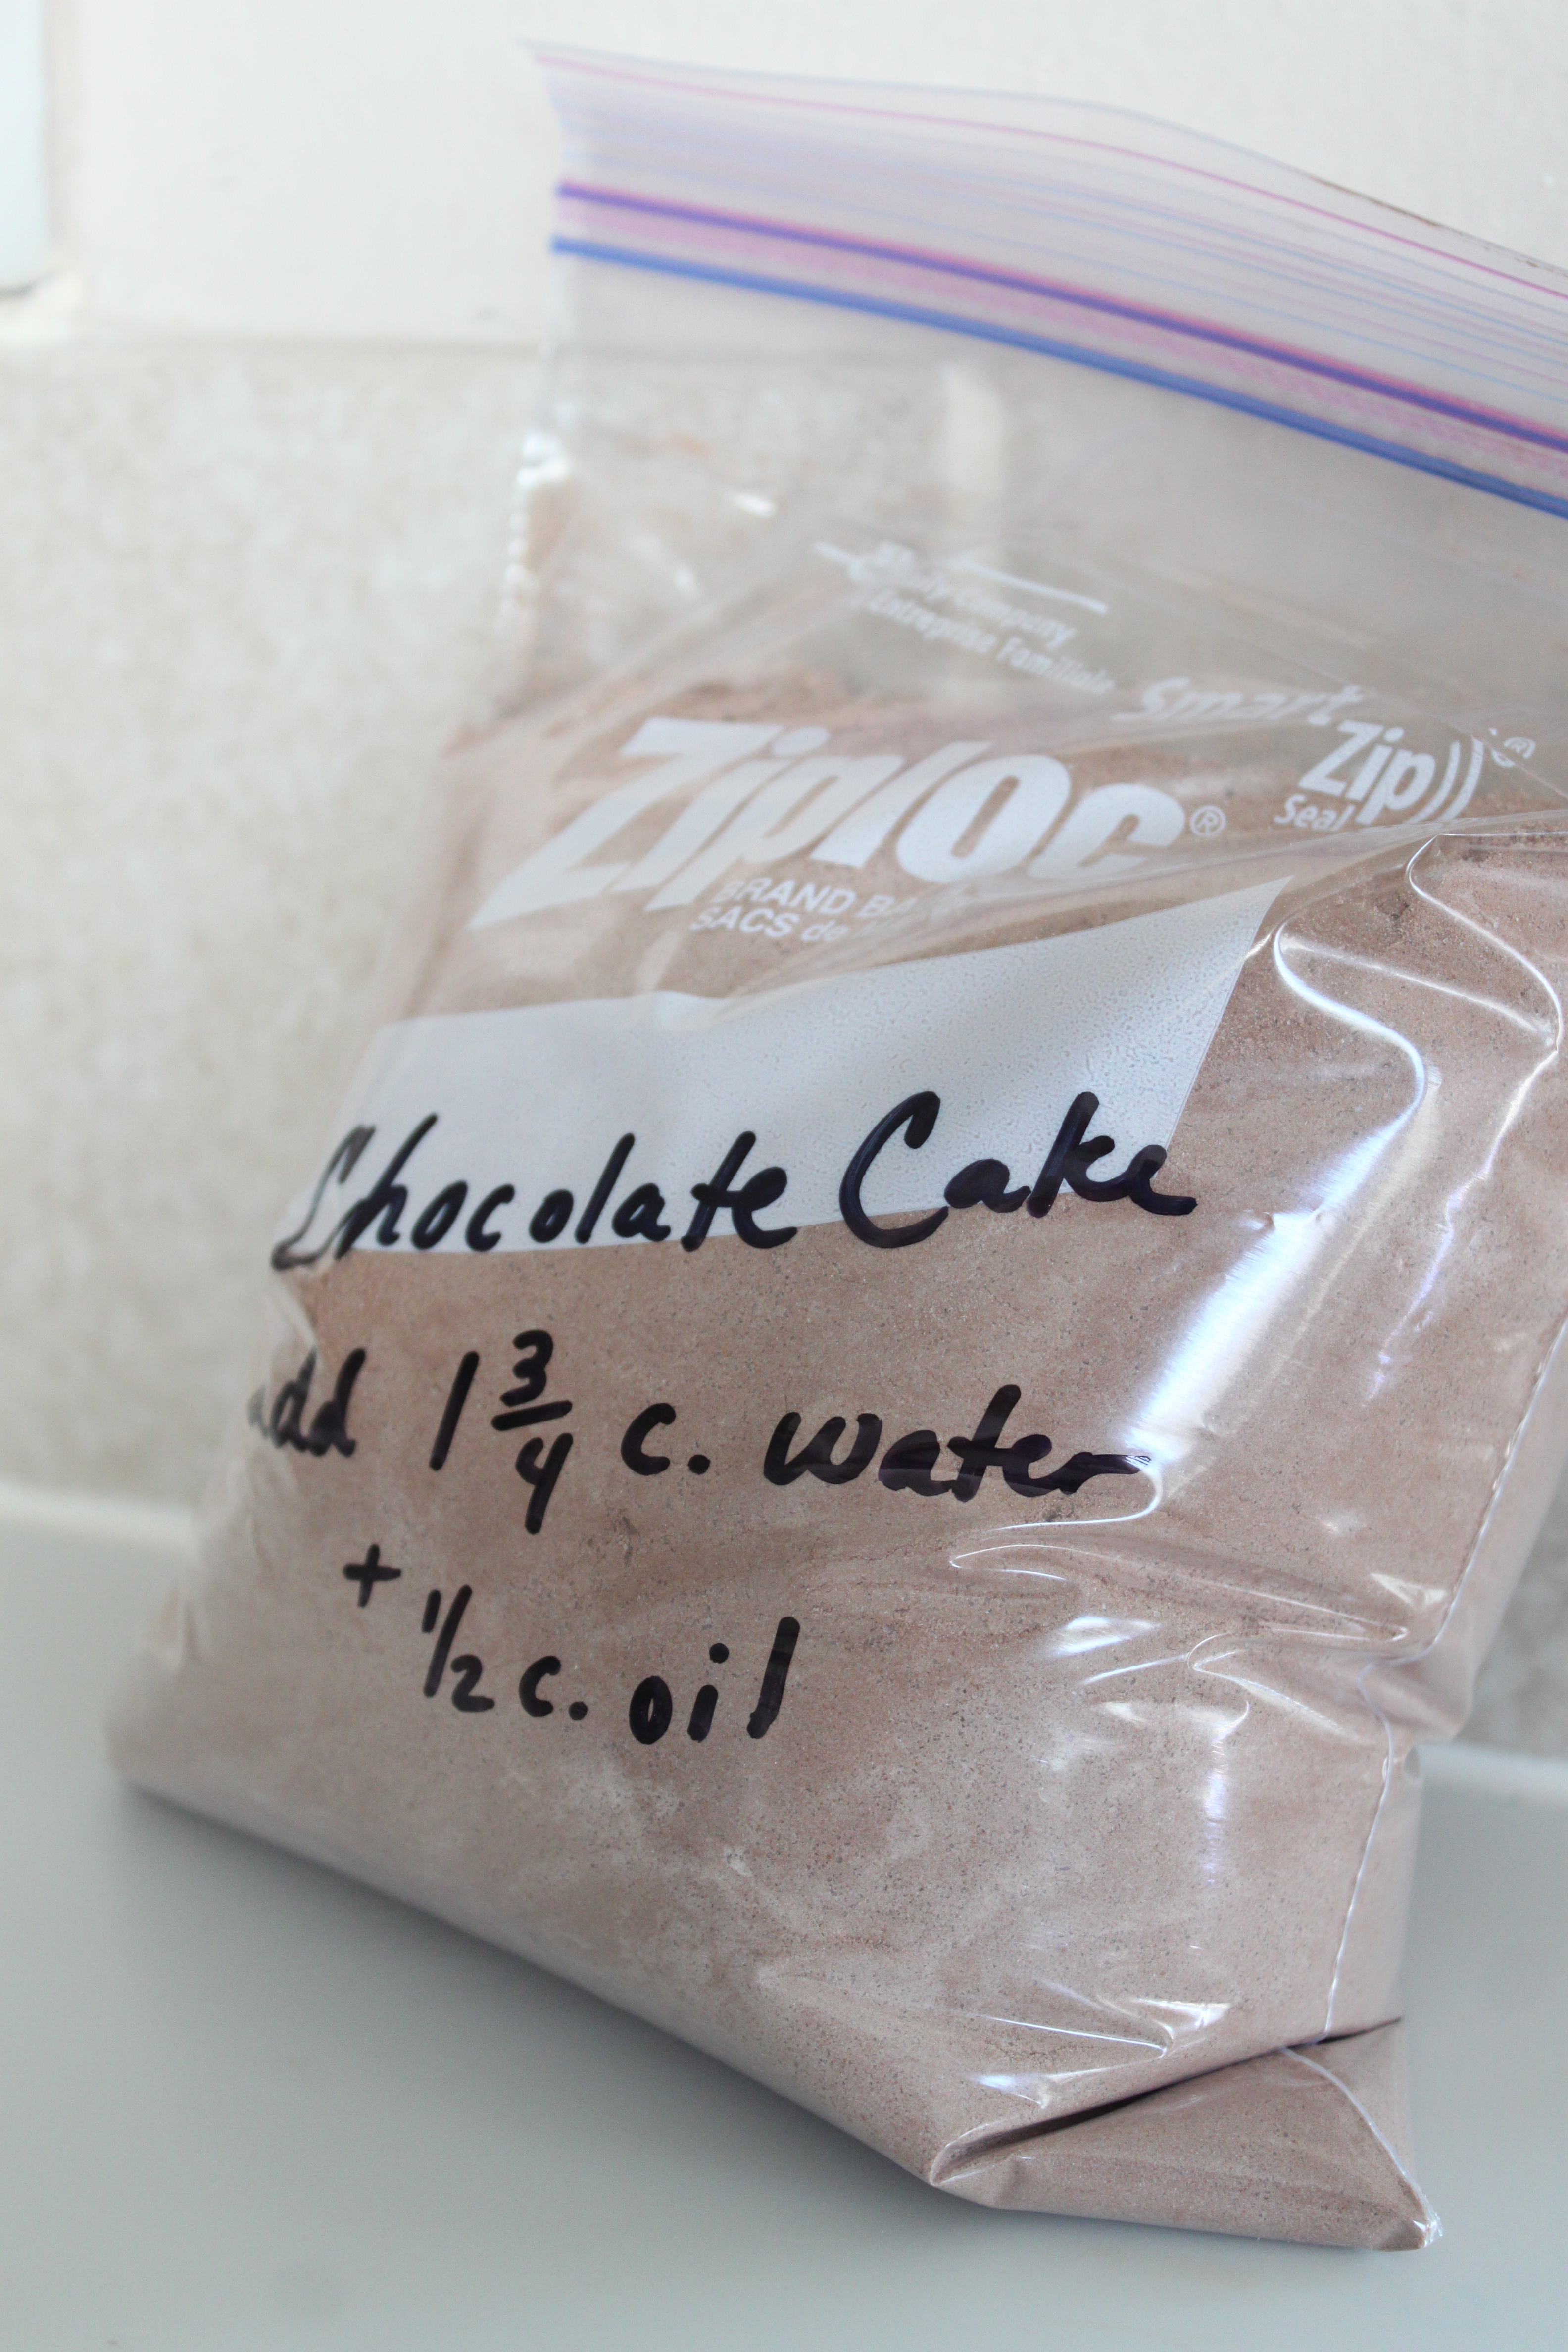
1 3/4 cup water
1/2 cup vegetable oil
***
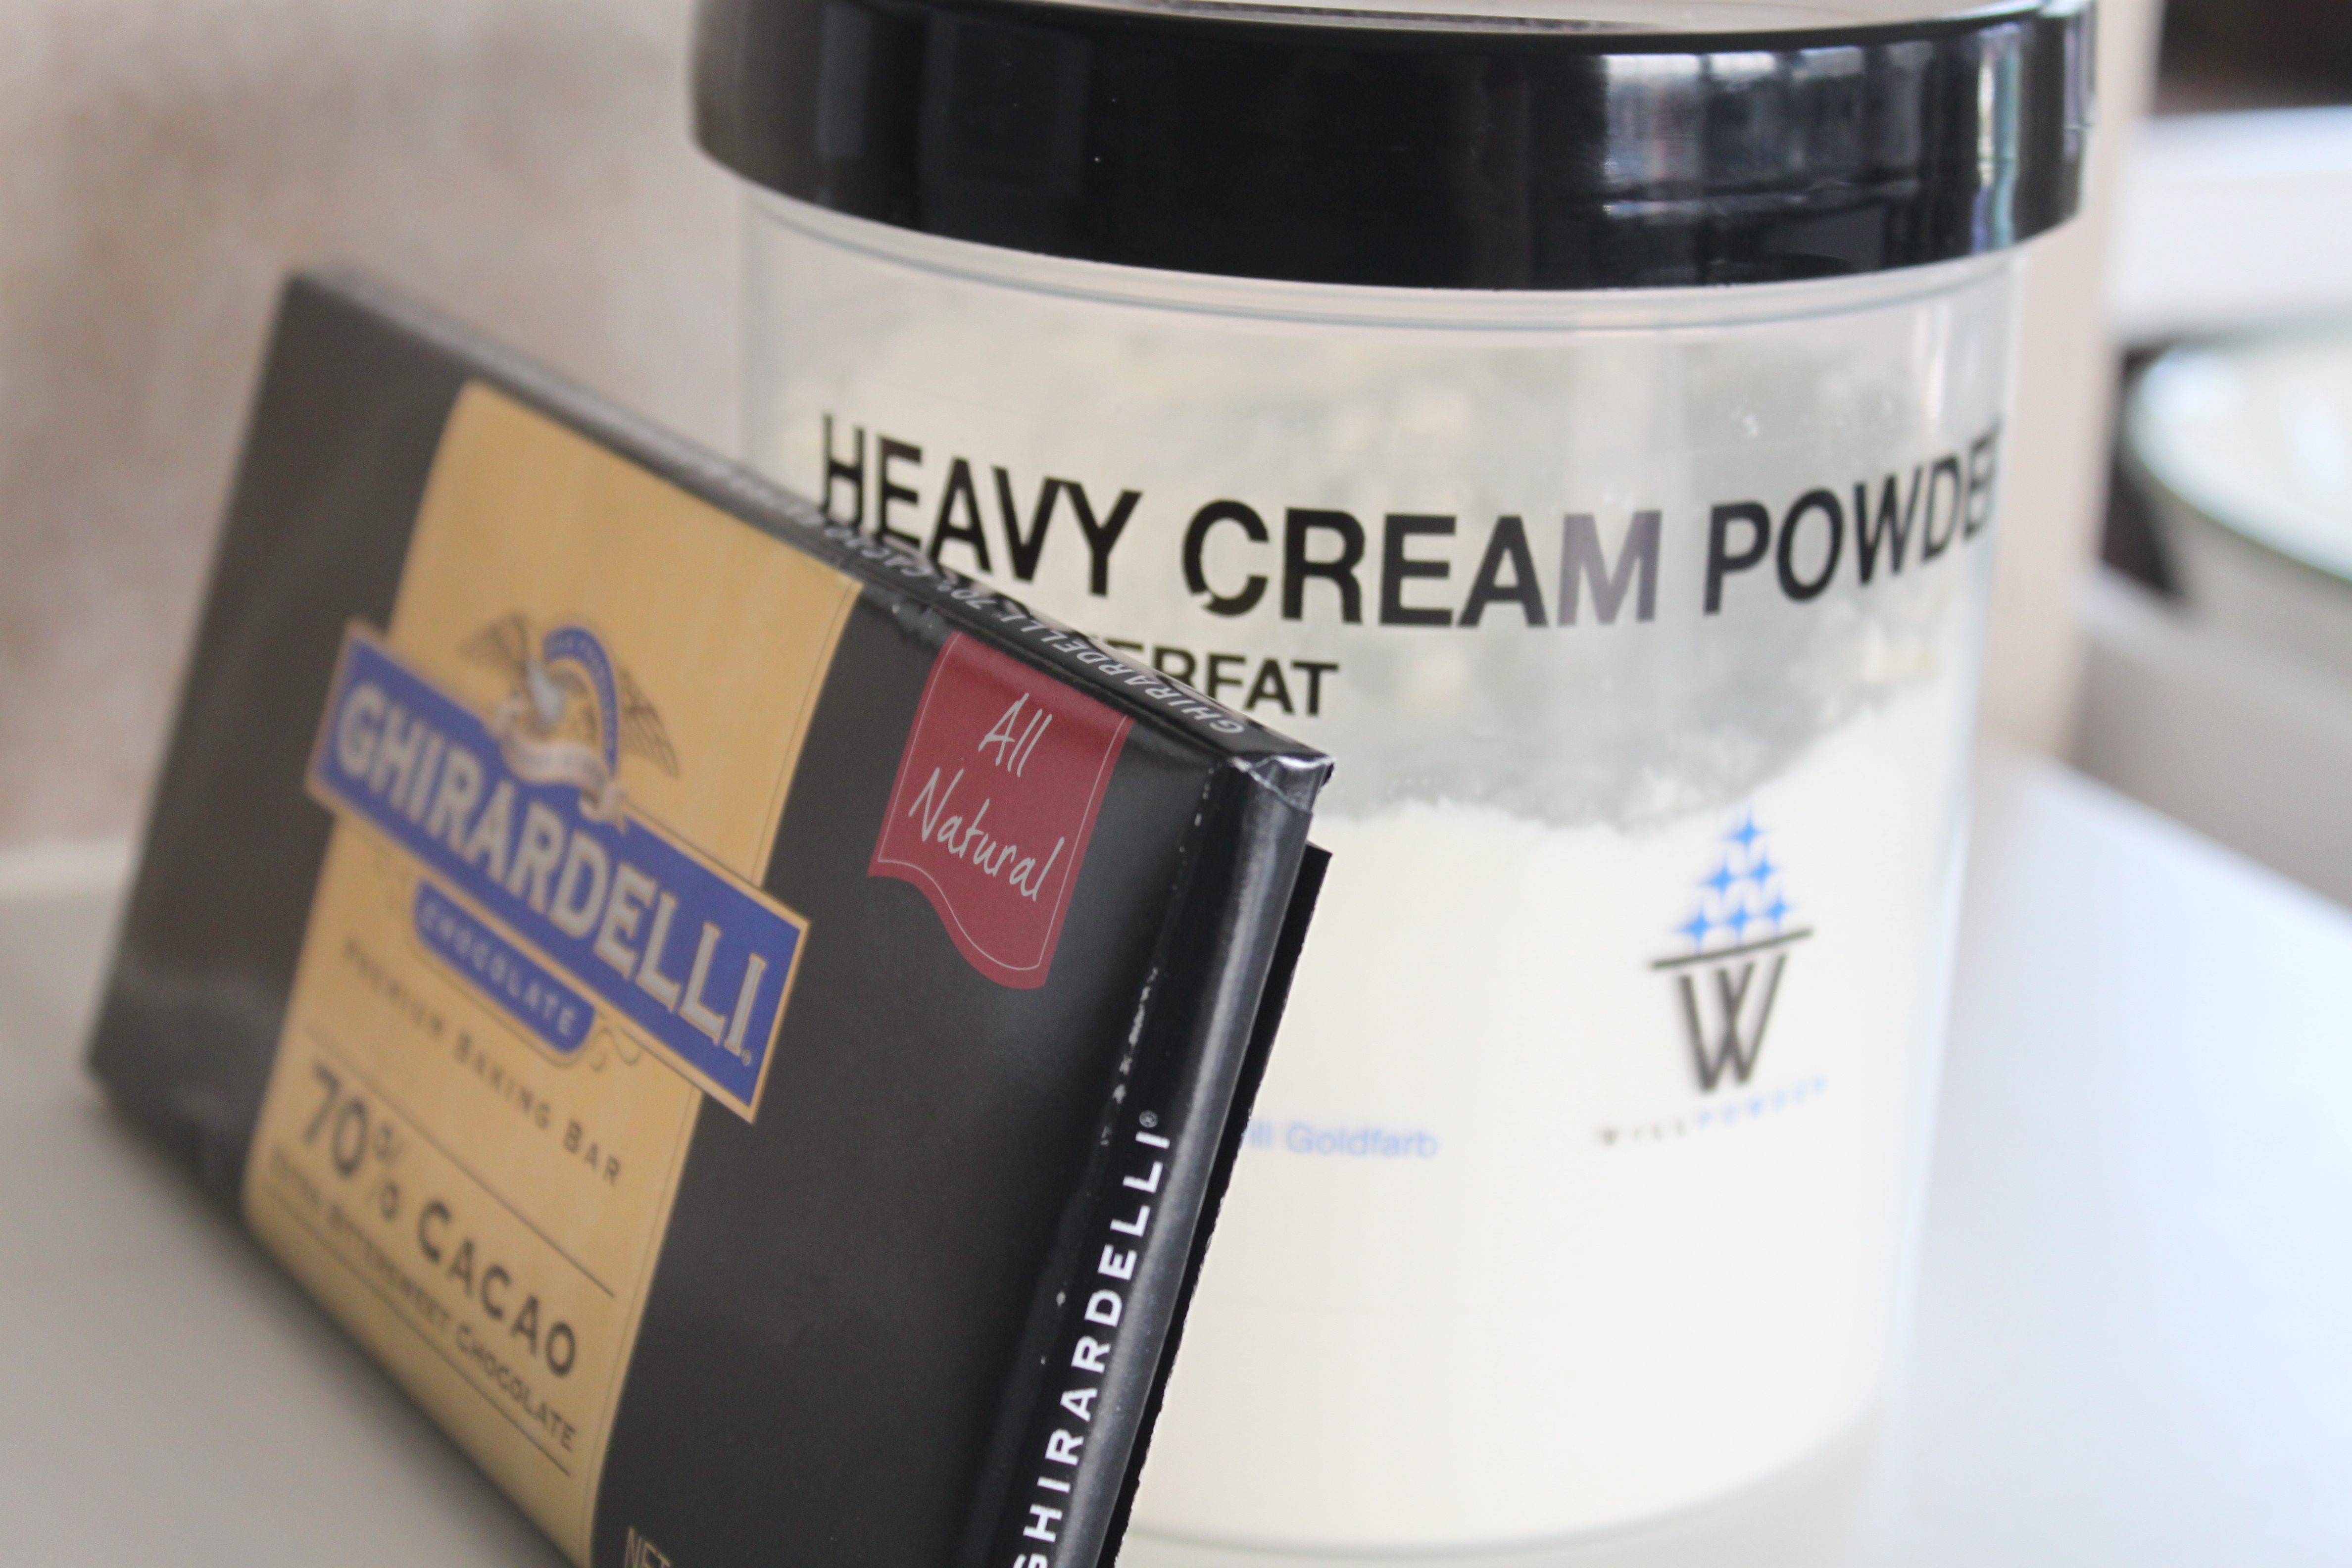
Chocolate Ganache
1 (4 oz.) bar quality bittersweet chocolate
1/8 cup heavy cream powder
1/4 cup + 2 TBS water
***
Instructions:
Preheat oven to 350. Stir together all cake mix ingredients, sifting as needed. When ready to make, prepare cake pan(s) by oiling using a brush, dusting with flour and (if desired) lining the pans with waxed paper. Add water and oil to cake mix, stir well and pour into prepared pan(s). Bake according to the following time guidelines:
9 x 13 inch pan: 35-38 minutes
9 inch cake pans: 30-33 minutes
cupcakes: 19-22 minutes
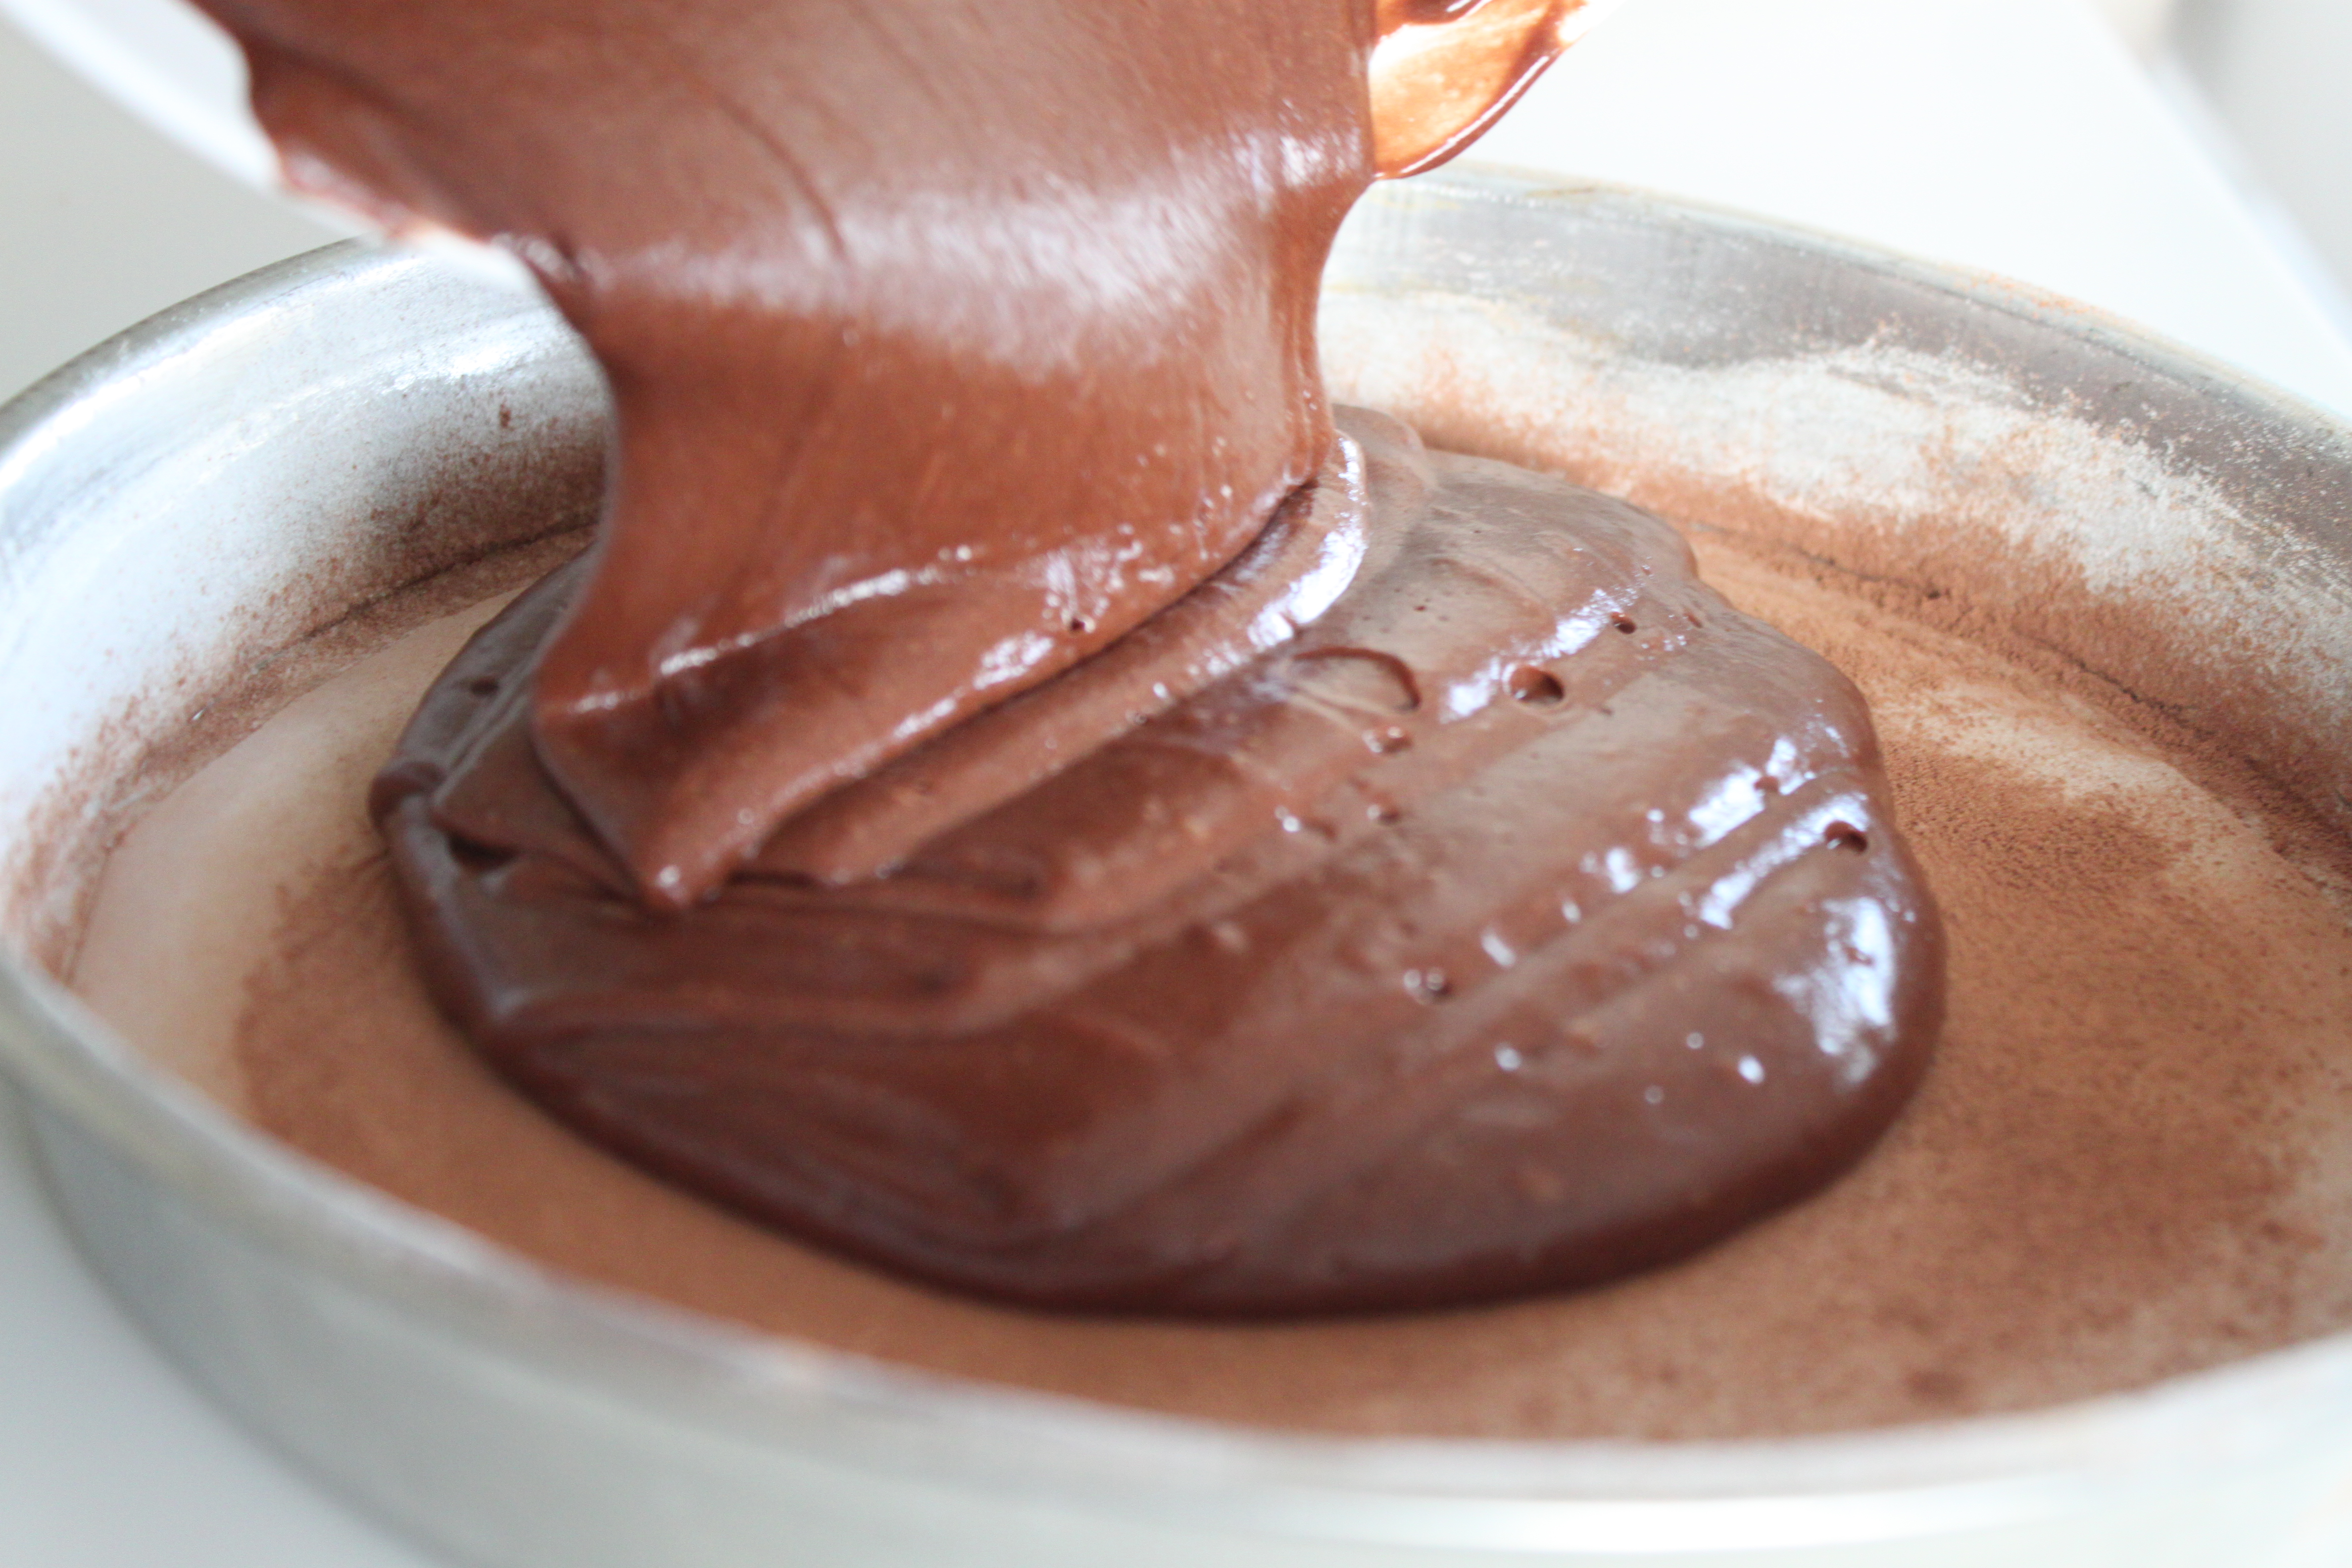
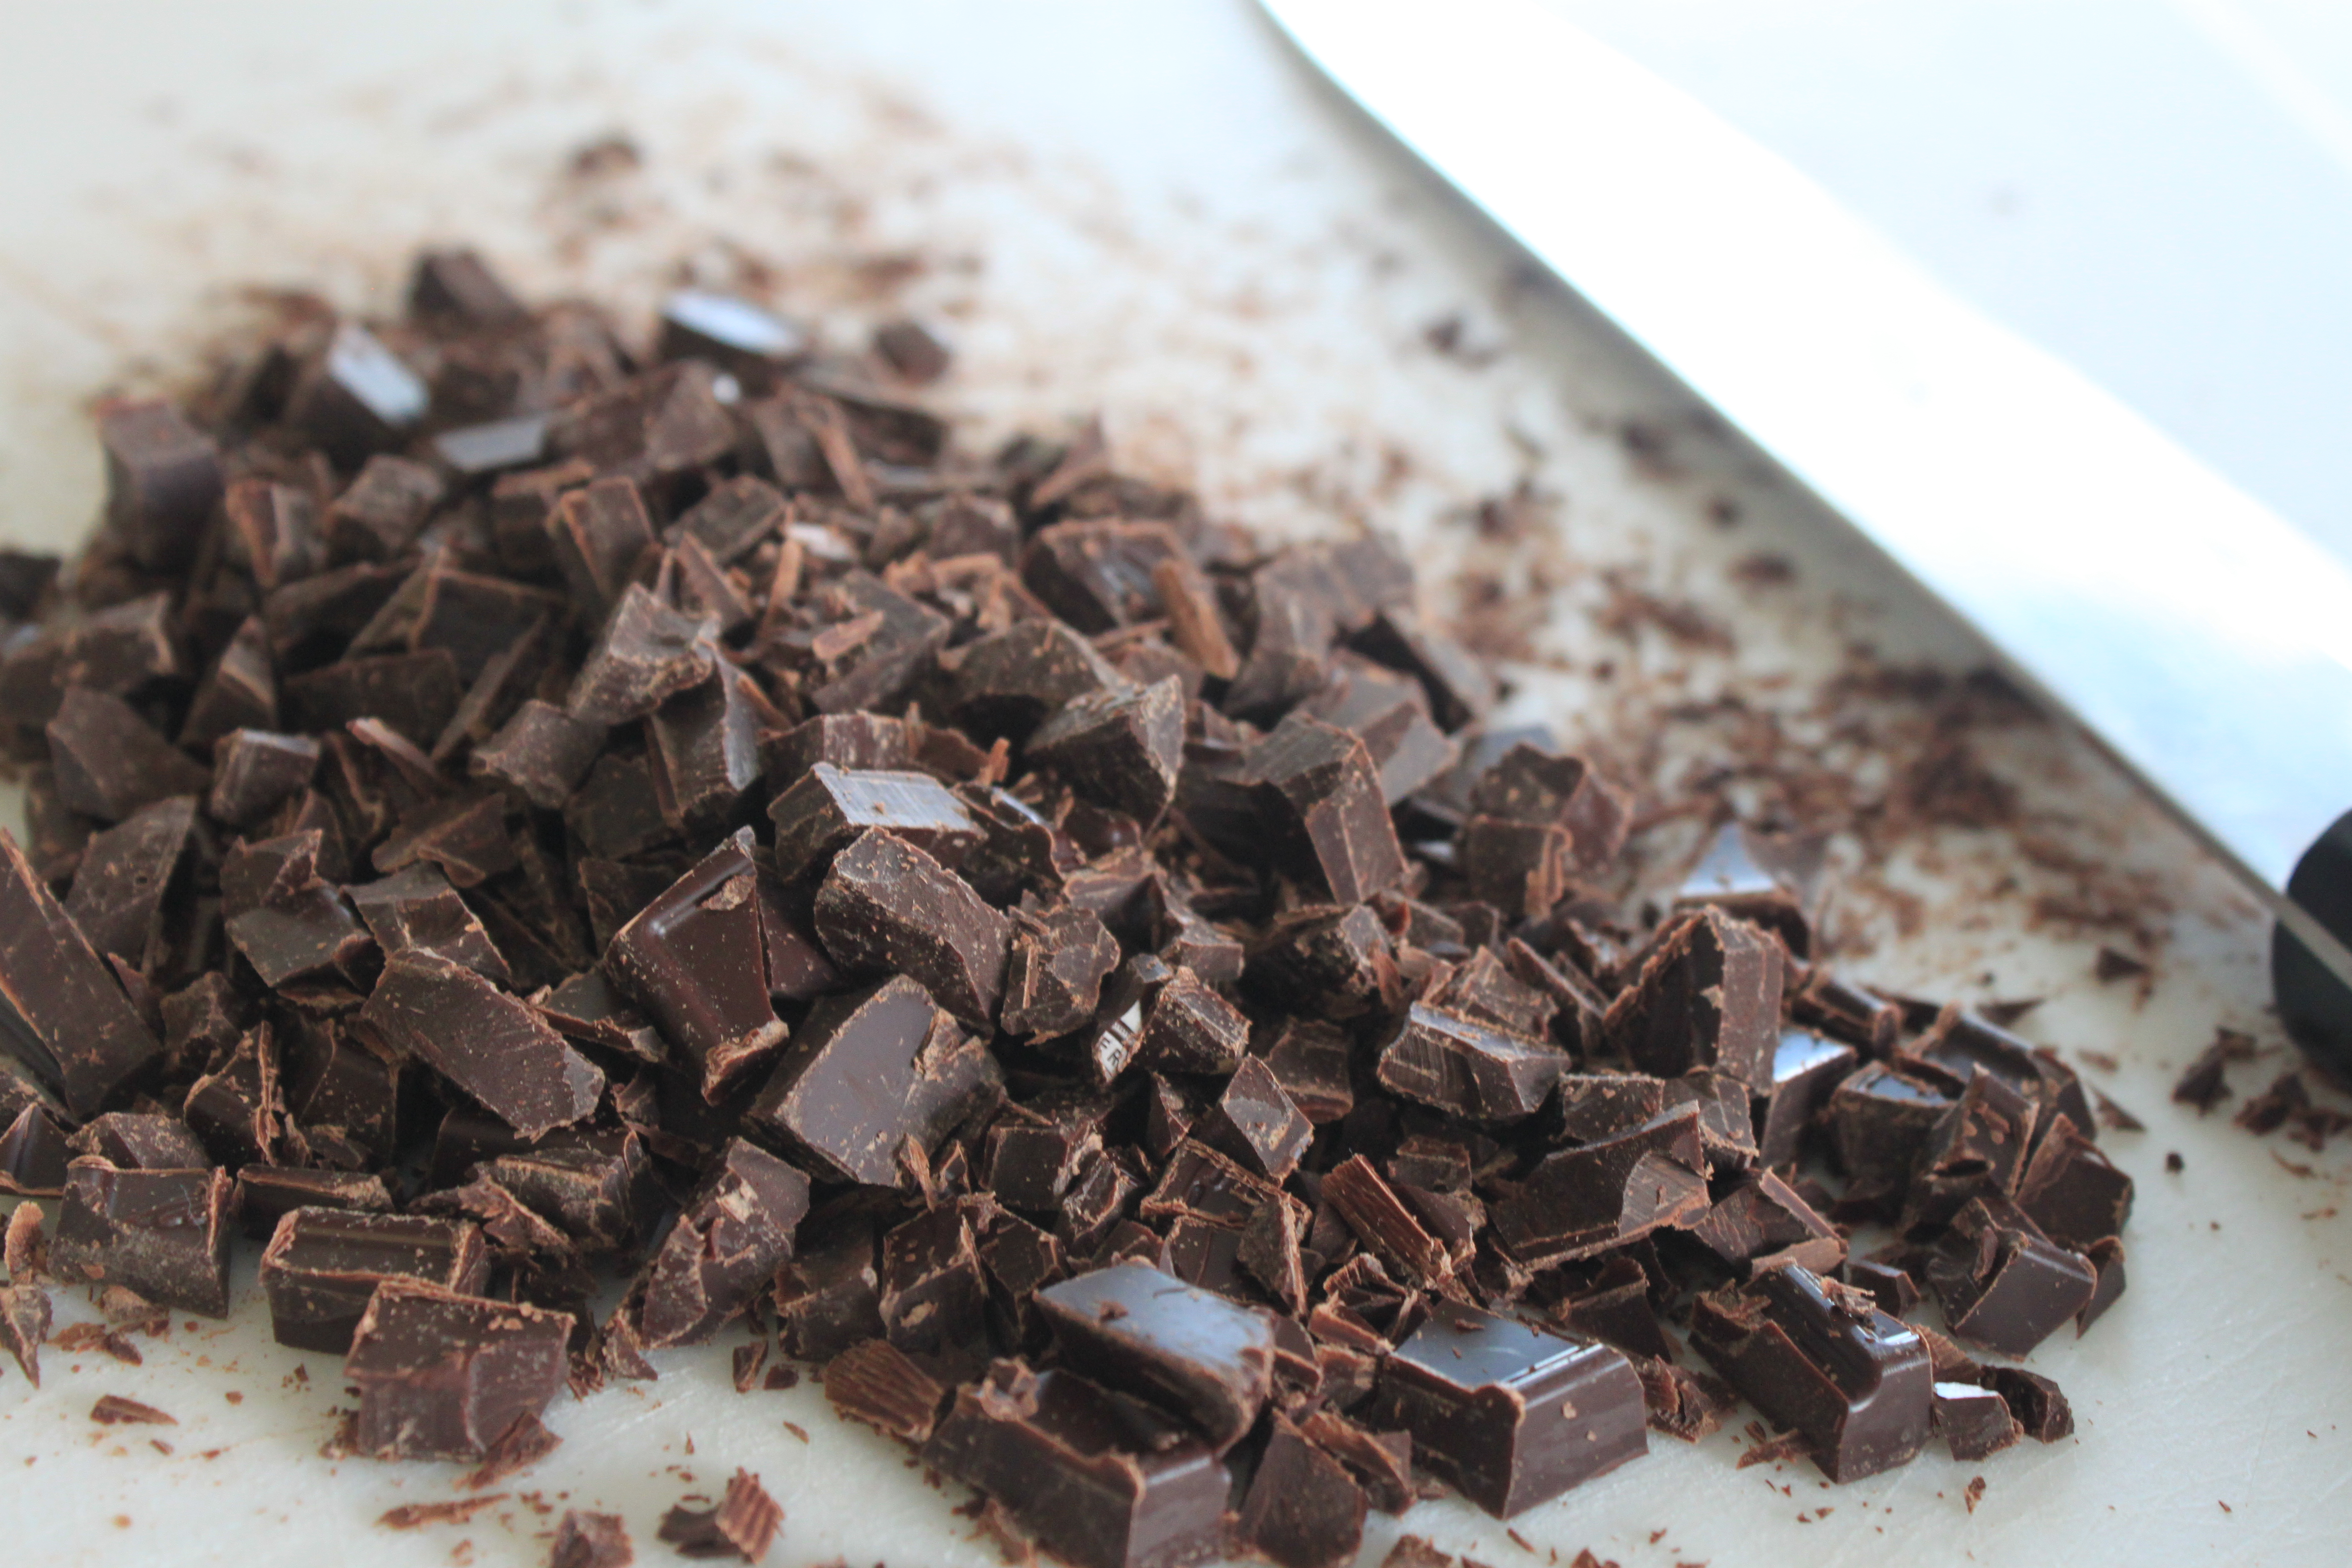
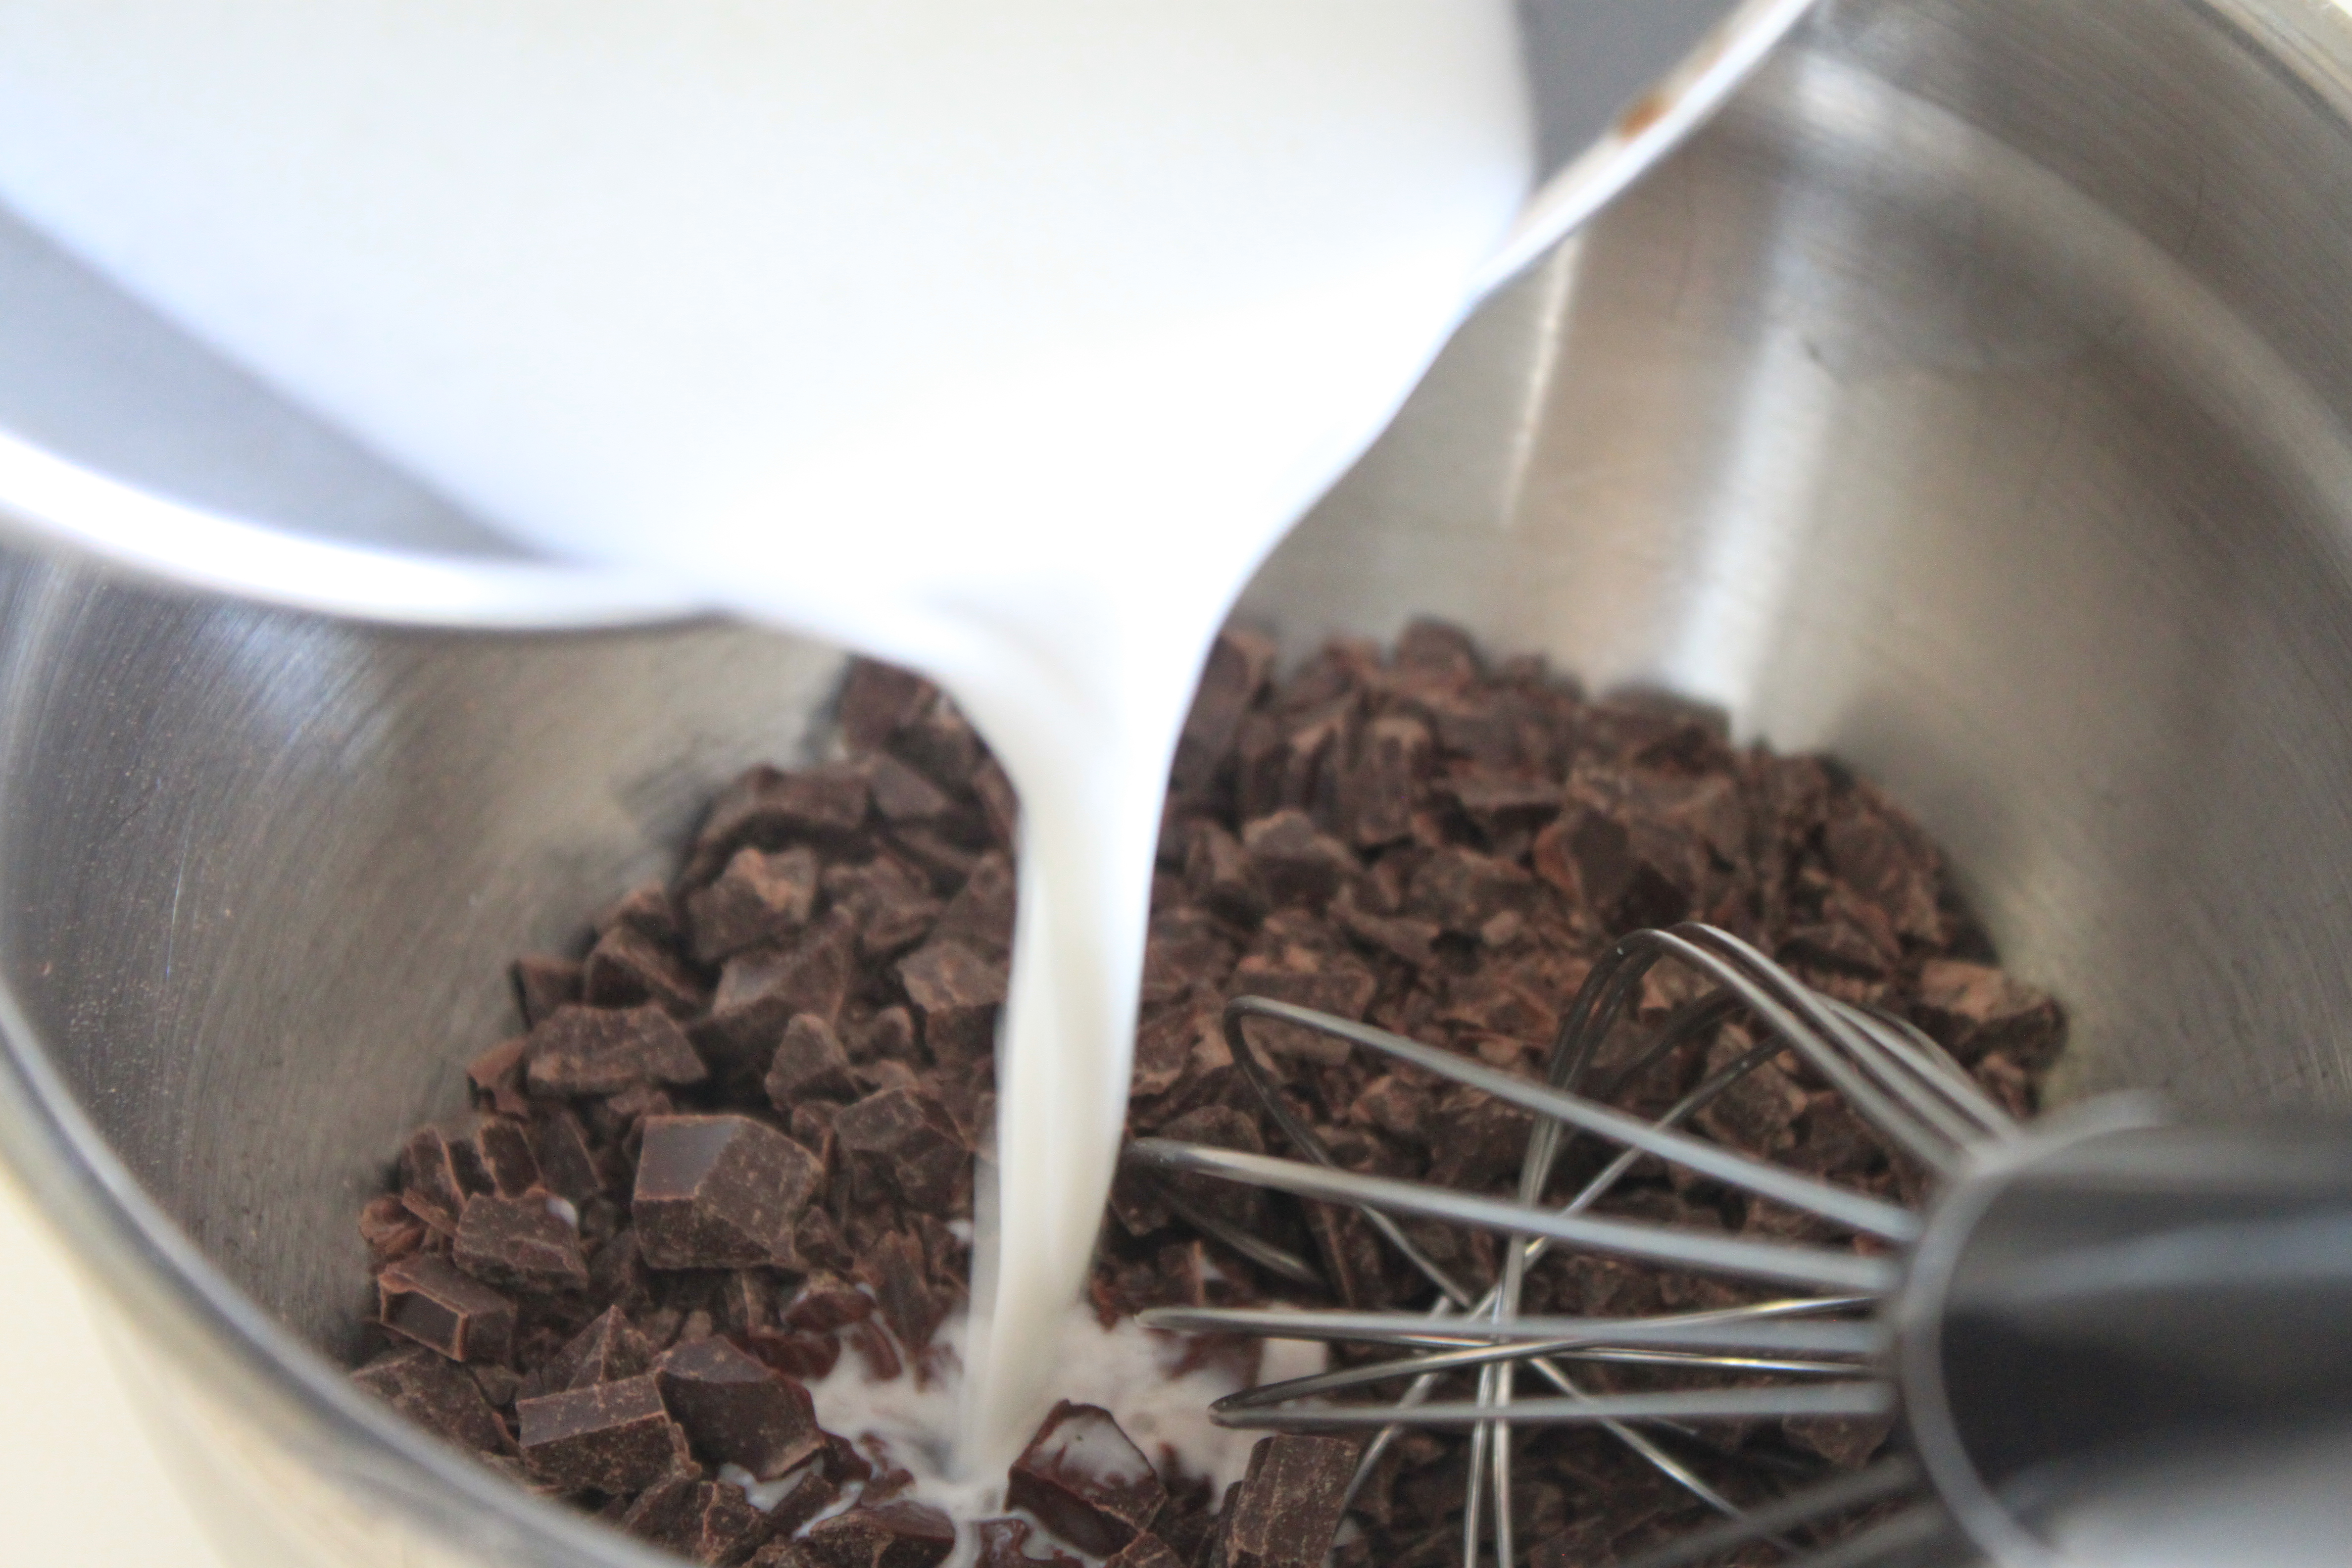
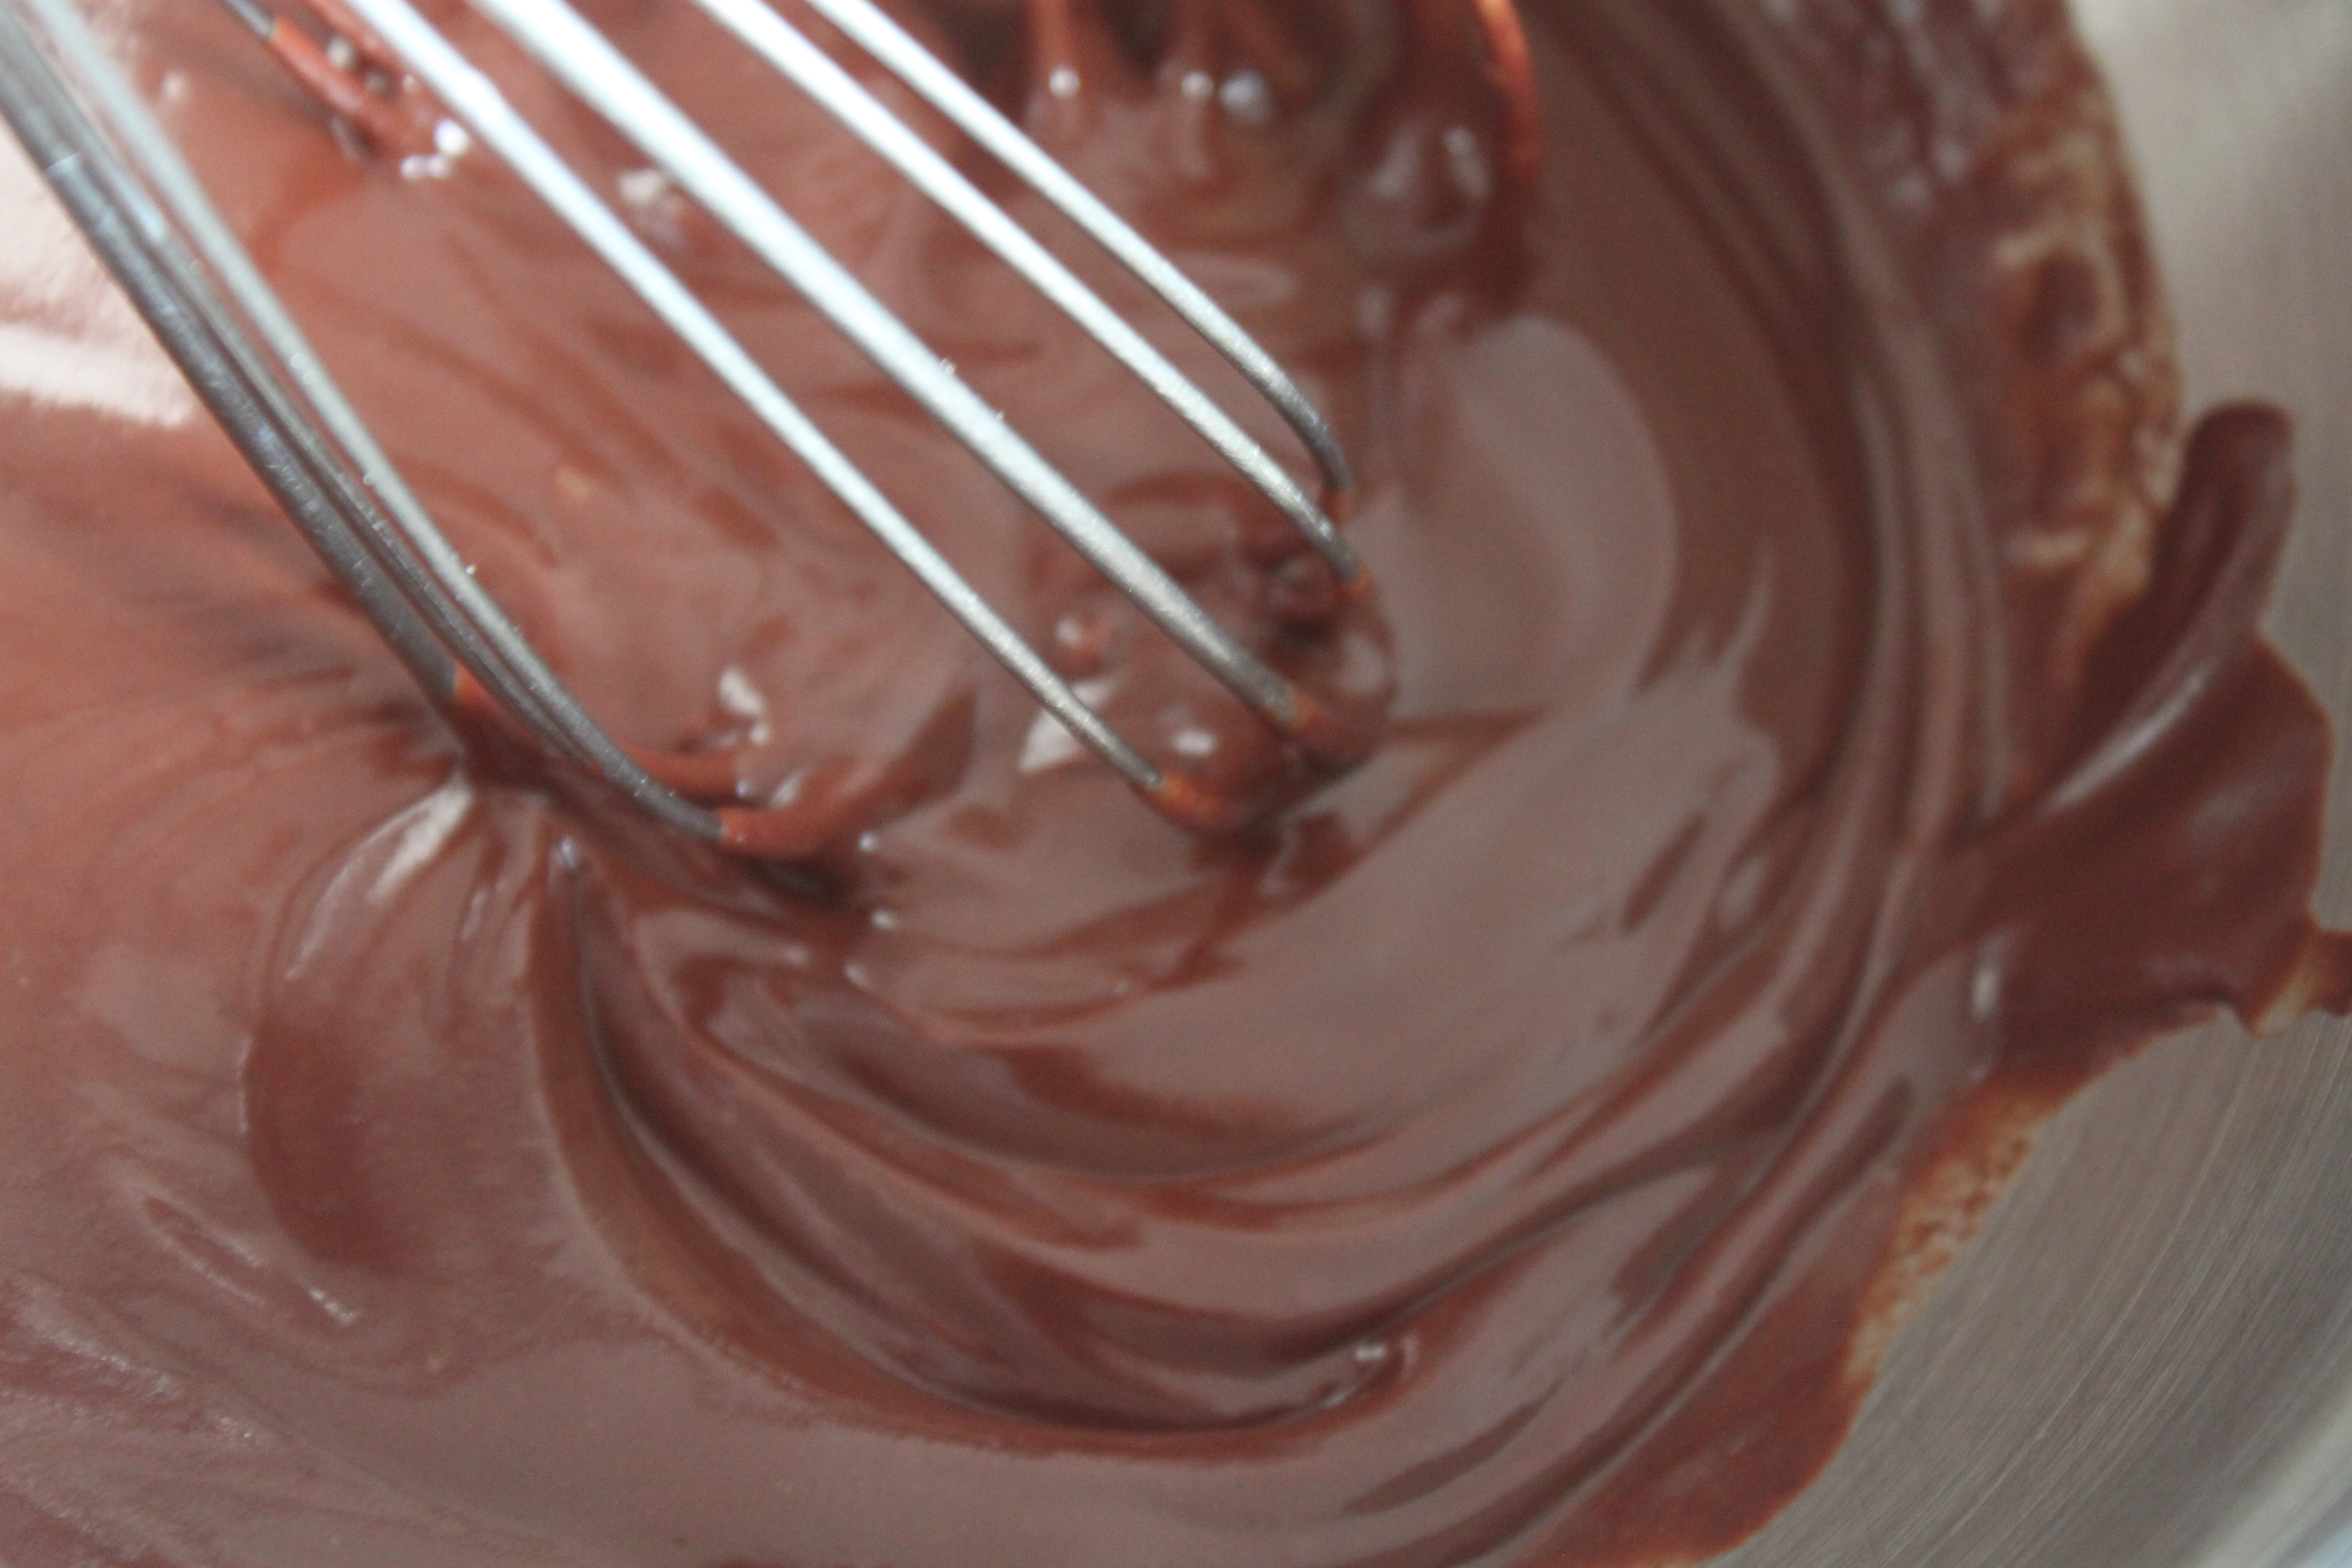
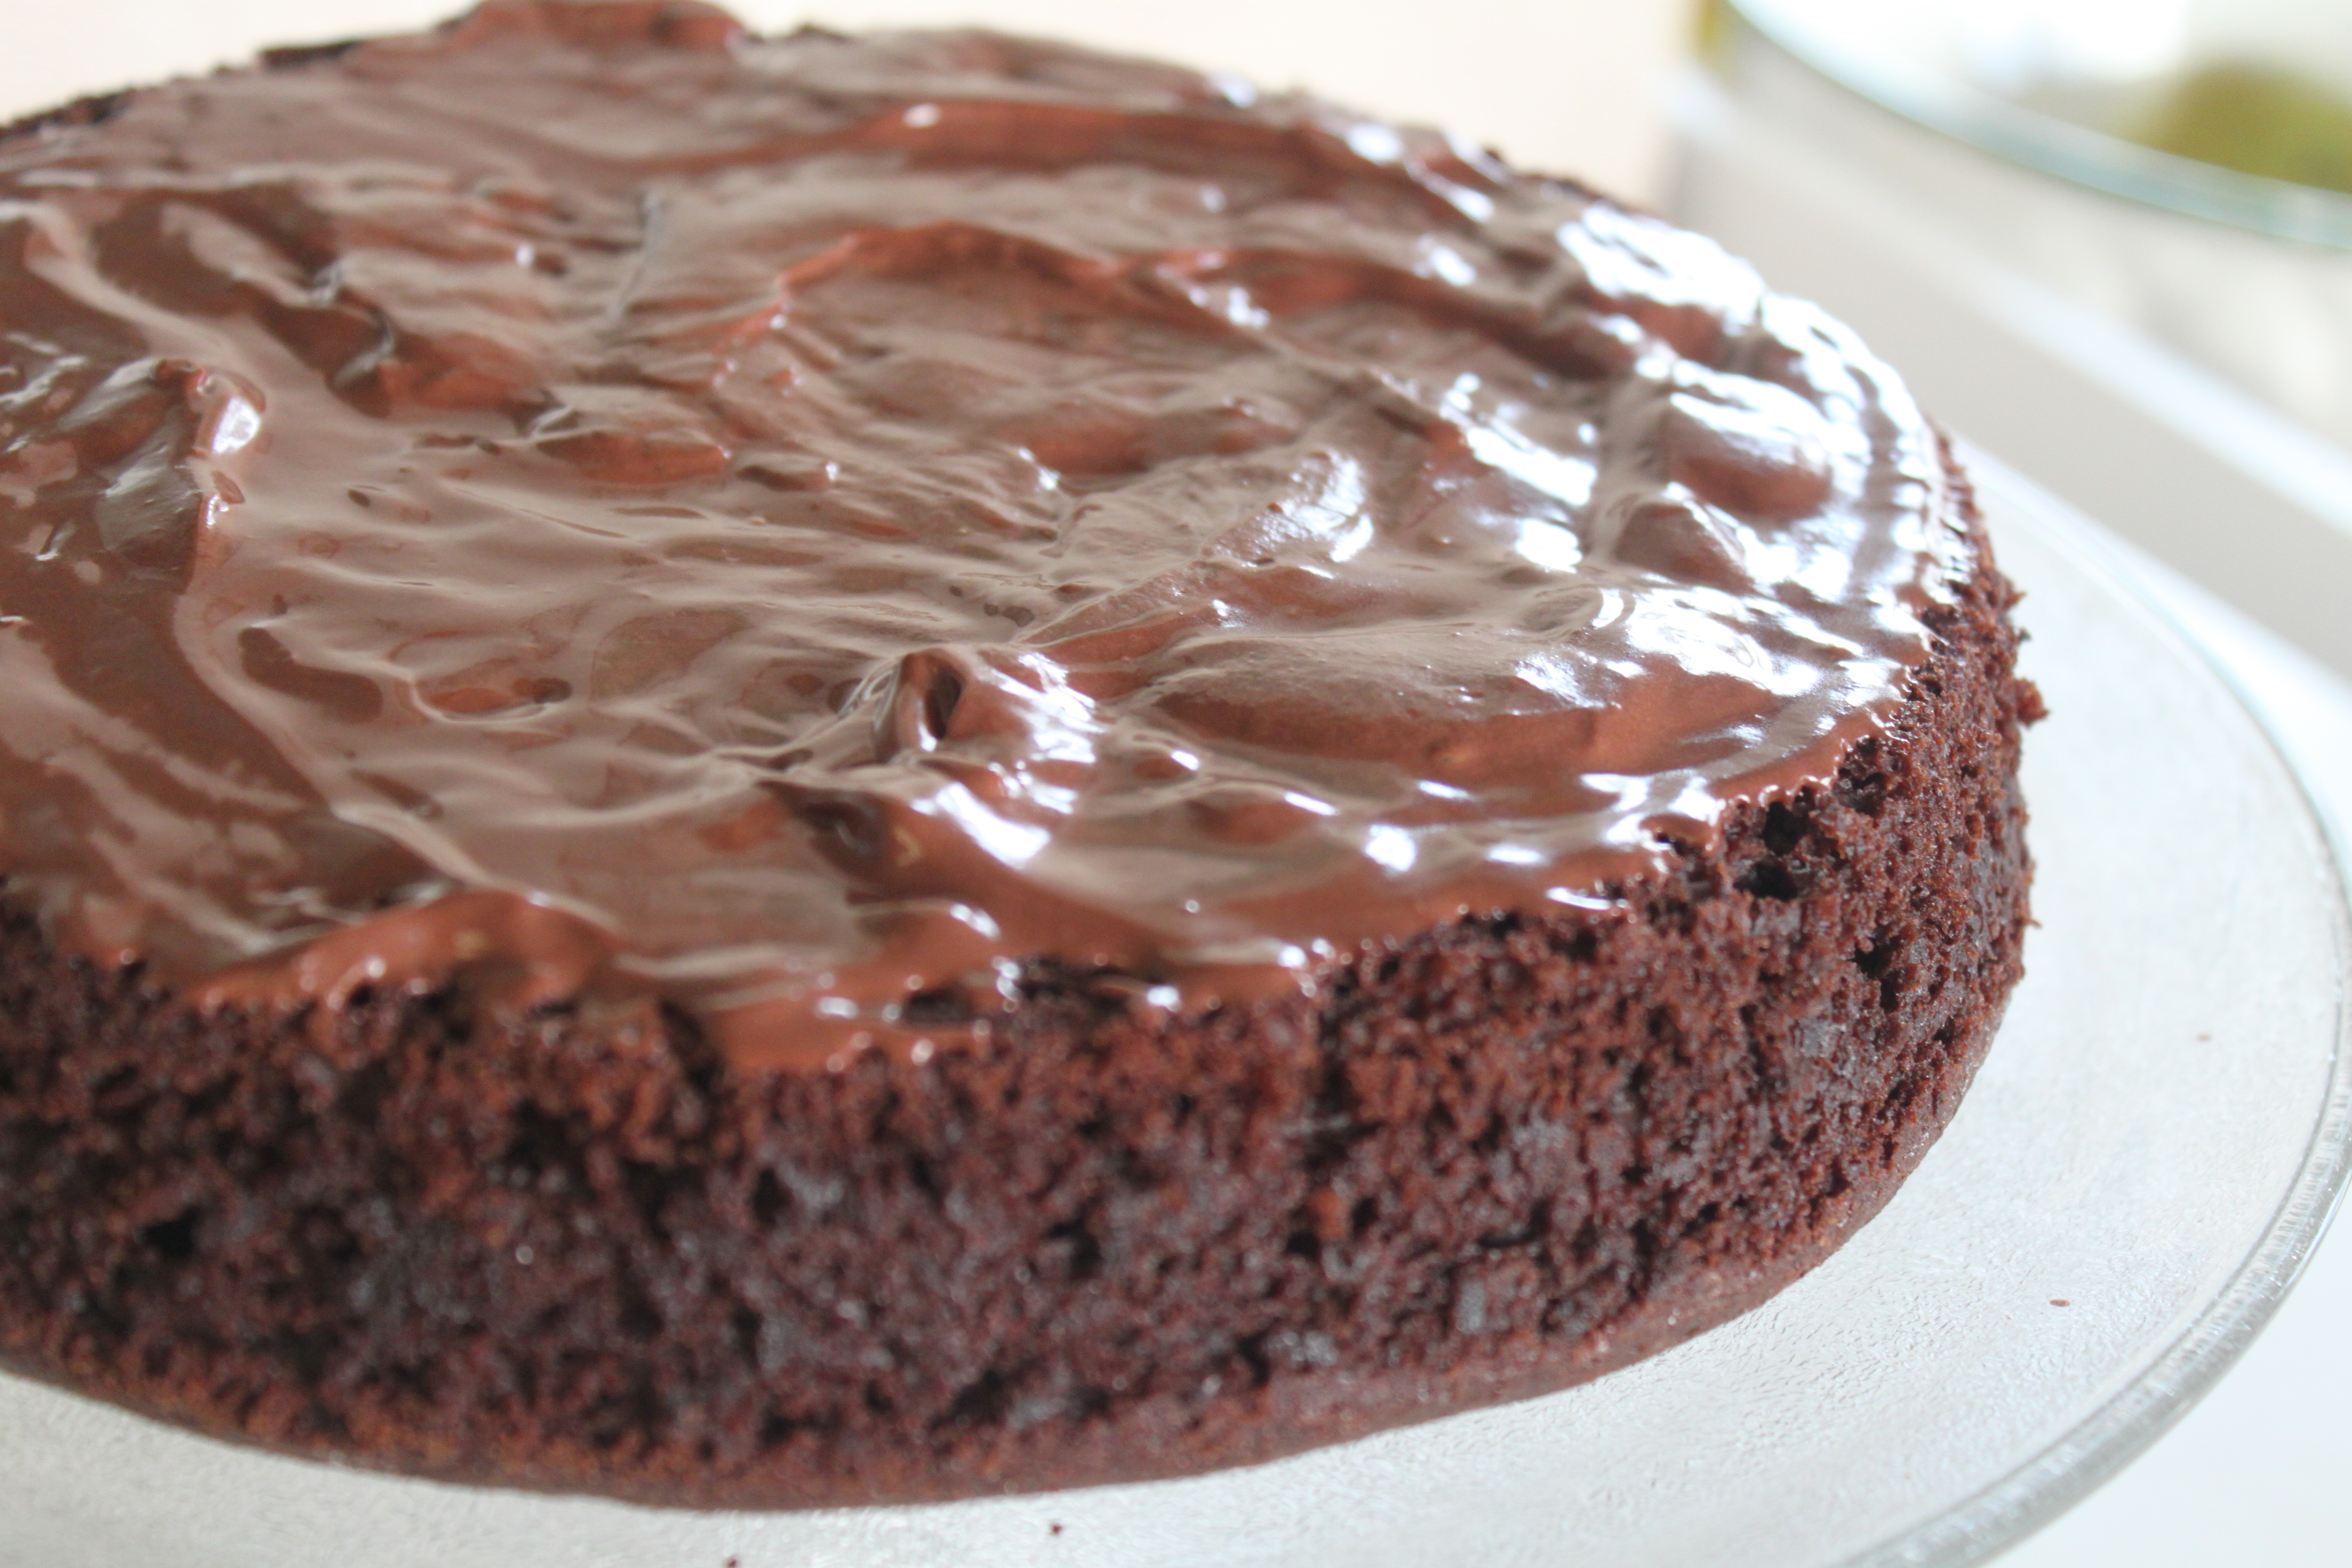
To prepare the ganache, chop the bar of chocolate. Place the chocolate in a small bowl and set aside. Mix the water and heavy cream powder until dissolved and heat over medium heat, watching closely, until just boiling. Pour hot cream mixture over chocolate and whisk until smooth. If preparing a layered cake, divide, using half of the ganache between layers and the other half poured over the top, starting in the center of the cake and working outward.
***
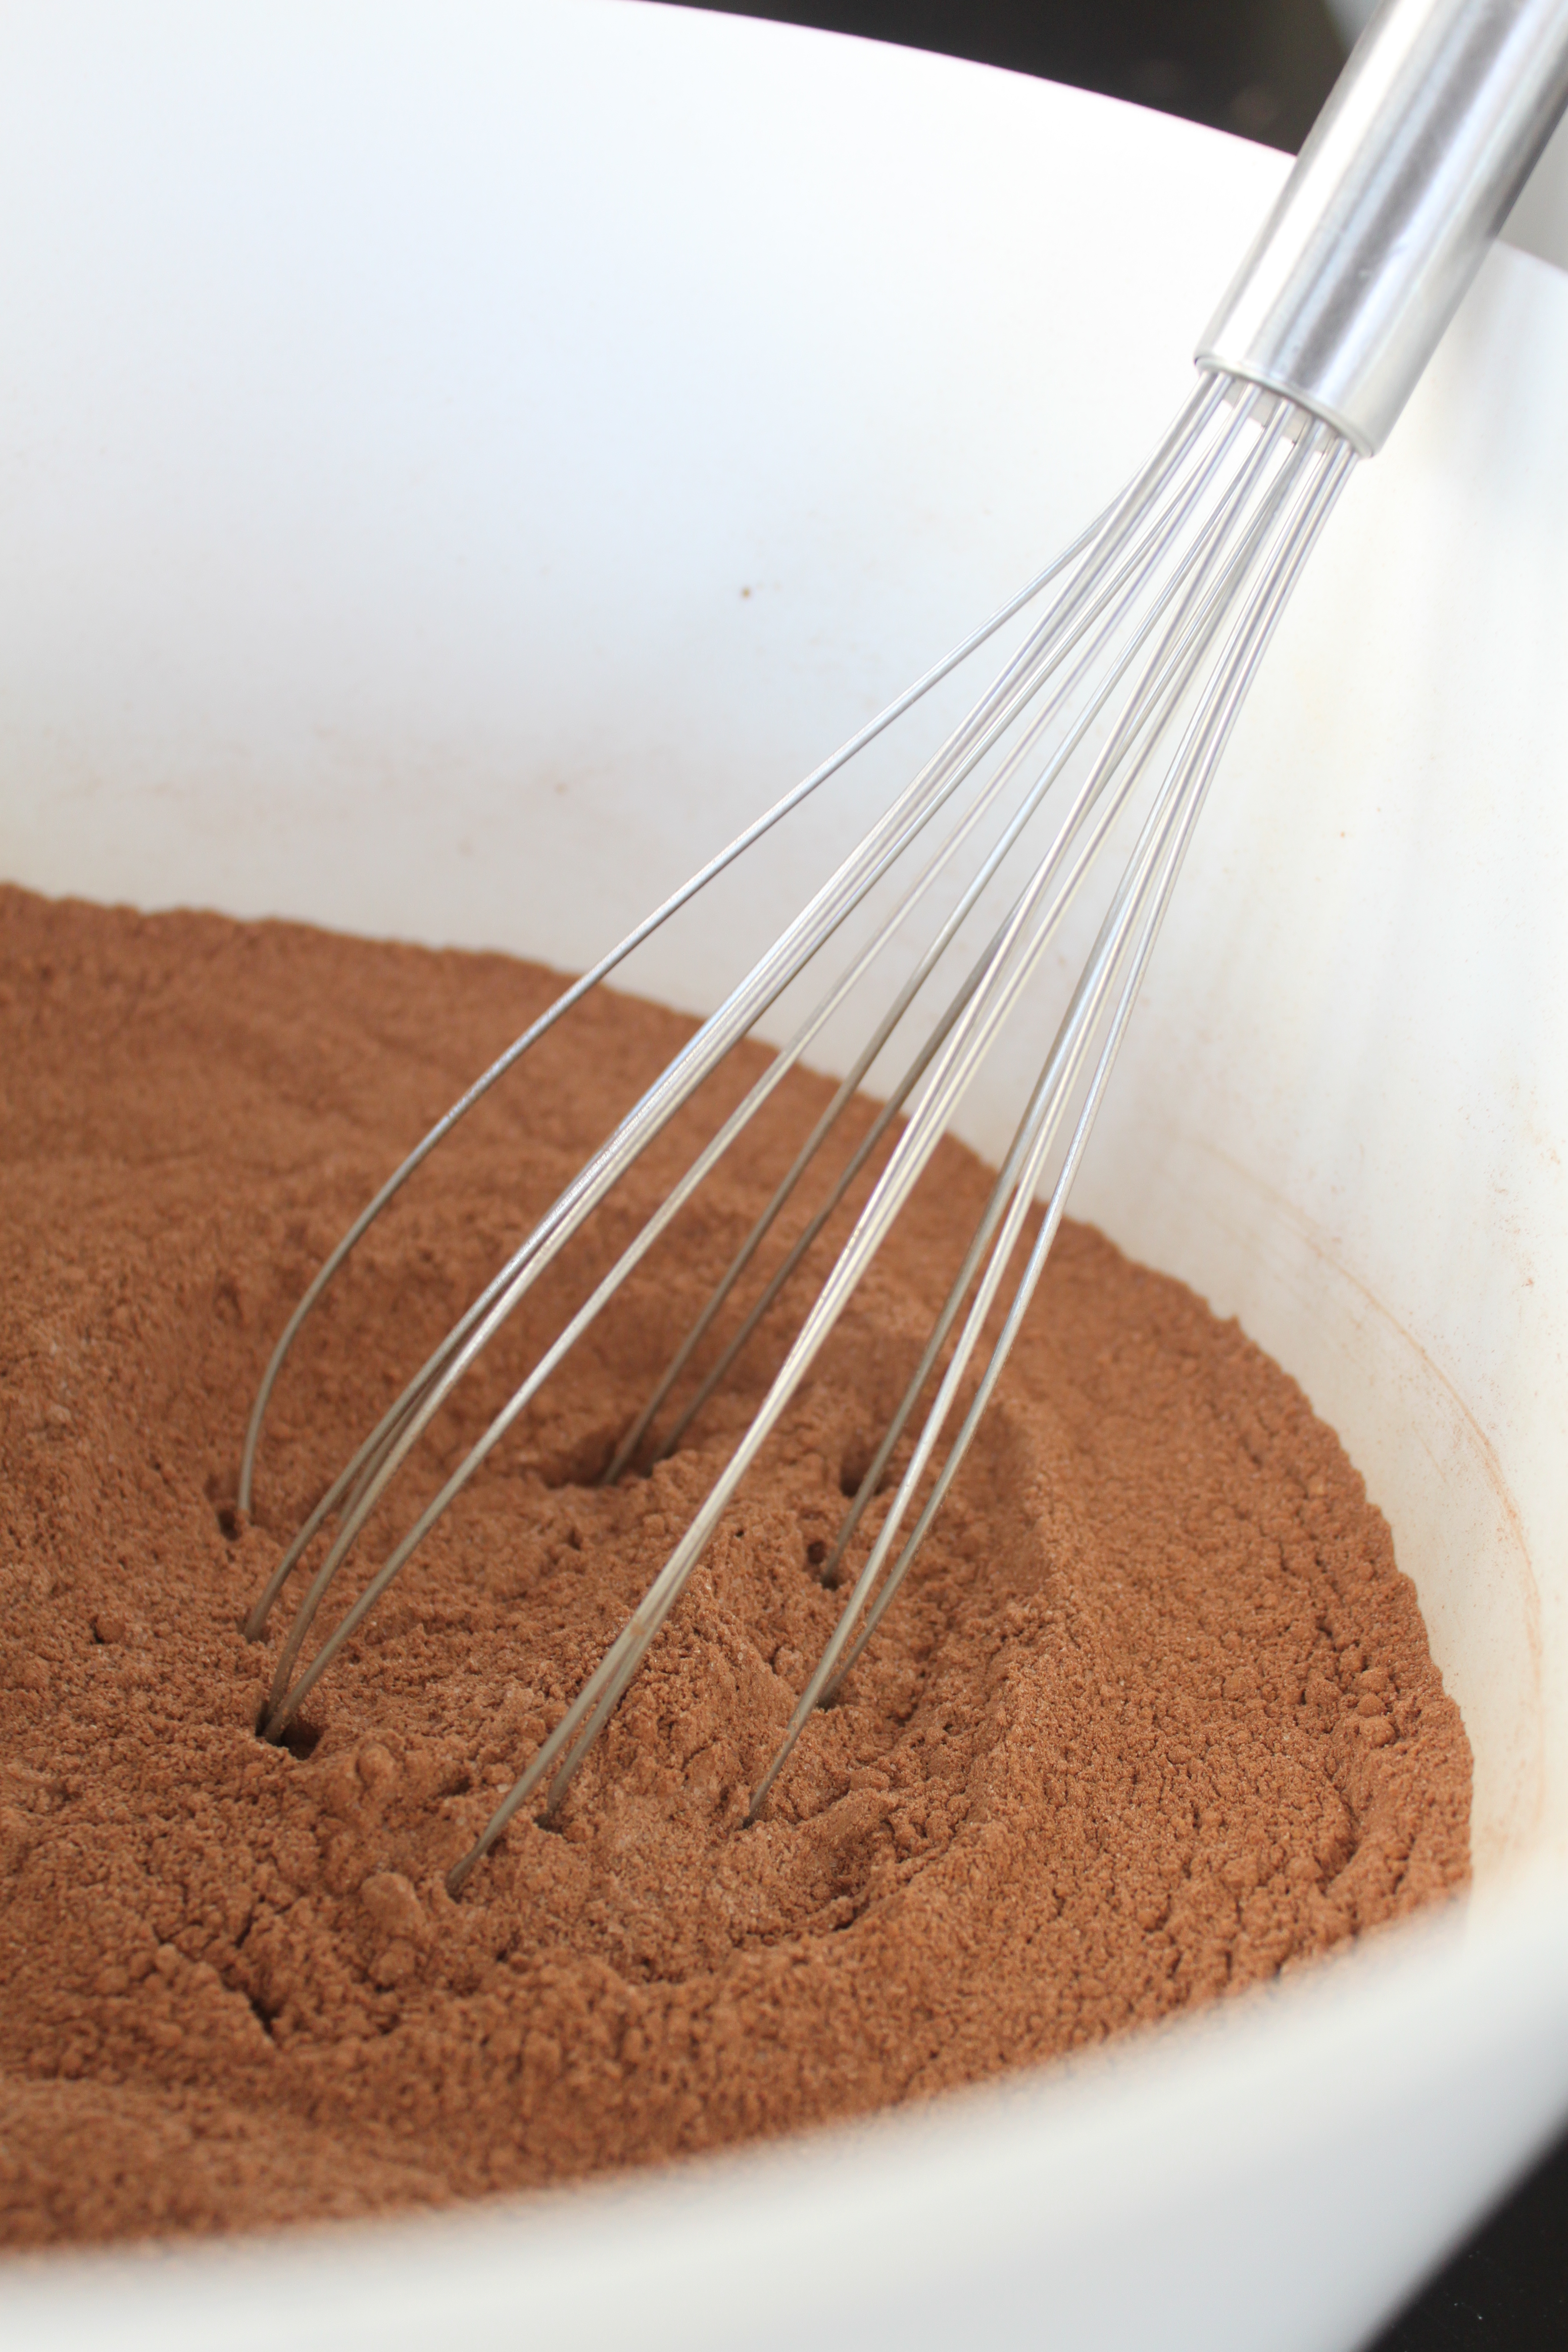
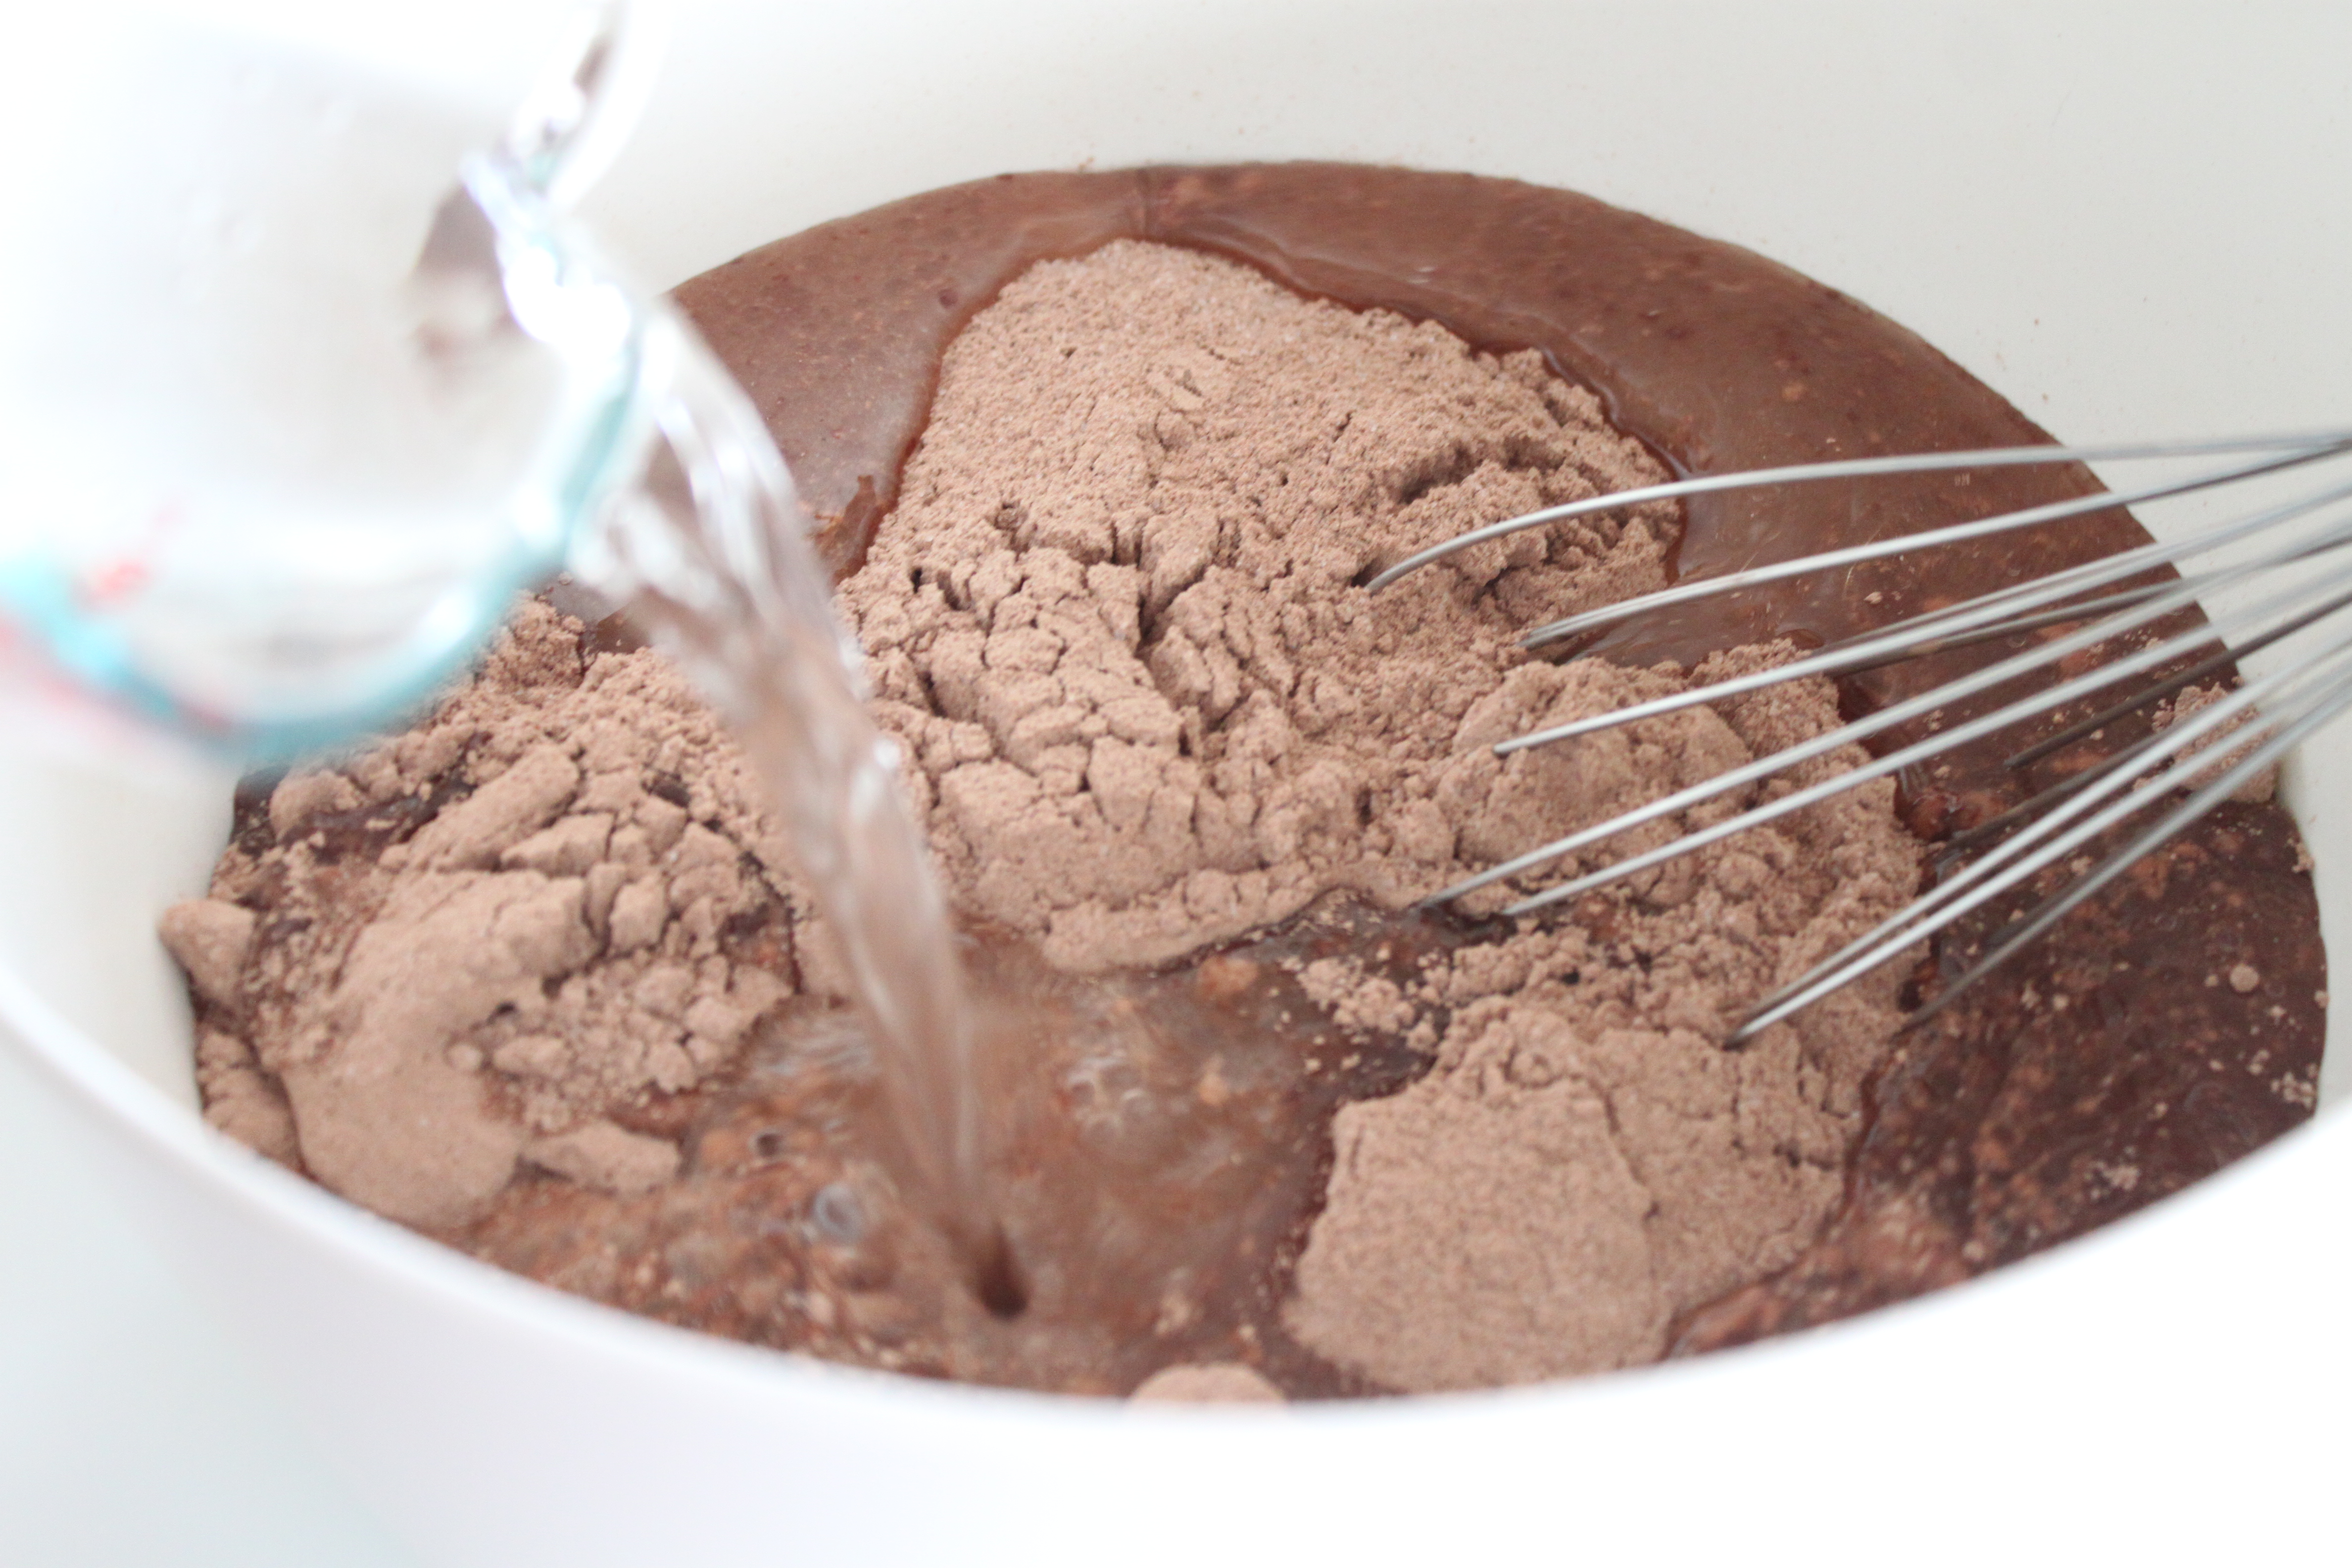
Mix the dry ingredients, making sure to sift everything that needs sifting. I’d sift it all again once it’s stirred together just to be sure there aren’t any lumps.
Store in a quart sized storage bag for up to a year (or probably longer).
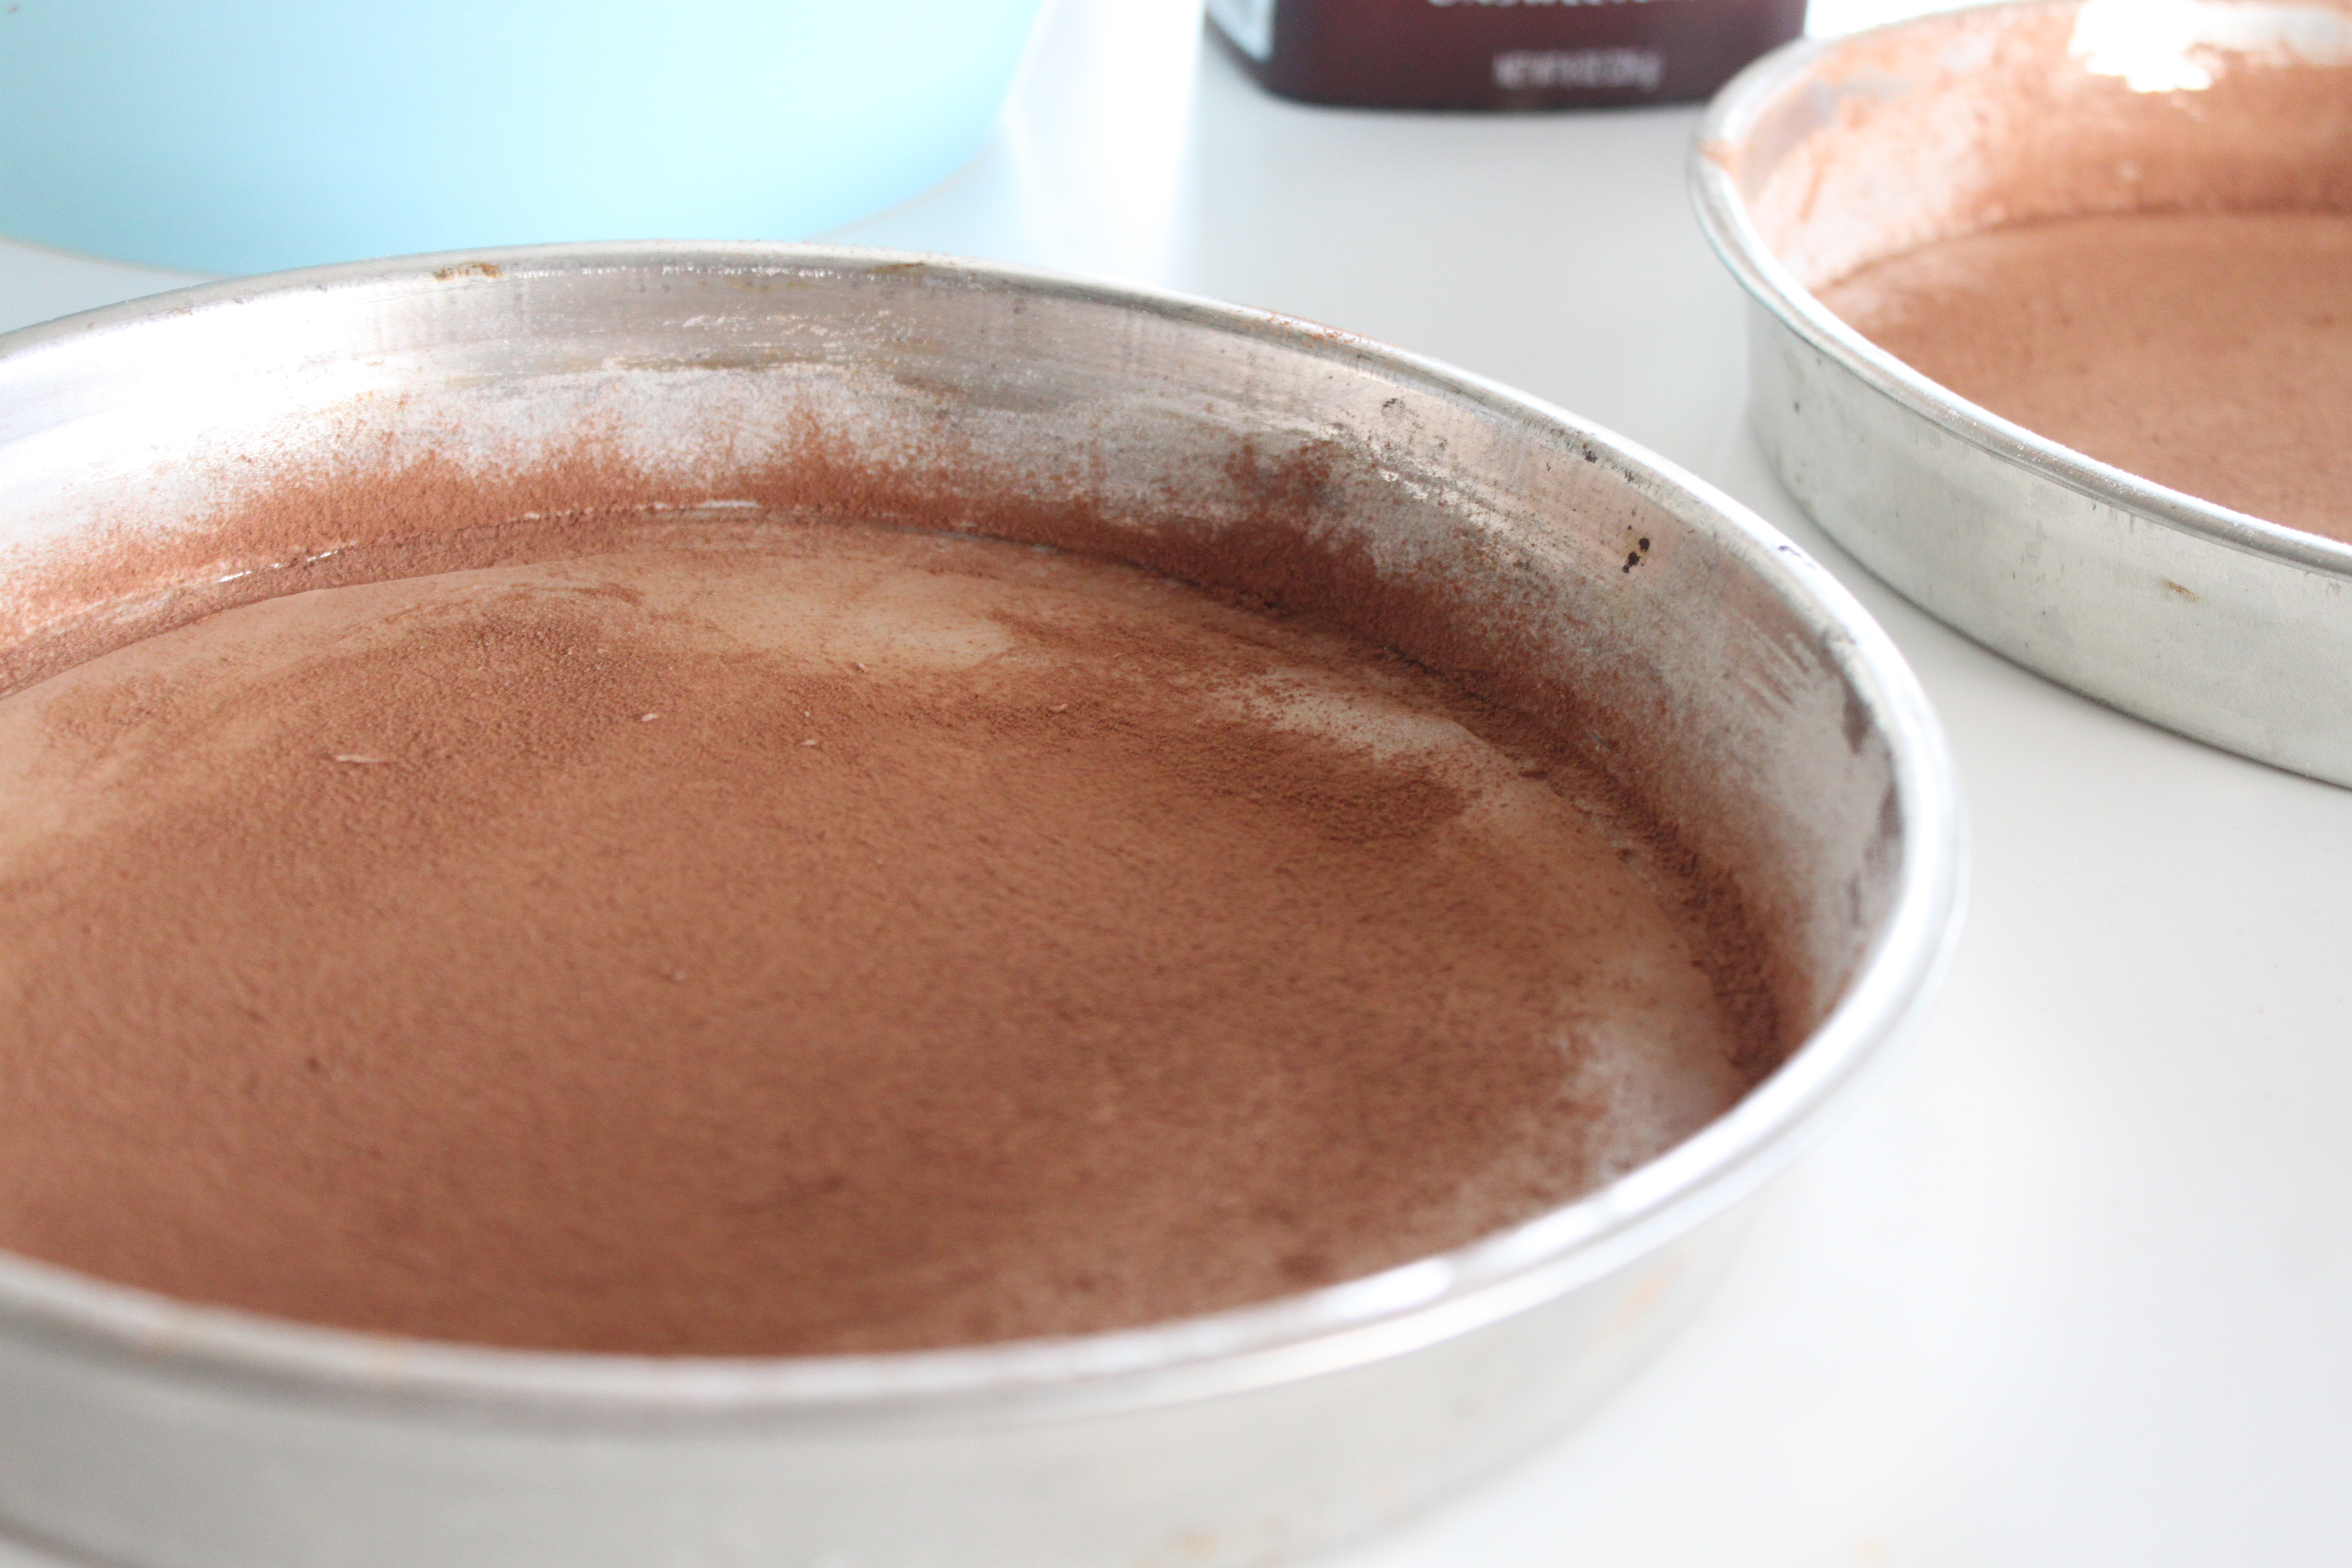
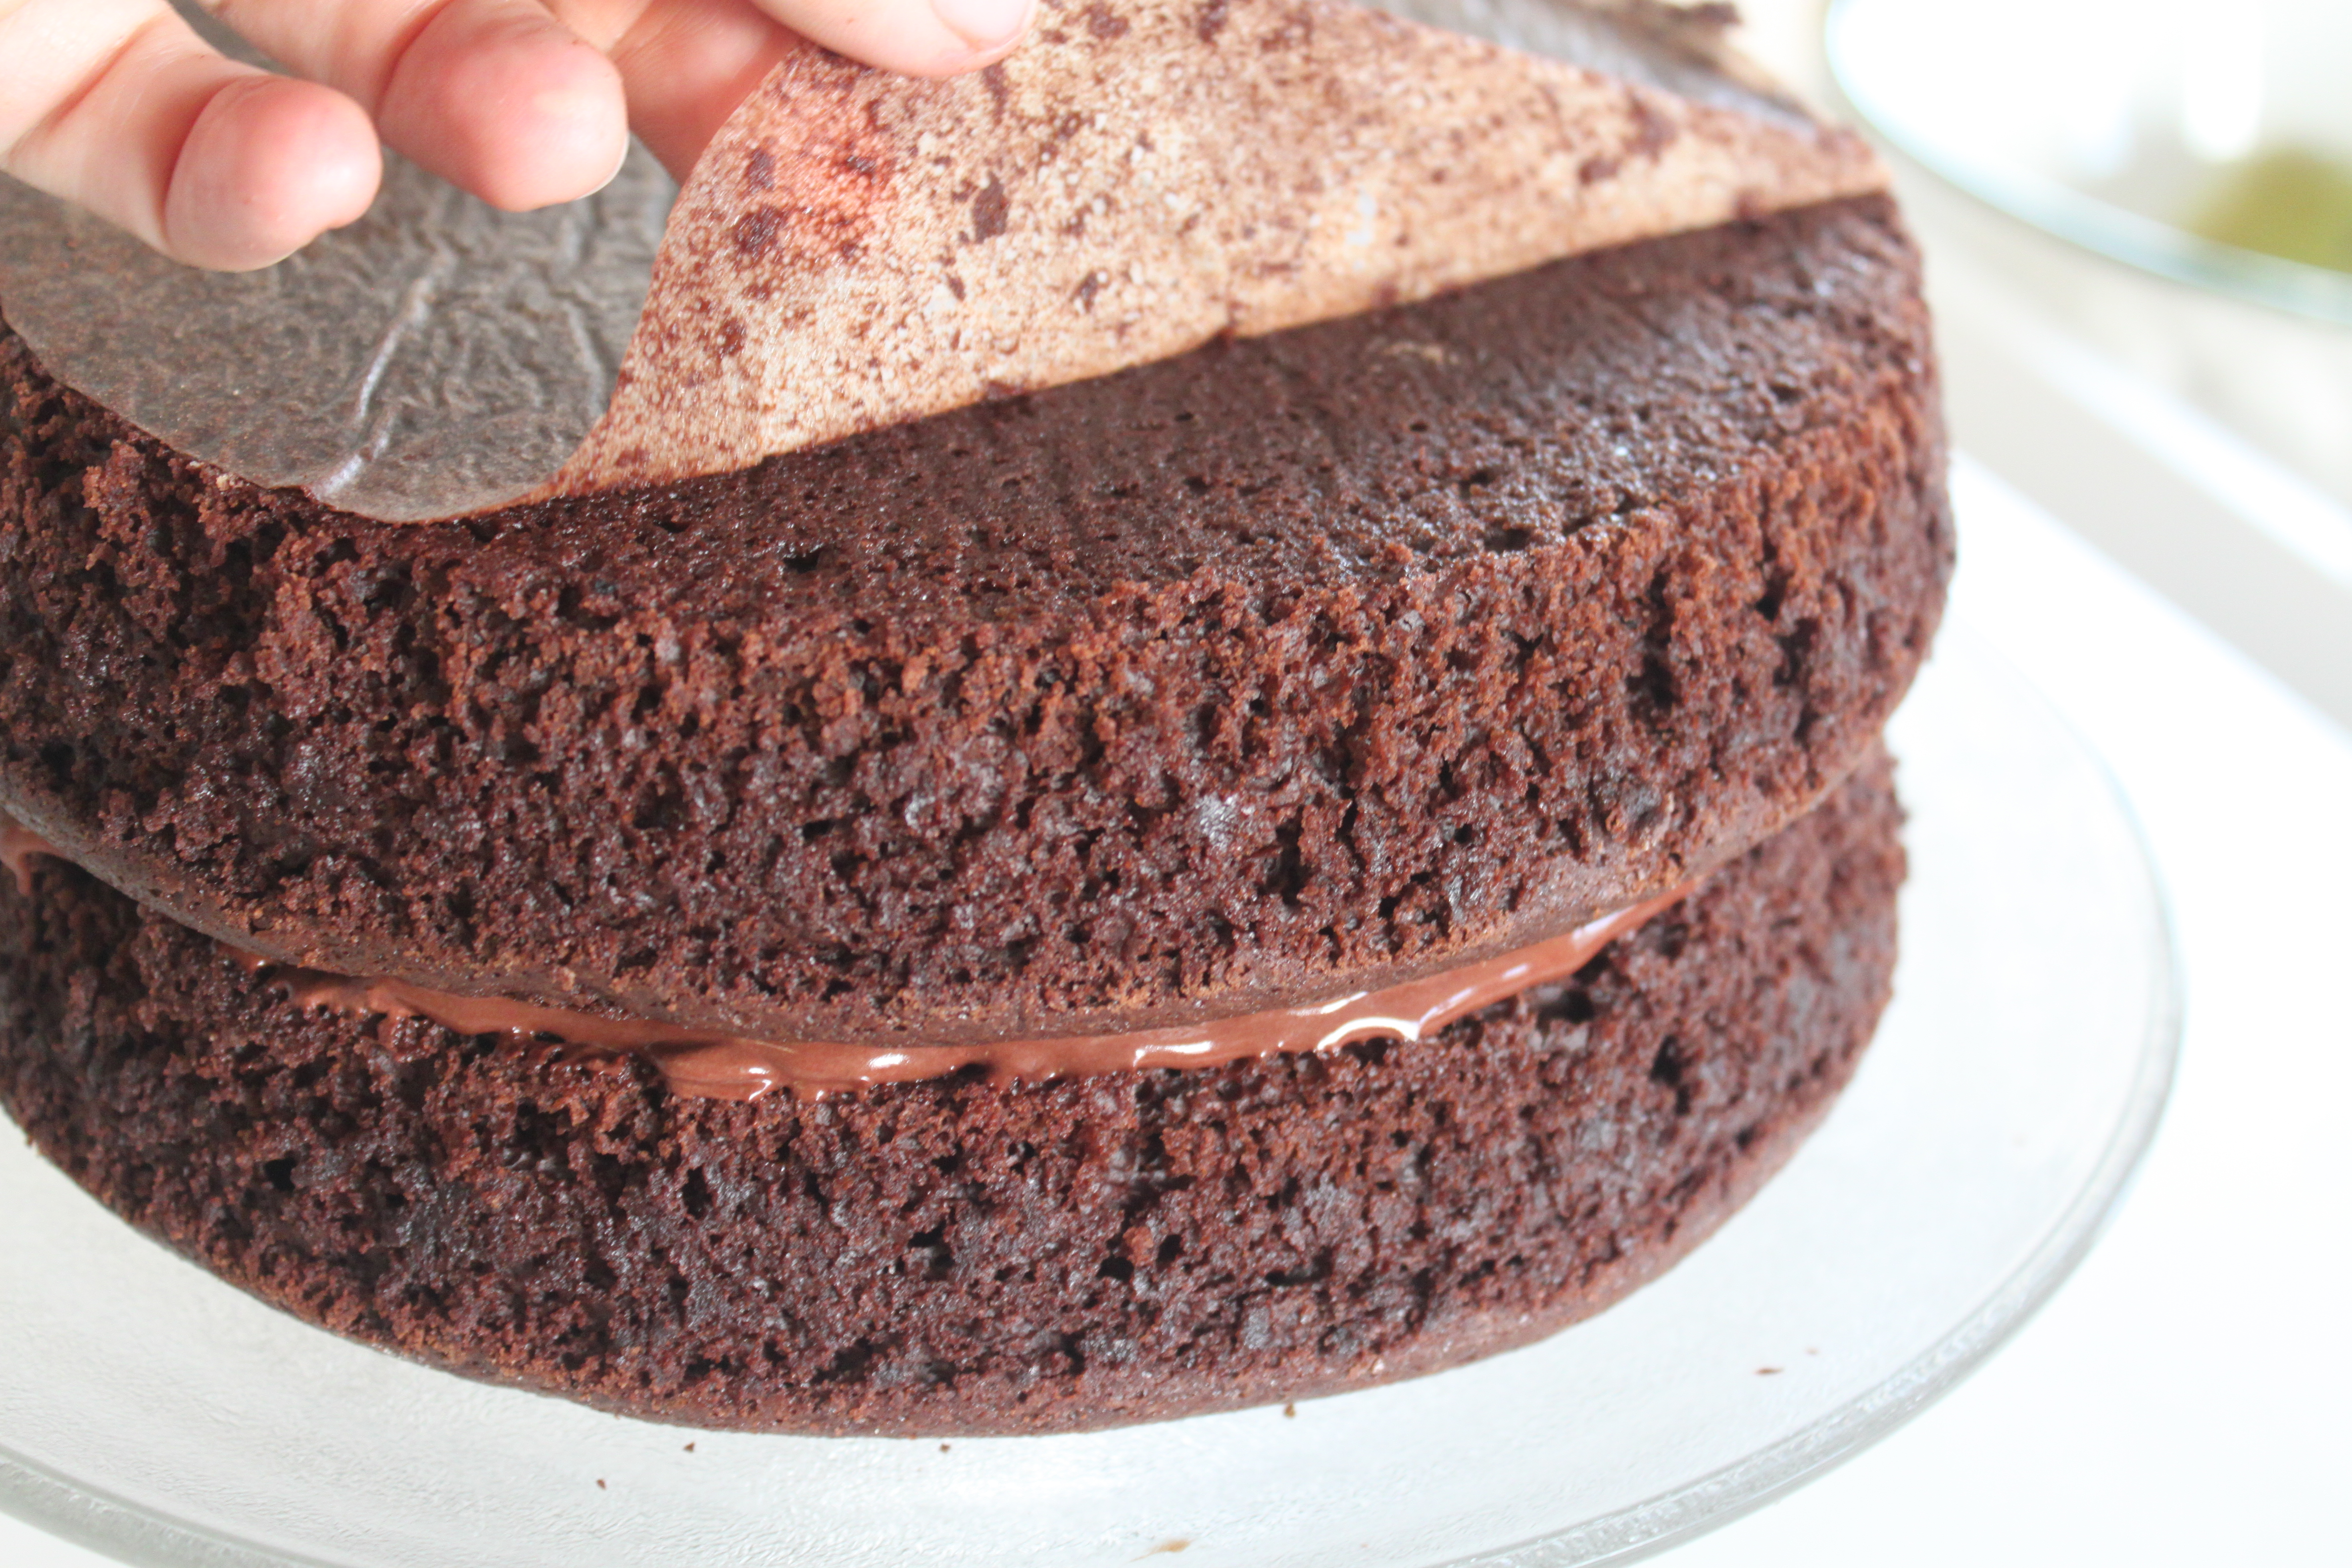
Once ready to bake, if you’re making a layered cake, do yourself a favor and prepare the pans right so your cake comes out clean (*see notes). I decided to dust the pans lightly with cocoa this time since it’s a chocolate cake.
Add in the water and oil, stirring well, and pour the batter into pan(s).
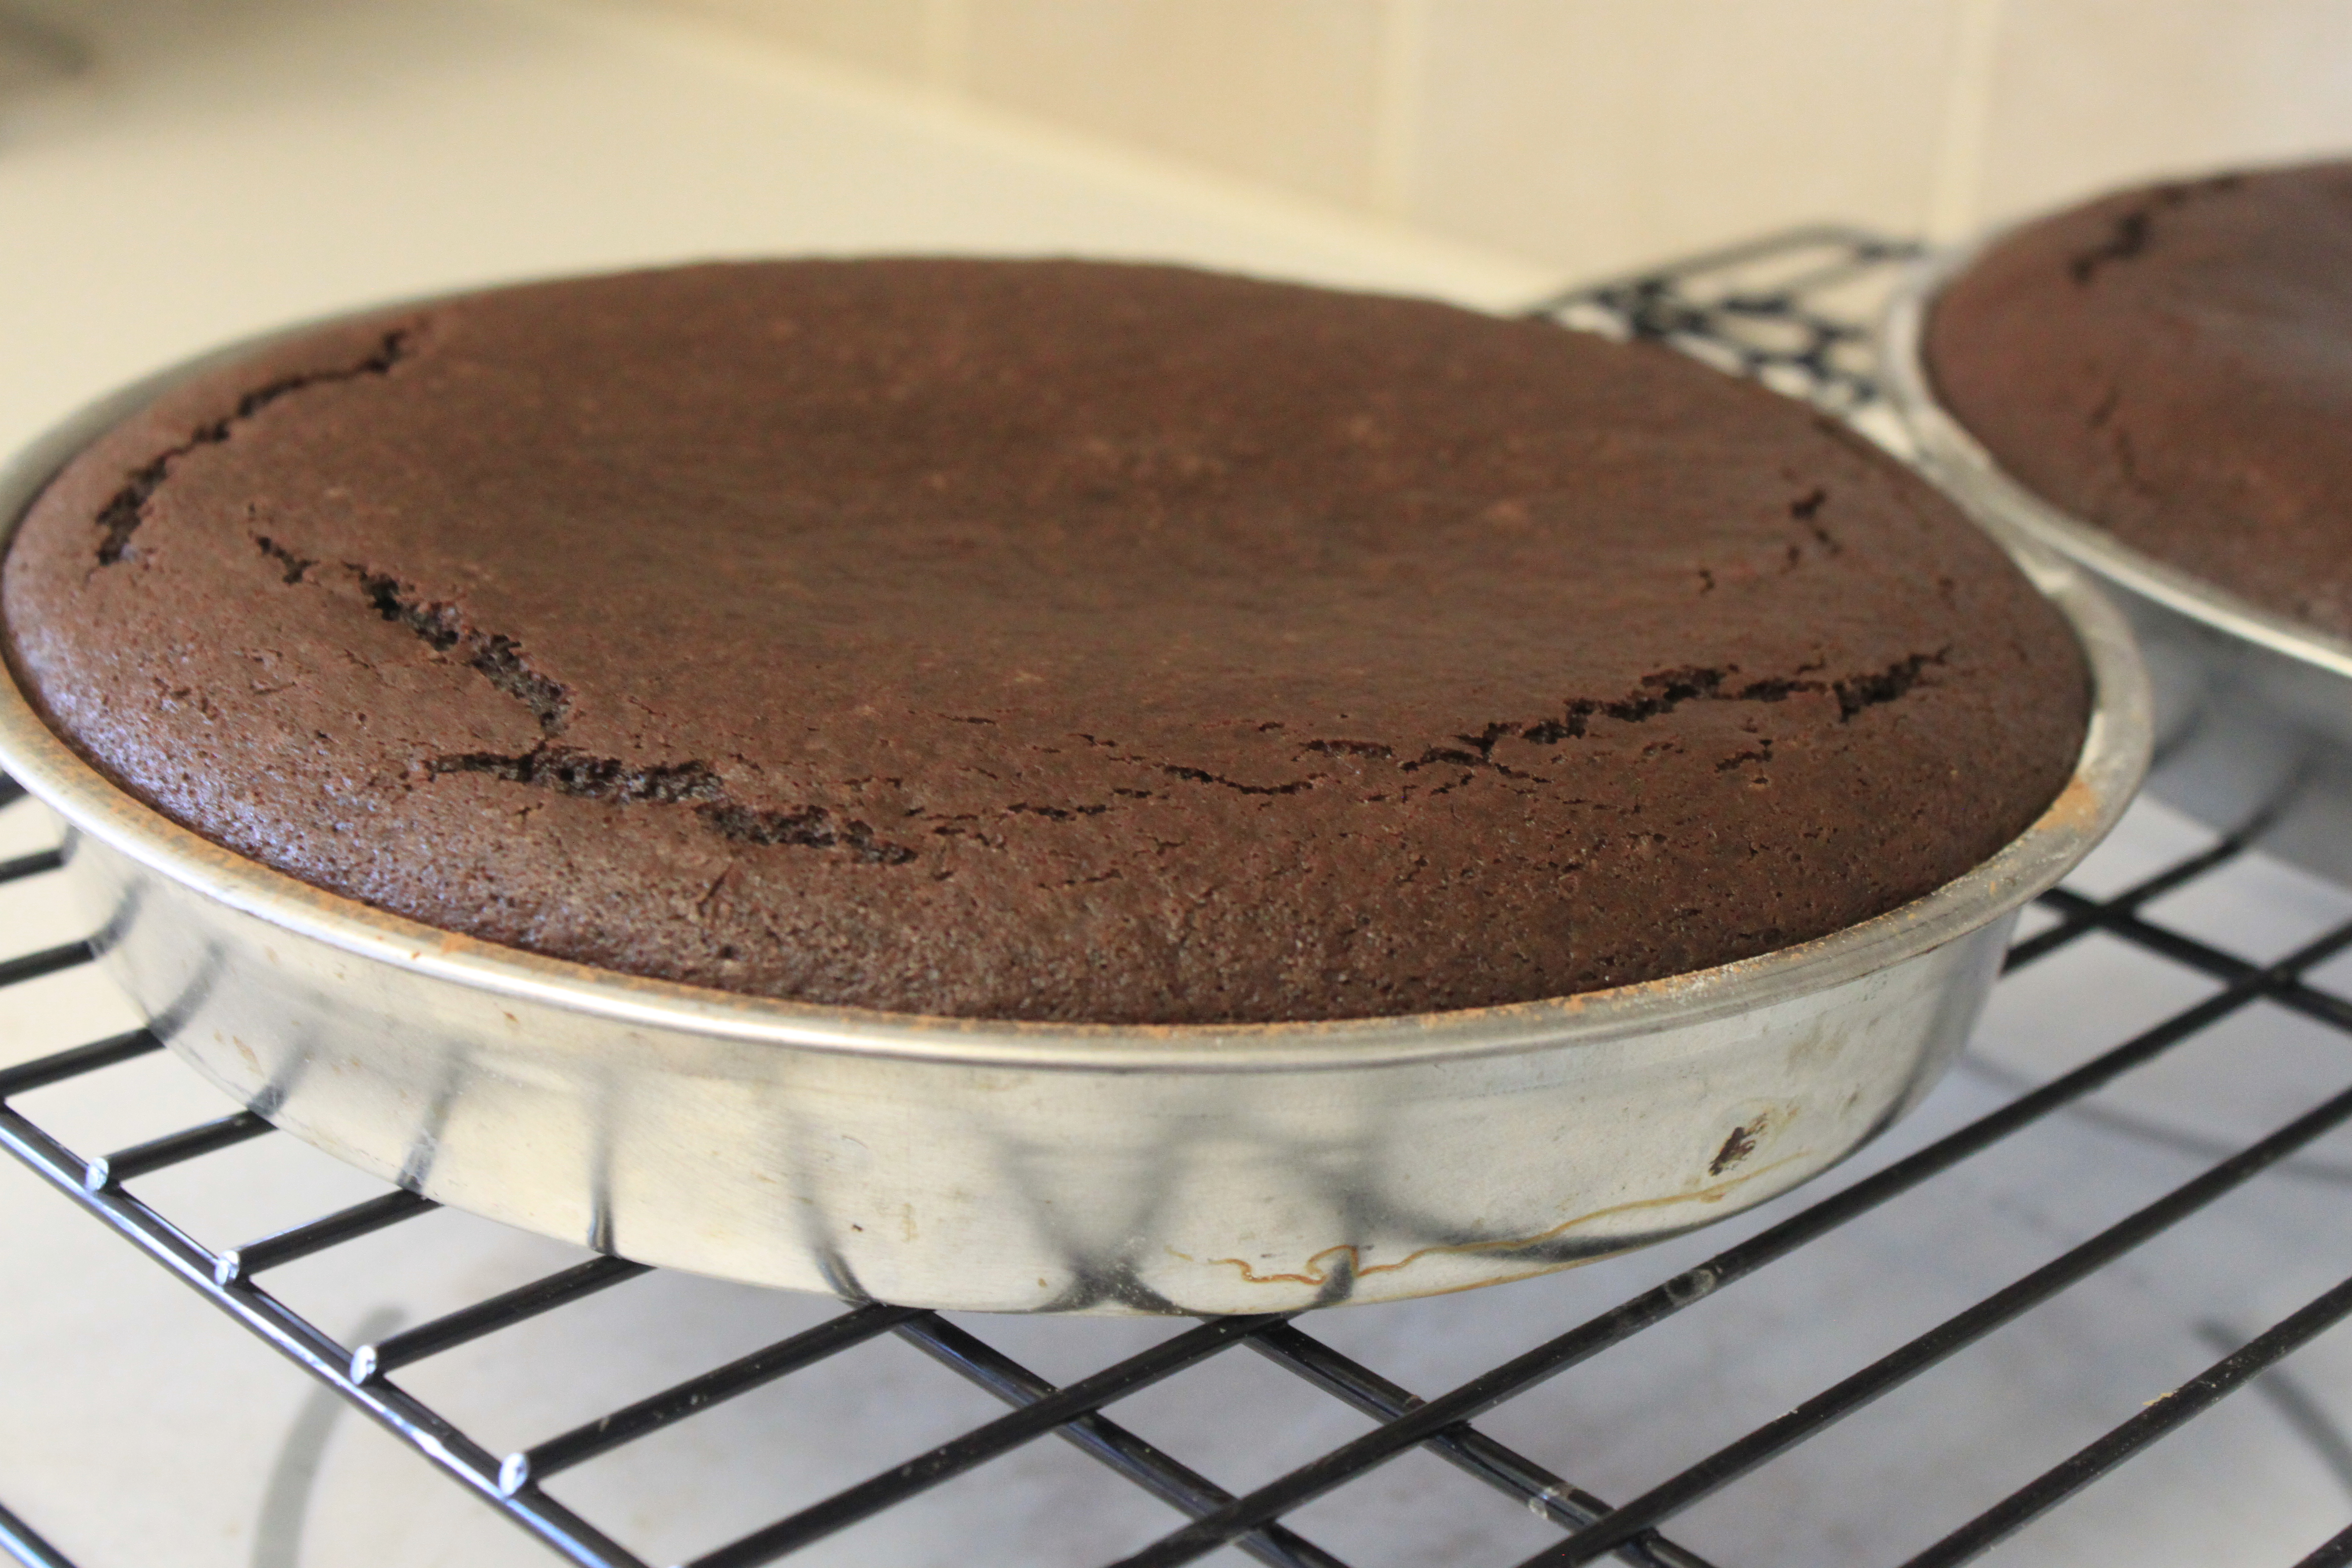
Bake and allow to cool (as much as you can) before pouring the ganache. The heat from the cake will affect the way the ganache spreads. You want it to spread uniformly, so a cool cake is better.
Making the ganache. Chop the chocolate and mix up the heavy cream.

Heat the cream mixture on the stove just until boiling, then pour into chocolate.
Whisk until smooth.
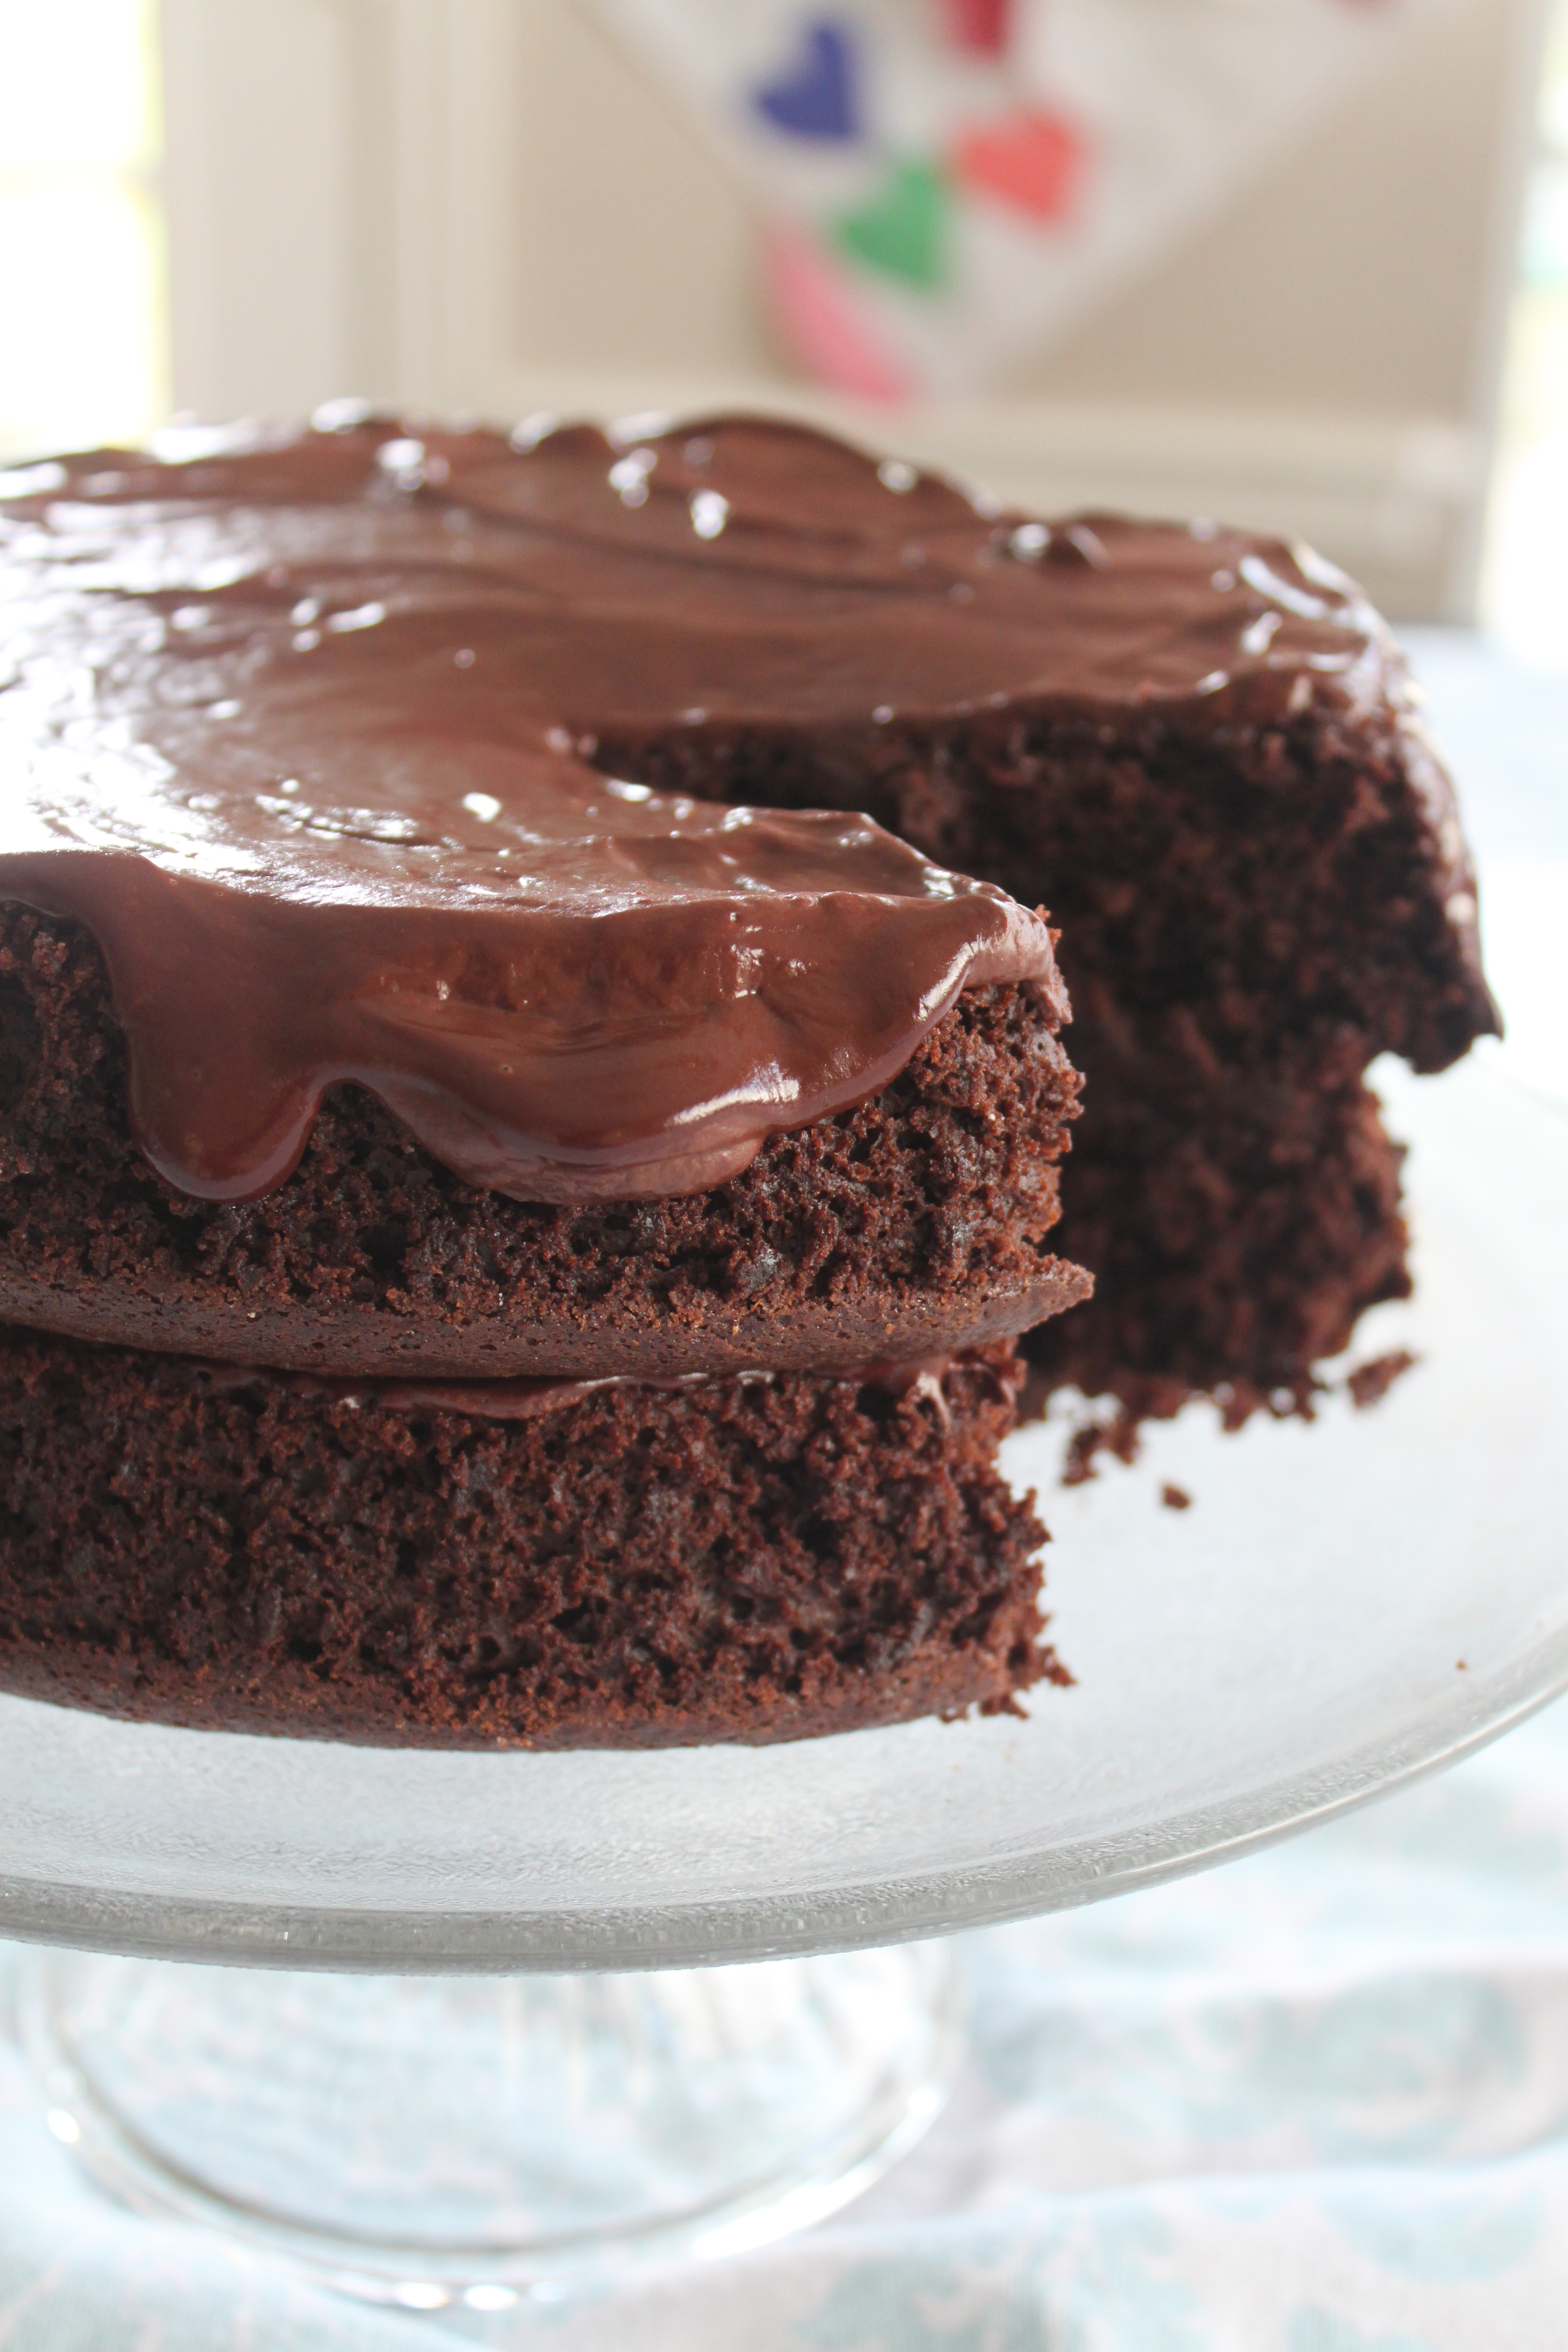
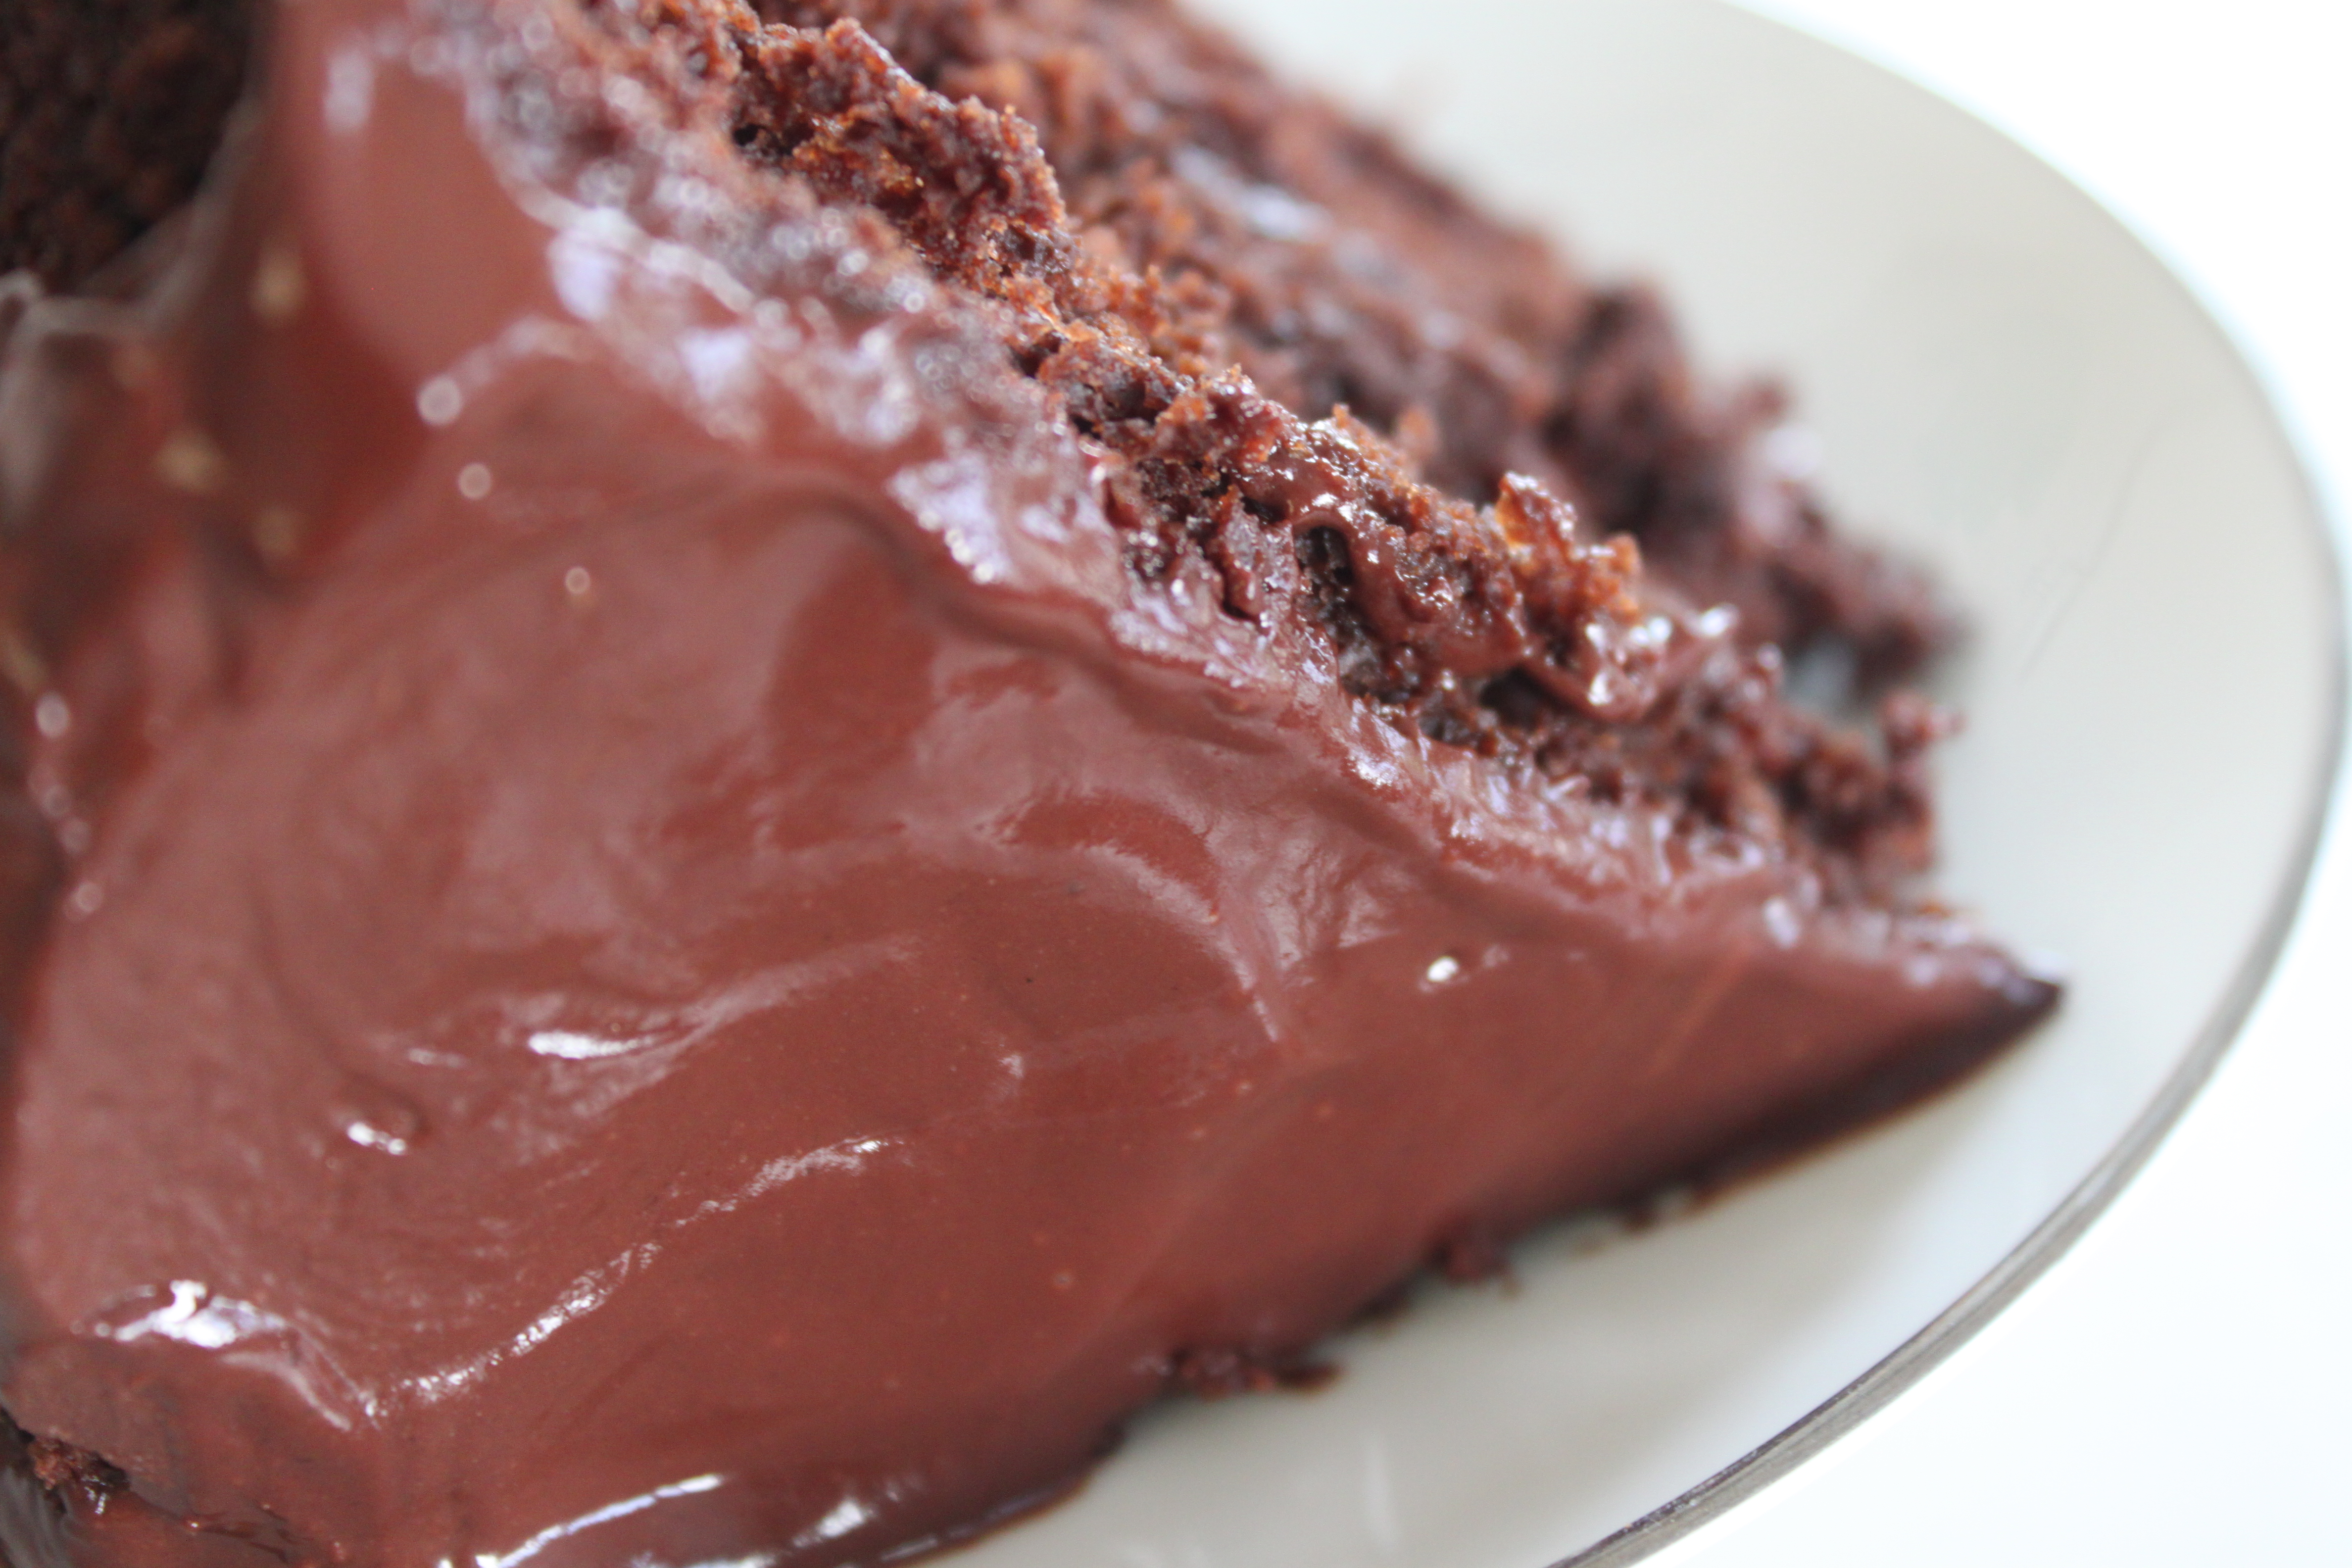
When you’re ready to assemble it, half of the ganache goes in between the layers…
(btw, notice how nicely the wax paper preserves the top of the cake!)
…and the other half goes over top of the cake. You’ll want to work from the center outward in spreading it to help it spread evenly. And here it is, our beautiful 3 minute mix of a cake. (No one will ever guess it took you three minutes to mix up this cake!)
Enjoy! (And yes, it tastes as wonderful as it looks!) Life is good.
~~~~~~~~~~~~~~~~~
Notes:
- Personally, I’m notorious for losing my cakes (still stuck to the pans) once it’s time to turn them out. Even oiling and flouring the pans seem insufficient for my bad luck. The best way I’ve found to do it involves an extra step of tracing and inserting an additional oiled and floured piece of wax paper. It’s an extra step, but the cake always comes out nicely this way.
- Brush pan with shortening
 Using a pastry brush or paper towel, brush solid shortening evenly over the bottom of the pan, being careful not to leave any uncoated, shiny spots.
 - Grease sides and corners When greasing the sides and corners of the pan, turn the pan as you grease. Don’t grease all the way to the top of the pan; grease only about 1 inch up the sides.
- Flour the pan
 When pan is completely greased, sprinkle a couple of spoonfuls of all-purpose flour into the bottom of it. If you’re baking a chocolate cake, consider using unsweetened cocoa powder instead of flour for a nice deep brown color.
 - Evenly distribute flour
 To distribute the flour over the pan, hold one edge of the pan and tap the opposite edge with your free hand. The flour will “skate” over the greased surface and stick to it. When the bottom of the pan is coated, tilt the pan, tapping to move the flour over the sides. Tap out any extra flour into your sink.
How to Line a Pan with Waxed Paper or Parchment Paper
The extra step of lining the bottom of the pan with waxed or parchment paper is an even surer method for getting the cake out of the pan. Keep in mind that you can only use this method for cakes baked in flat-bottom pans. (Use the grease-and-flour method, above, for fluted tube pans).
- Trace the pan After greasing your pan (following the steps above), set the pan on a piece of waxed or parchment paper and trace around it with a pencil.
- Cut paper With a clean pair of scissors, cut just inside the traced line on the paper.
- Fit paper, then grease and flour Fit the cut piece of paper into the pan, pressing it into the corners and smoothing out any wrinkles or bubbles. Unless otherwise specified in the recipe, grease the top of the paper and then flour the pan (following the steps above).
No comments:
Post a Comment