Showing posts with label Homemade SOAP. Show all posts

Friday, July 26, 2013

Powdered Laundry Soap DIY

 Photo: This is safe & works so good! A must try!! Let me know when you make it!!

✿✿✿✿✿✿✿✿✿✿✿✿✿✿✿✿✿✿✿✿✿✿✿✿

✔ Like ✔ “Share” ✔ Tag ✔ Comment ✔ Repost ✔Follow me
To SAVE this , be sure to click SHARE so it will store on your personal page.
For more great recipes lots of fun, amazing ideas... !

DIY Powered Laundry Soap!!!!

1 bar of shaved bar soap , in Connecticut its Sunlight Pure Soap, found at wal-mart in the laundry isle, Fels-Naptha (Ivory or ZOTE)
3 cups borax
3 cups washing soda
2 cups Purex Crystals.
Mix well together and add 2 tablespoons per load, yep that's all, and it works awesome I have been using this for 2 years now and LOVE IT

✿✿✿✿✿✿✿✿✿✿✿✿✿✿✿✿✿✿✿✿✿✿✿✿
♥♥♥SHARE so you can find it on your timeline♥♥♥
✔ Like ✔ “Share” ✔ Tag ✔ Comment ✔ Repost ✔Follow/Friend me
To SAVE CHUCKLES recipes or tips, be sure to click SHARE so it will store on your personal page.
Join me for more at https://www.facebook.com/groups/gettinhealthywithit/
 DIY Powered Laundry Soap!!!!

1 bar of shaved bar soap , in Connecticut its Sunlight Pure Soap, found at wal-mart in the laundry isle, Fels-Naptha (Ivory or ZOTE)
3 cups borax
3 cups washing soda
2 cups Purex Crystals.
Mix well together and add 2 tablespoons per load, yep that's all, and it works awesome I have been using this for 2 years now and LOVE IT

Tuesday, June 4, 2013

Lemon Basil Buy or Make It ?

Lemon Basil
zoom
Lemon Basil Lemon Basil Lemon Basil

This refreshing bar contains:
coconut oil, vegetable oil, olive oil, lye, pure lemon essential oil, homegrown basil leaves and fresh spring water.

Herbal Homemade Soap


http://henryhappened.blogspot.com

First up from the herb garden - my very own soap! I thought this would be a lovely homemade Mother's Day or Teacher Appreciation gift. I picked up some plain, unscented glycerin soap and added herbs from the new garden and some citrus. I love the smell and bright green color of mint.

http://henryhappened.blogspot.com

I diced up some rosemary to add with lemon zest.

http://henryhappened.blogspot.com

I found some great napkins at Goodwill (where else) for 25 cents and some 50% off ribbon at Hobby Lobby for some easy gift wrapping.

http://henryhappened.blogspot.com

http://henryhappened.blogspot.com

I also thought about putting them on pretty antique plates found at Goodwill for $2. But does it look like I'm giving someone a slice of lemon cake? LOL

http://henryhappened.blogspot.com
Herb and Citrus Soap
Recipe adapted from Martha Stewart.com

You'll need:
Glycerin soap (sold at craft stores)
Assorted herbs & citrus - I used basil, mint, rosemary, orange and lemon
Food processor
Glass bowl or measuring cup
Plastic spoon or scraper
Soaps molds - any plastic or cardboard container will do
Cooking spray

1. Melt soap
Put the soap blocks in glass bowl & melt in the microwave for 30 second intervals until melted. Stir every so often to break up big chunks.

2. Prepare additives
While melting, puree the herbs and squeeze out excess water in a paper towel. For citrus, zest the peel. You'll need about 1 tablespoon of additives for each cup.
FYI - Orange + basil = an unattractive muddy green brown color. 

http://henryhappened.blogspot.com

3. Get mould containers ready
You can buy cute moulds at the craft store, but any plastic container will work, even your Ziploc containers. Though you might want to use something you can just pitch in the recycle bin when finished rather than trying to clean. Use old milk cartons or even yogurt cups. Spray with cooking spray and wipe out excess.

4. Add purees
Once glycerin is melted, let it stand & cool for a few minutes. Before it sets too much, add the additives. Keep stirring to ensure they don't all float to the bottom. When you have the color you want (more time stirring = darker color) pour into container.

http://henryhappened.blogspot.com

5. Setting the mould
Let the soap sit on the counter for about an hour to completely set. Then put in the freezer for another hour or so. Then it should pop right out. Slice with knife, give to someone you love and use within 3 months.

http://henryhappened.blogspot.com

Soap Making with Lye

Soap Making 101 - Cold Process Soap

While there are other methods of making soap (hot process and melt & pour), this tutorial will provide a basic overview on how to make your own all natural cold process soaps. It will be added to the Soapmaking page on my blog along with other helpful links and recipes, so be sure to bookmark or pin it for easy reference.
This is not a stand-alone reference. Go to YouTube and watch some videos, do some Google searches and by all means check out great sites like The Soap Queen!
Making soap is one of my favorite hobbies. There are so many ways to personalize a single recipe, that I rarely make the same soap twice! Once you get the hang of it, you will never want to go back to store-bought again!
A few things to note, before we start:
  • Making soap is not the most frugal activity out there. I like to use top-grade, organic ingredients, so I spend about $3.00 and up, per bar, and and that’s not including the cost of packaging. You can certainly use cheaper ingredients (in fact, I suggest you do so for your first learning batch), but if you want free or almost free soap, check out Money Saving Mom. I still have stacks of Ivory soap that I got for FREE using her grocery shopping deals and tips!
  • Many people are afraid to make soap because it involves handling lye. I know that feeling, because I was the same way! I had my husband do that part at first until I got more comfortable with the idea. Lye requires a huge amount of caution, but you just need to employ the same common sense you'd use for any potentially dangerous situation such as cooking with a hot stove, or driving down the road in your car. Handle the lye with proper protective gloves and eye wear along with a healthy dose of respect. If you're careful, you’re not likely to get splashes, but just in case, wear long sleeves. Do NOT involve your children in this activity. There are other fun ways they can “make” herbal soap, that I will cover in another post, another day.
  • This is just an overview. There are many tutorials and books out there that cover soap making. I have some listed on my Soapmaking Page and a Google search will help you find others. It’s prudent to do your research and view the art from many perspectives before attempting. Kathy, an experienced soap maker of 15 years, has a great comment below, outlining further precautions to keep in mind.
  • An accurate digital scale is essential! I used this one from Amazon.com for five years before it broke (and by that, I mean it stopped measuring in anything but grams – which is still usable, but not always useful for my various projects.) I bought a replacement at Walmart that also works great.
Okay! Now, we're ready to start! You'll want to do the following things:
  • (1.) Choose a recipe and run it through a lye calculator, especially if you decide to make changes to it. Each type of oil requires a different amount of lye to saponify (turn into soap.) So, if you’re out of the castor oil called for in a recipe and want to use shea butter instead, you're going to need a different amount of lye or your soap will end up too harsh or too soft. I like to use the Majestic Mountain Sage Lye Calculator.  Just plug your recipe into the blanks and calculate the lye needed. If you click the screenshot above, you'll see it gives a range of liquid to use and a range of lye. I use around the 6 for lye and a midway point for the water/liquid (about 15 ounces in the example above.)
  • Soap Making Ingredients
  • (2.) Assemble your ingredients and safety gear. Lye is sometimes hard to find; my local Tractor Supply store carries two containers at a time and I found a small, local Mom & Pop type hardware store that has a few as well. Make sure the bottle says Sodium Hydroxide and nothing else. You may have to order online. If so, here are two sources:Brushy Mountain Bee Farm and Bramble Berry.
  • I buy my oils & butters from Mountain Rose Herbs, but you can also check your local grocery and health food stores. Don't forget you'll need heat & chemical proof gloves and safety goggles along with a kitchen or candy thermometer (a separate one used strictly for soap and not food use.) Wear long sleeves in case any lye splashes on your arms. (This has not happened to me in 10 years of soapmaking, but it’s always better to be safe than sorry!)
  • Prepare Molds
  • (3.) Prepare your molds by lining with parchment paper. I have homemade wooden box molds that my dad and brother made for me, but you can also buy them from several places online such as Bramble Berry. I've even seen people use rubbermaid containers or heavy duty cardboard boxes. A quick google search will likely give you plenty of inspiration!
  • Measure Water for Soap
  • (4.) Now, we start measuring stuff. First, you’ll want to measure out your water into a heat proof tempered glass jar, pyrex measuring cup, stainless steel or heavy duty polypropylene plastic (recycle symbol 5) container. [NOTE: I've been told that glass/pyrex can weaken over time and shatter, so to be absolutely safe, use one of the alternatives.] Mark this container clearly with a symbol such as a skull and crossbones and don't put it in your fridge or on the counter where someone might mistake it for a beverage.
  • All soap ingredients should be weighed with a digital scale, this includes your liquids. This picture shows me measuring water for a recipe that called for 20 to 31 ounces of liquid. I decided on a mid-range of 26 oz. You can see I went over .3 ounces. This is okay for liquids, but not okay for oils and most definitely not okay for lye. Those need to be precise. More liquid means your soap takes a bit longer to set up (useful if you're adding honey or beeswax or other items that speed up things) and less liquid means it sets up and is ready to pour into molds faster.
  • Measure Lye for Soap Making
  • (5.) Next, measure out your lye. (Make sure you have on those gloves and goggles!) I use an old plastic cup, labeled “Lye” in several places all over with a Sharpie. I pour slowly and carefully then immediately re-cap the lye container and place it far from the reach of children and pets. I take a wet paper towel and thoroughly wipe down the scale and surrounding area in case a tiny grain got loose.  Then I do it again with a fresh paper towel. This may seem over-kill, but I have kids and pets and just one tiny grain accidentally picked up and rubbed into an eye or eaten wouldn't be cool. I’d rather take a few minutes to be safe now than sorry later.
  • Pour Lye Into Water
  • (6.) Pour the lye into the water (or other liquid.) I do this in my kitchen sink in order to catch any splashes or drips and just in case I have a “volcano.” This only happened to me once because I tried to pour my lye into a very hot herbal tea. I should have been patient and waited for it to cool first, but did not and had to start all over. So, make sure you pour the lye into water that is cool or no warmer than room temp. Also, you always add the lye to the liquid and not the other way around (the other cause of lye volcanoes.) This mixture shoots up to over 200 degrees F quickly, so use caution when handling. Avoid directly breathing in the fumes. (I keep the window over my kitchen sink opened during this step or work outside on my back deck. If you don’t have proper ventilation, consider wearing a mask.) Stir with a long wooden spoon or rubber spatula until fully dissolved and set in a safe place, out of reach of children and pets, until it cools to about 90 to 125 degrees.


  • Measure Oils and Butters
    • (7.) While the lye solution is cooling, weigh out the oils and butters called for in your recipe. Place these in an enamel or stainless steel pot, that you plan to use for soap making only. (Do not use aluminum during any stage of the soap making process.) Turn the heat on low and gently heat the oils until they reach 90-125 degrees F.
    • Pour Lye into Oils
    • (8.) Before mixing, make sure your lye and oils are roughly the same temperature in the range of 90 – 125 degrees F. I sometimes add an ice cube or two to my lye solution to cool it faster (remember the water amount can be adjusted by this small amount) or set my pan of oil down into a sink filled with a few inches of water and ice cubes if it needs cooling. Temperature is a subjective, personal preference that varies between soap-makers. Some will only mix at higher temperatures than I list while others let everything sit overnight and mix the next morning at room temperature. The main thing is that your lye solution and oils are about the same temperature when you mix them. Once the desired temps are reached, slowly drizzle your lye solution into your pot containing oils and butters.
    • Blend until Trace is reached
    • (9.) Using a stick blender, start combining the lye solution and oils, stopping to occasionally stir and check consistency. It only takes a few minutes for most of my recipes to reach “trace” – which means when you drizzle a small bit of the soap mixture over the surface, it will leave a faint pattern or trace before sinking back into the mixture. (Click on the picture above, which demonstrates this.) My first several batches of soap were made without using a stick blender. Every single one failed. I highly highly HIGHLY recommend using one. I have one by Cuisinart that I've had for many years. Make sure you use it strictly for soap making and not for food use. Once trace is reached, you’ll add any extras such as honey, oatmeal, natural colorants, and essential oils and blend for just a bit more until they are all incorporated.
    • Quickly pour soap into molds
    • (10.) Working quickly, pour the soap into your prepared molds, smoothing the top with a rubber spatula or wooden spoon. Pick up your mold and give it a few sharp raps on the table or counter surface to help get rid of any little air bubbles that may have formed. The soap is still caustic at this point, so keep your gloves on and be aware that the mixture can burn your skin. If that happens you can rinse thoroughly with water or pour vinegar over the spot to offset the alkalinity (or both.)
    • Cover soap and don't disturb for 24 hours
    • (11.) Cover with the mold top, then several layers of blankets and quilts to make sure the soap is well insulated and retains the heat needed to finish saponifying. Leave undisturbed for about 24 to 36 hours.
    • Cutting Cold Process Soap
    • (12.) Unmold your block of soap. You can cut it into bars right away or later. I like to do it fairly soon after making, so that the soap is still soft and easy to cut. Use a ruler and a knife to cut into desired sizes. Let the bars cure in the open air on pieces of wax paper or brown paper, turning occasionally, for about 4 weeks. Since I almost always superfat my soaps, (which means I put in extra oils that the lye does not transform to soap), they are gentle enough to start testing after three weeks. I always test on myself a few days before trying out on other family members, just to be safe.
    • http://thenerdyfarmwife.com/soap-making-101-making-cold-process-soap/

Sunday, November 11, 2012

Homemade Rose Soap

Rose Soap Leaves

A little mid-winter pick-me-up to remind us that spring is around the corner.


Rose Soap Petals

~Rose petals from silk roses (You can buy them already cut, or cut the petals off from the flowers yourself)
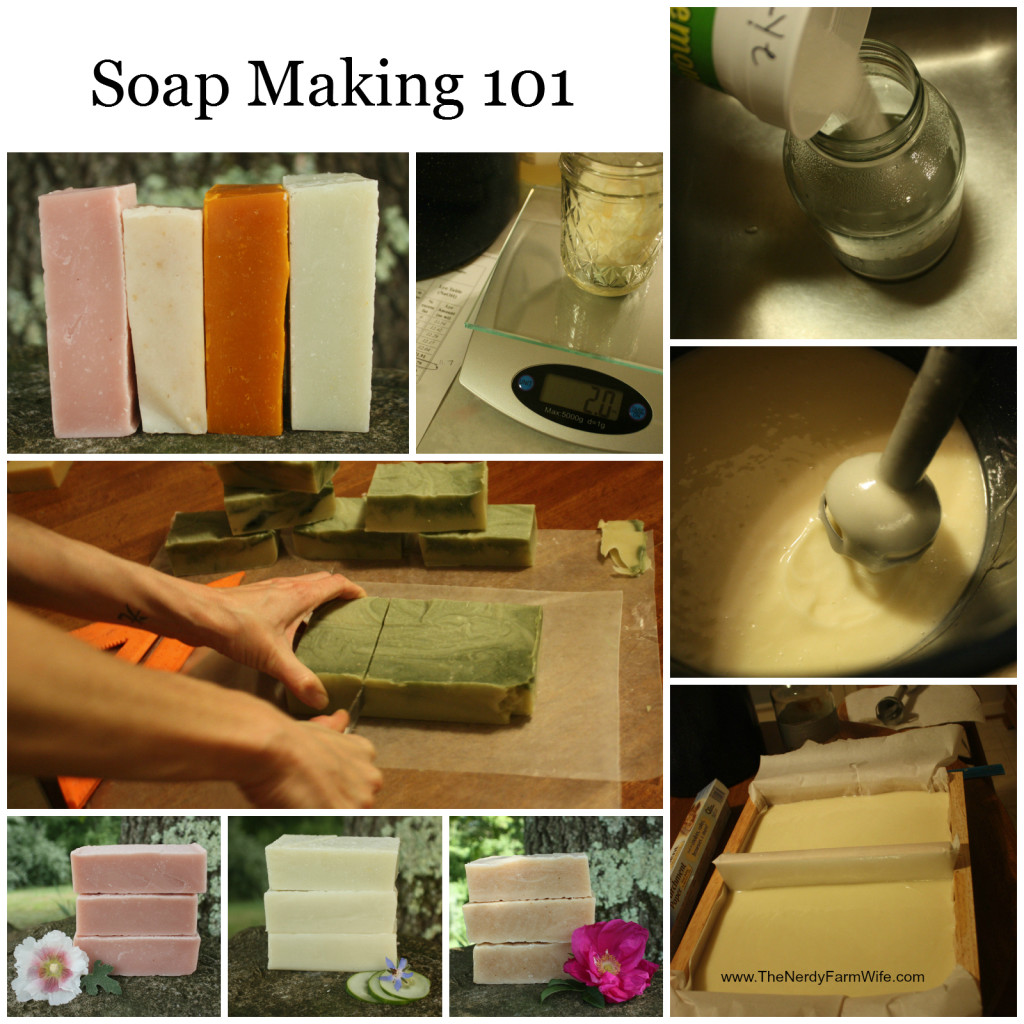
~Melt and Pour clear glycerine soap (available at most craft stores)
~Fragrance oil (optional)

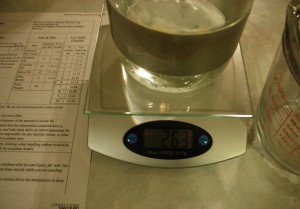
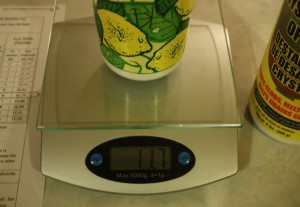
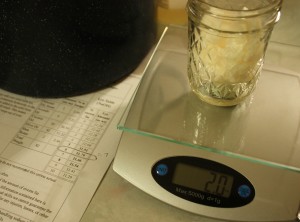
Cut 6 ounces of soap into 1" chunks.

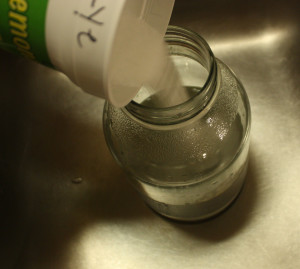
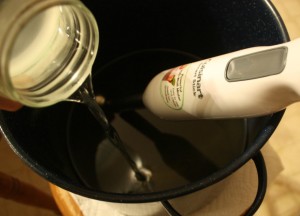
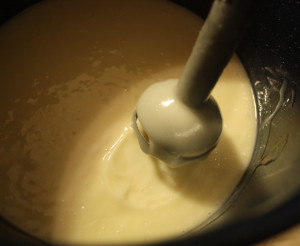
Place soap chunks into microwave safe container and melt according to package instructions.  Mine took about 1 minute. Stir in a few drops of fragrance oil, if desired.

Use tweezers to dip rose petals into melted soap.

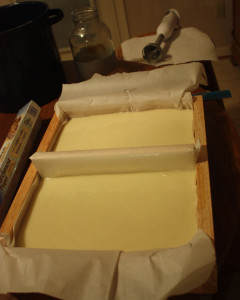
Let soap drip off petal and then place on waxed paper or parchment paper to dry.

When leaves are cool, peel off from paper. 

To Use:
Use one petal to wash hands.  There is just enough soap on each petal to get your hands nice and clean.  Dispose of used petal or save to be coated and re-used again.

*These make a great favor for baby or bridal showers.

*Keep a few leaves in a baggie in your purse to have on hand in case someplace is out ( many public restrooms never seem to have soap).

*Tuck a package of these in a gift basket for a new mom or sick friend.