Showing posts with label Dehydrator - Food. Show all posts

Sunday, May 5, 2013

Dehydrator Plans


Air It Out

In trying to continue to get away from dependency on the world, we have looked into preserving food without canning or freezing. One of the methods for doing this with fruits and vegetables is drying. There are food dehydrators available for purchase, some electric, some solar; but it seemed to me this would probably be pretty easy to construct. And so I searched for plans on the Internet and settled on these solar food dehydrator plans, partially because the design was very specifically laid out (which I need), and also because it appeared to be the most compact for the process behind the drying and still large enough to be able to dry quite a bit of food.

Here are some pictures of ours as I built it:


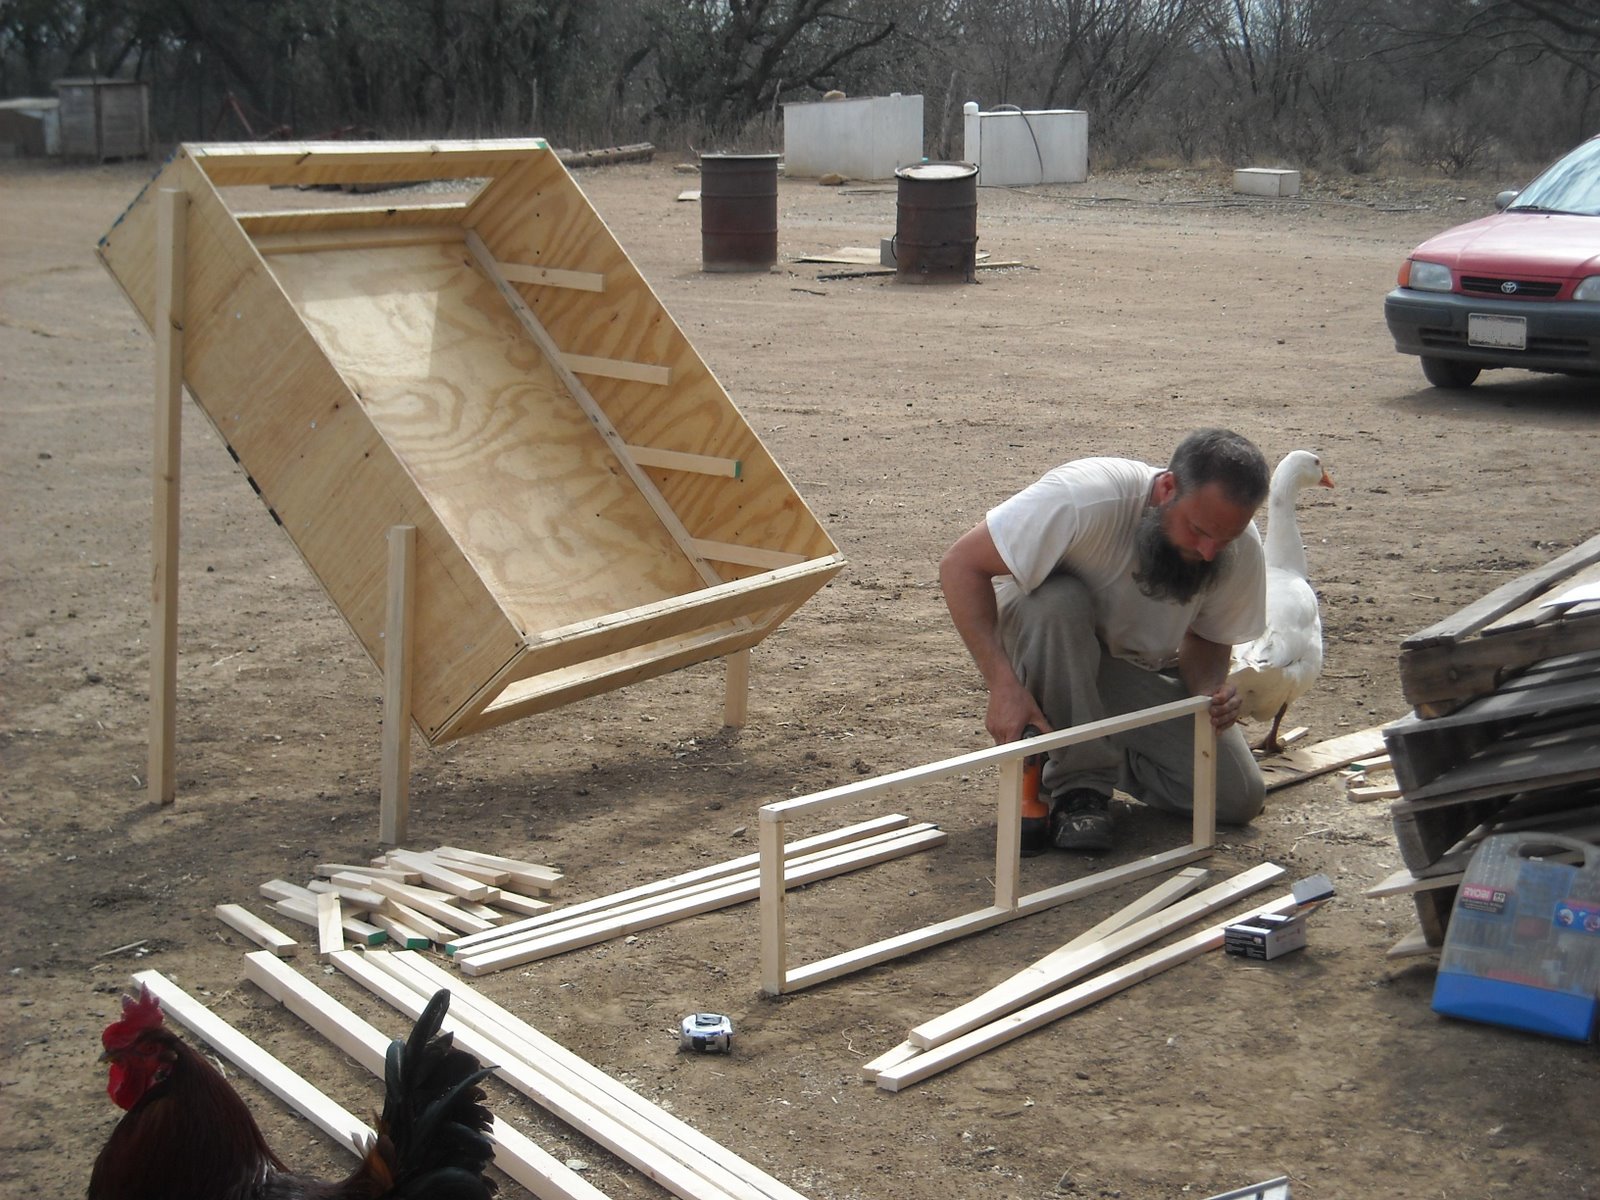
I decided to use 1" wood screws and 2" coarse drywall screws for most of it, and 1 5/8" deck screws for the legs. I found that a 1/8" pilot hole worked best with the 1x2s.
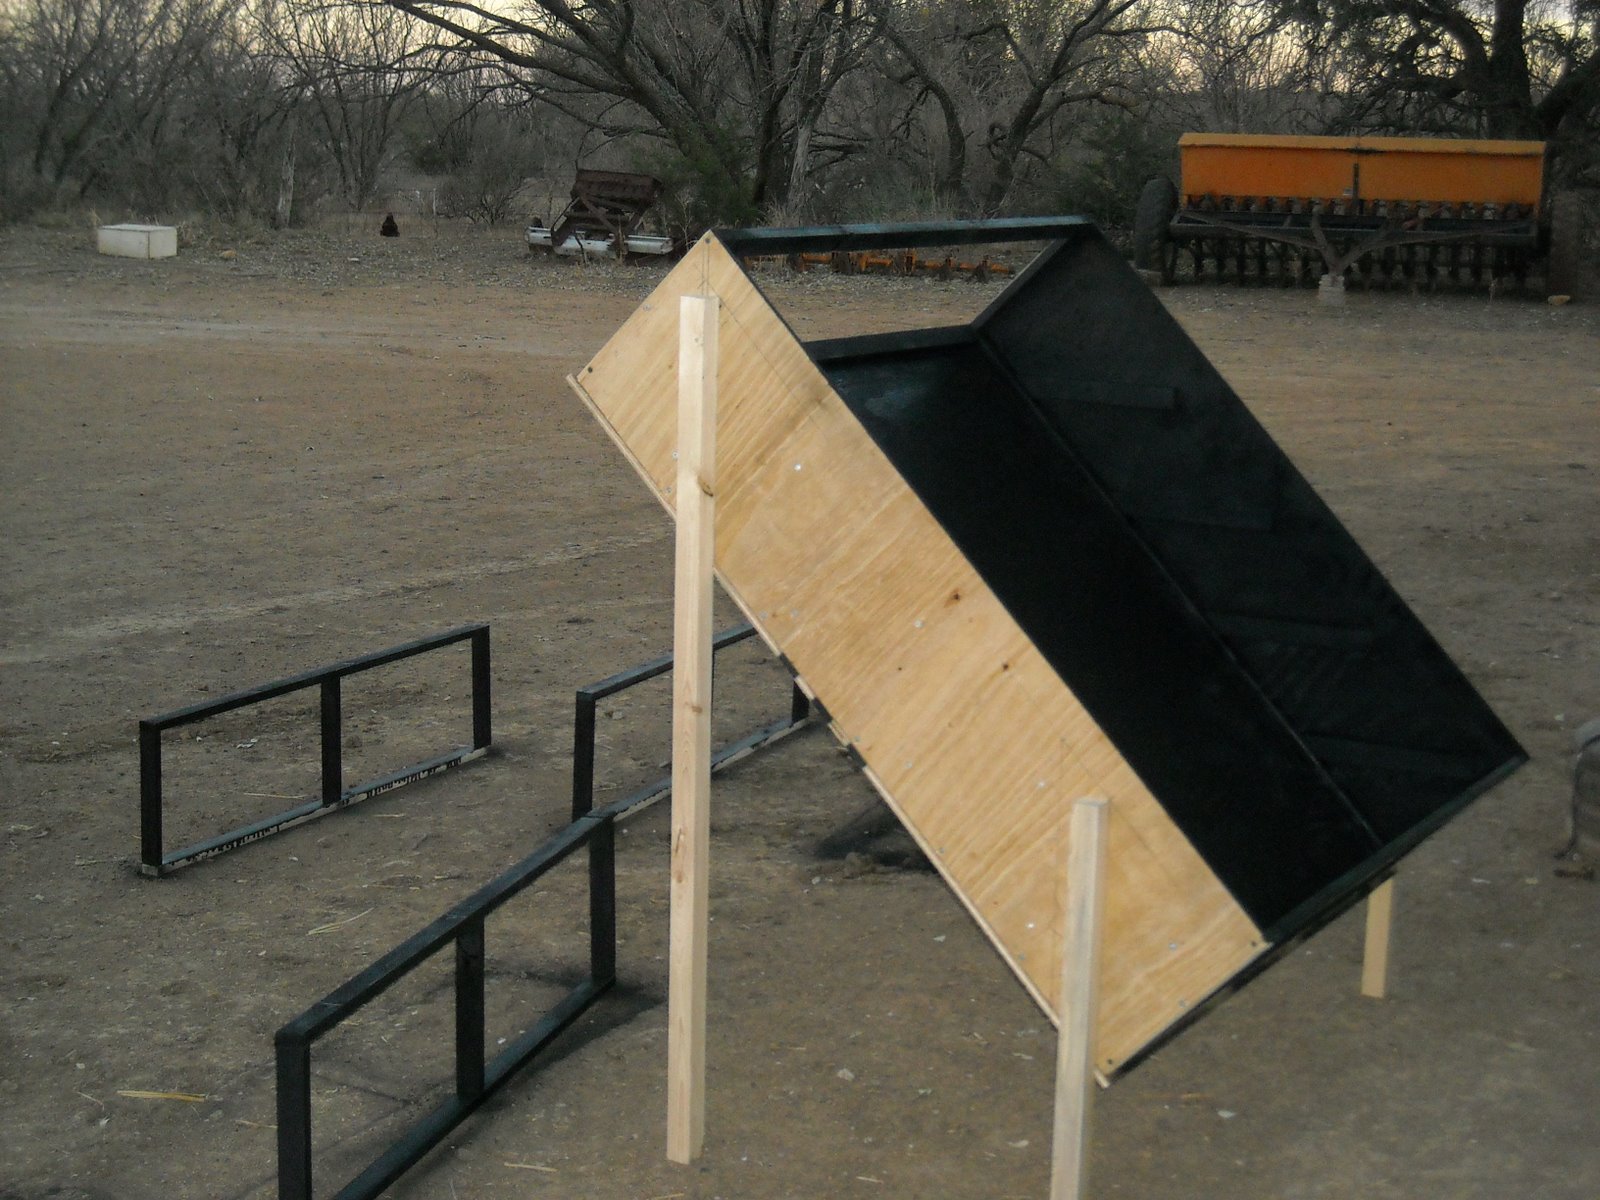
On the top I didn't use a miter joint on the ends; I simply used butted joints and alternated them for the vertical vs. the horizontal frames. Also, for strength and longevity, I decided to use .93 plexiglas instead of 4-6 mil clear plastic sheeting. I tried to find a 48" x 48" piece but couldn't; and so I thought I would use two 24" x 48" pieces with a support in the middle, but the store I was at was out of them. I went to another store, and they didn't have 24" x 48" pieces; and so, I had to buy 30" x 60" pieces and a scoring tool. However, that was good because the distance from edge to edge of the top was for me 49 7/8" (which means the other sizes would have been too small); and so, I was able to cut each piece to fit very nicely. Before I did that though and because of the extra plexiglas I had, I was able to practice scoring and drilling the plexiglas so as to not crack it when setting the real pieces in place. This was good because my first attempts did not work well. After practice though, I was able to get the hang of scoring and drilling, which worked pretty well on the final product:


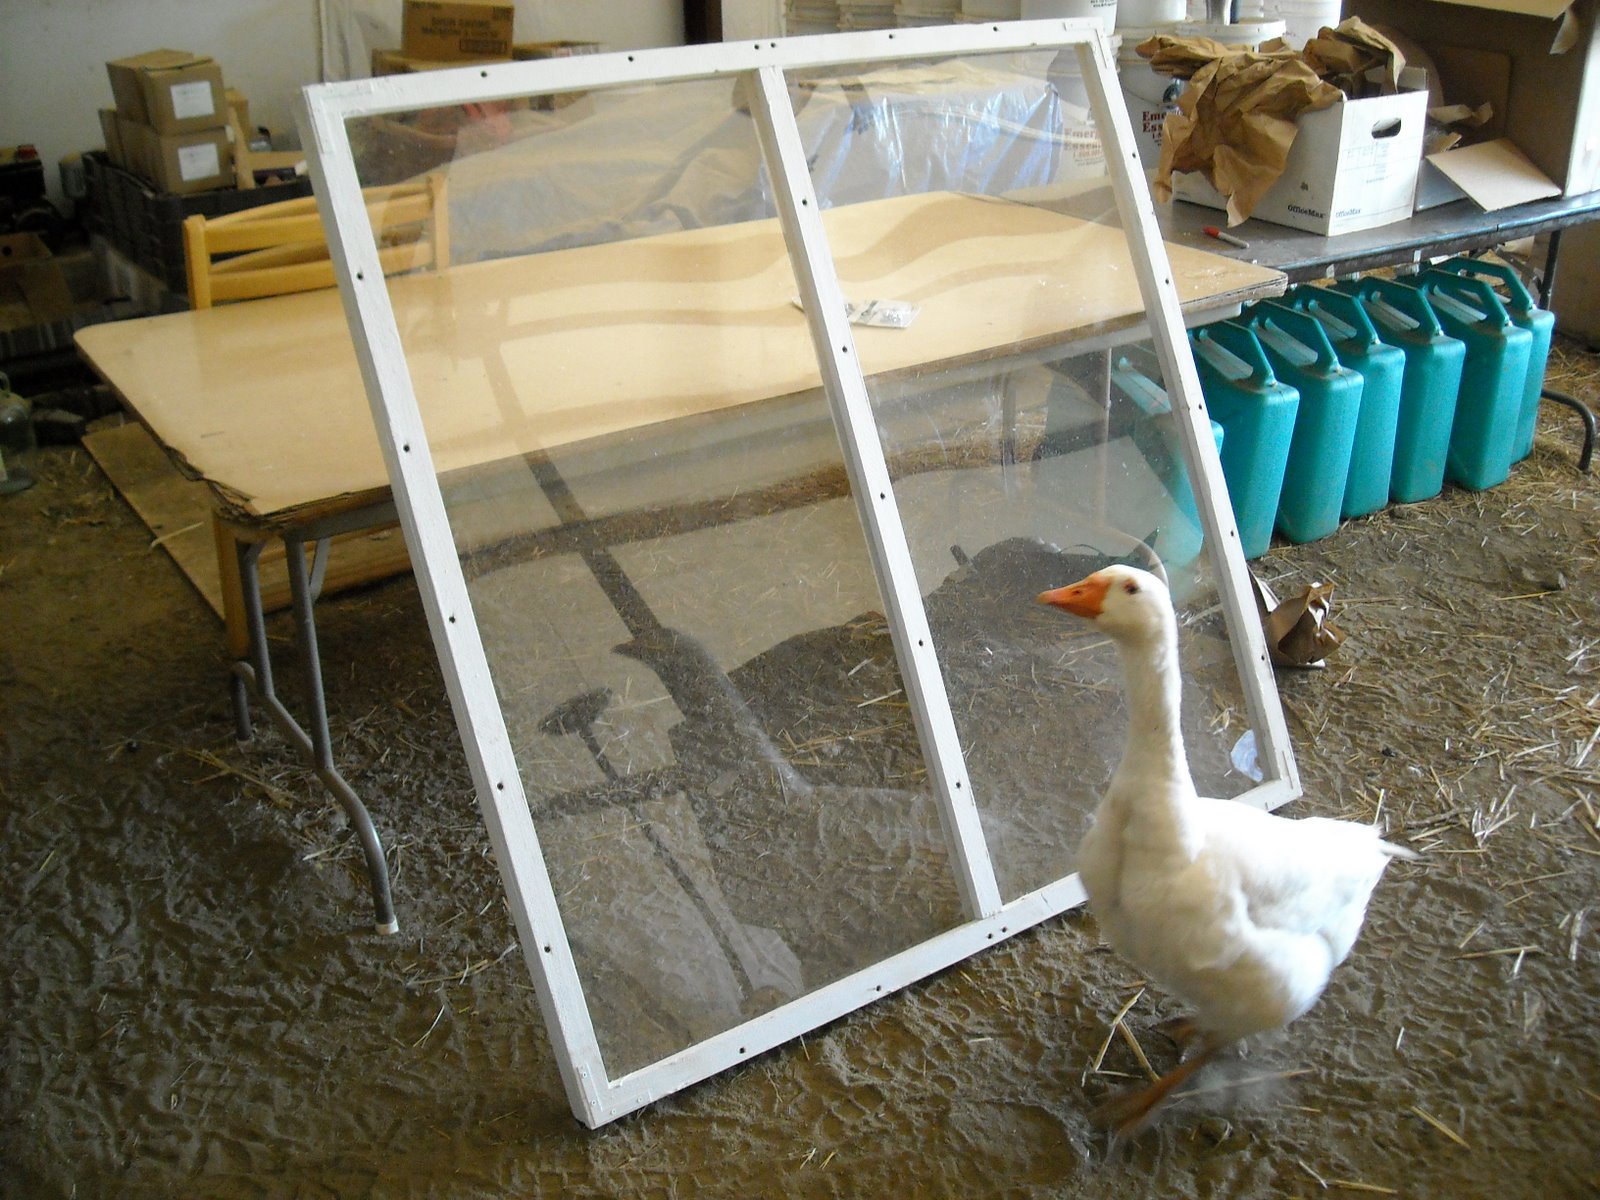
I learned a few things with plexiglas: the scoring tool would cut into my 4' level when using it to guide my scoring, and so I switched to a straight piece of wood; I would score only a few times with the wood guide in place and then would do it free hand as I was able to apply much more pressure causing the scoring process to be finished quicker; and I found that quick speed and light pressure was the best way to drill a hole.


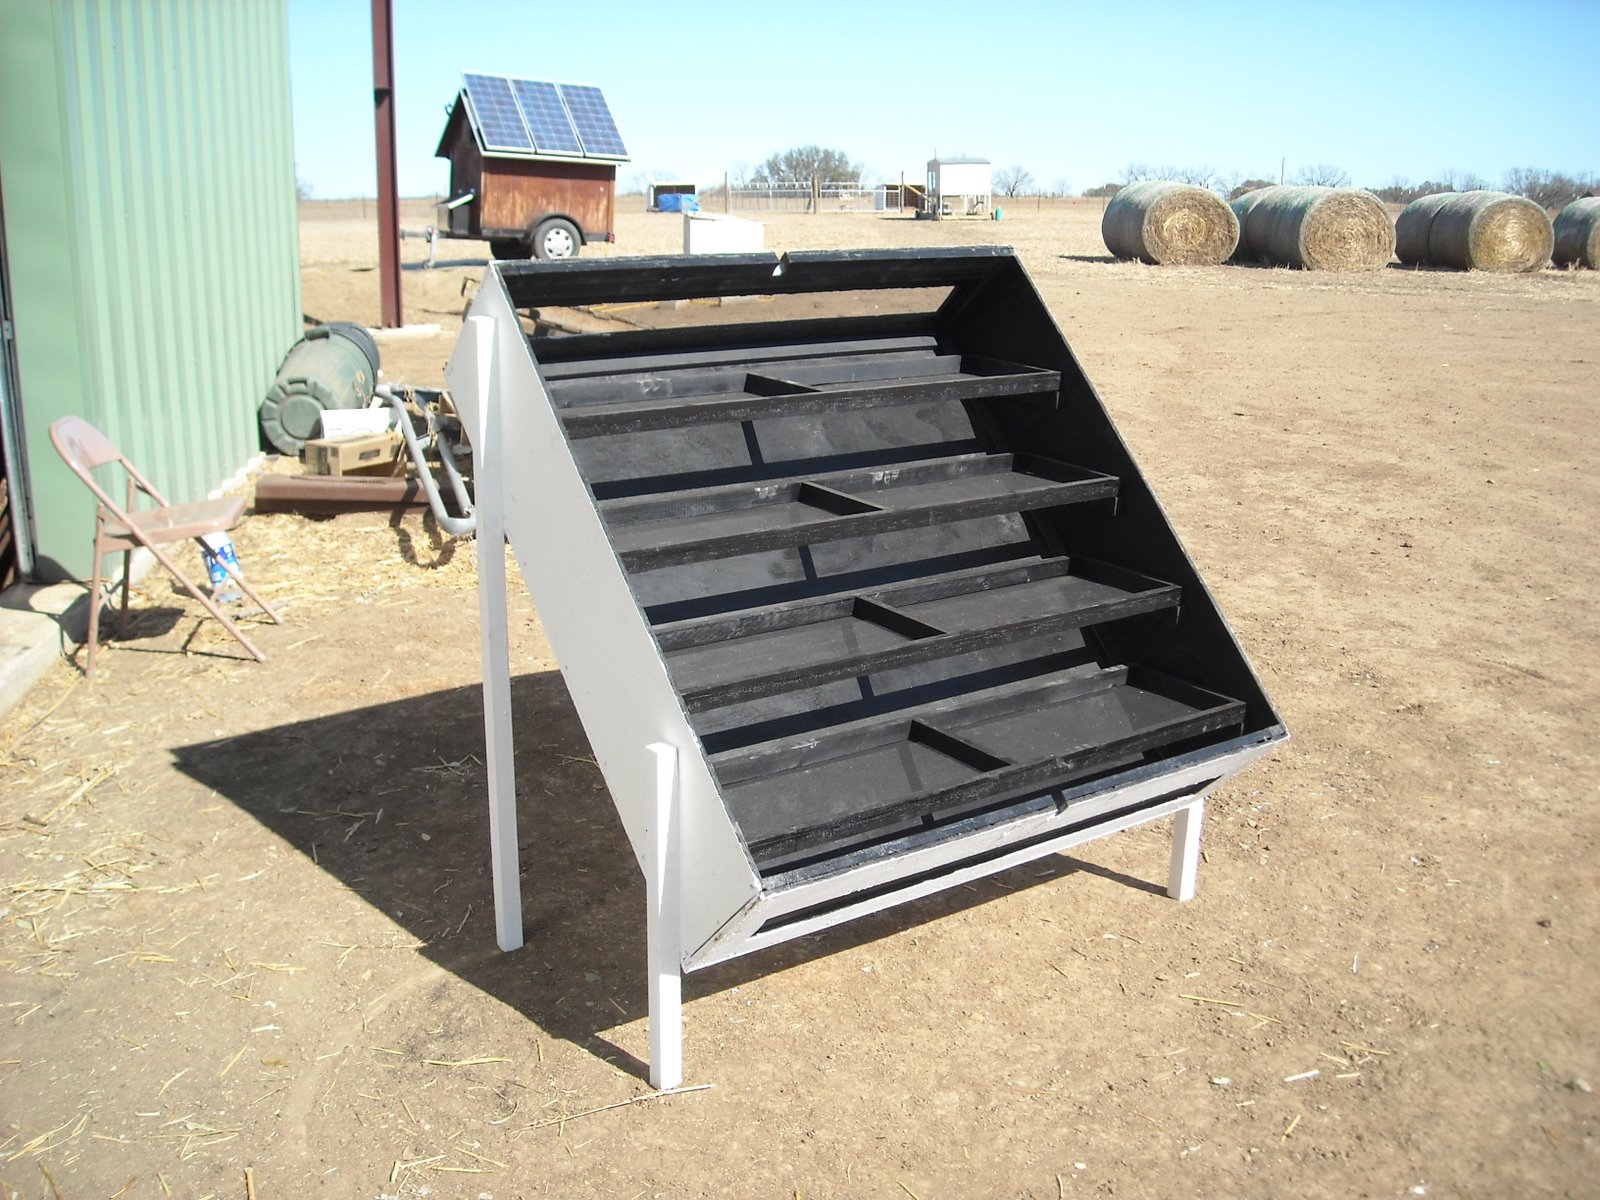
After the dryer was completed, I let it sit in the sun with the top off for a couple of days before putting food on the trays to allow the paint to bake in so the fumes would be hopefully removed.


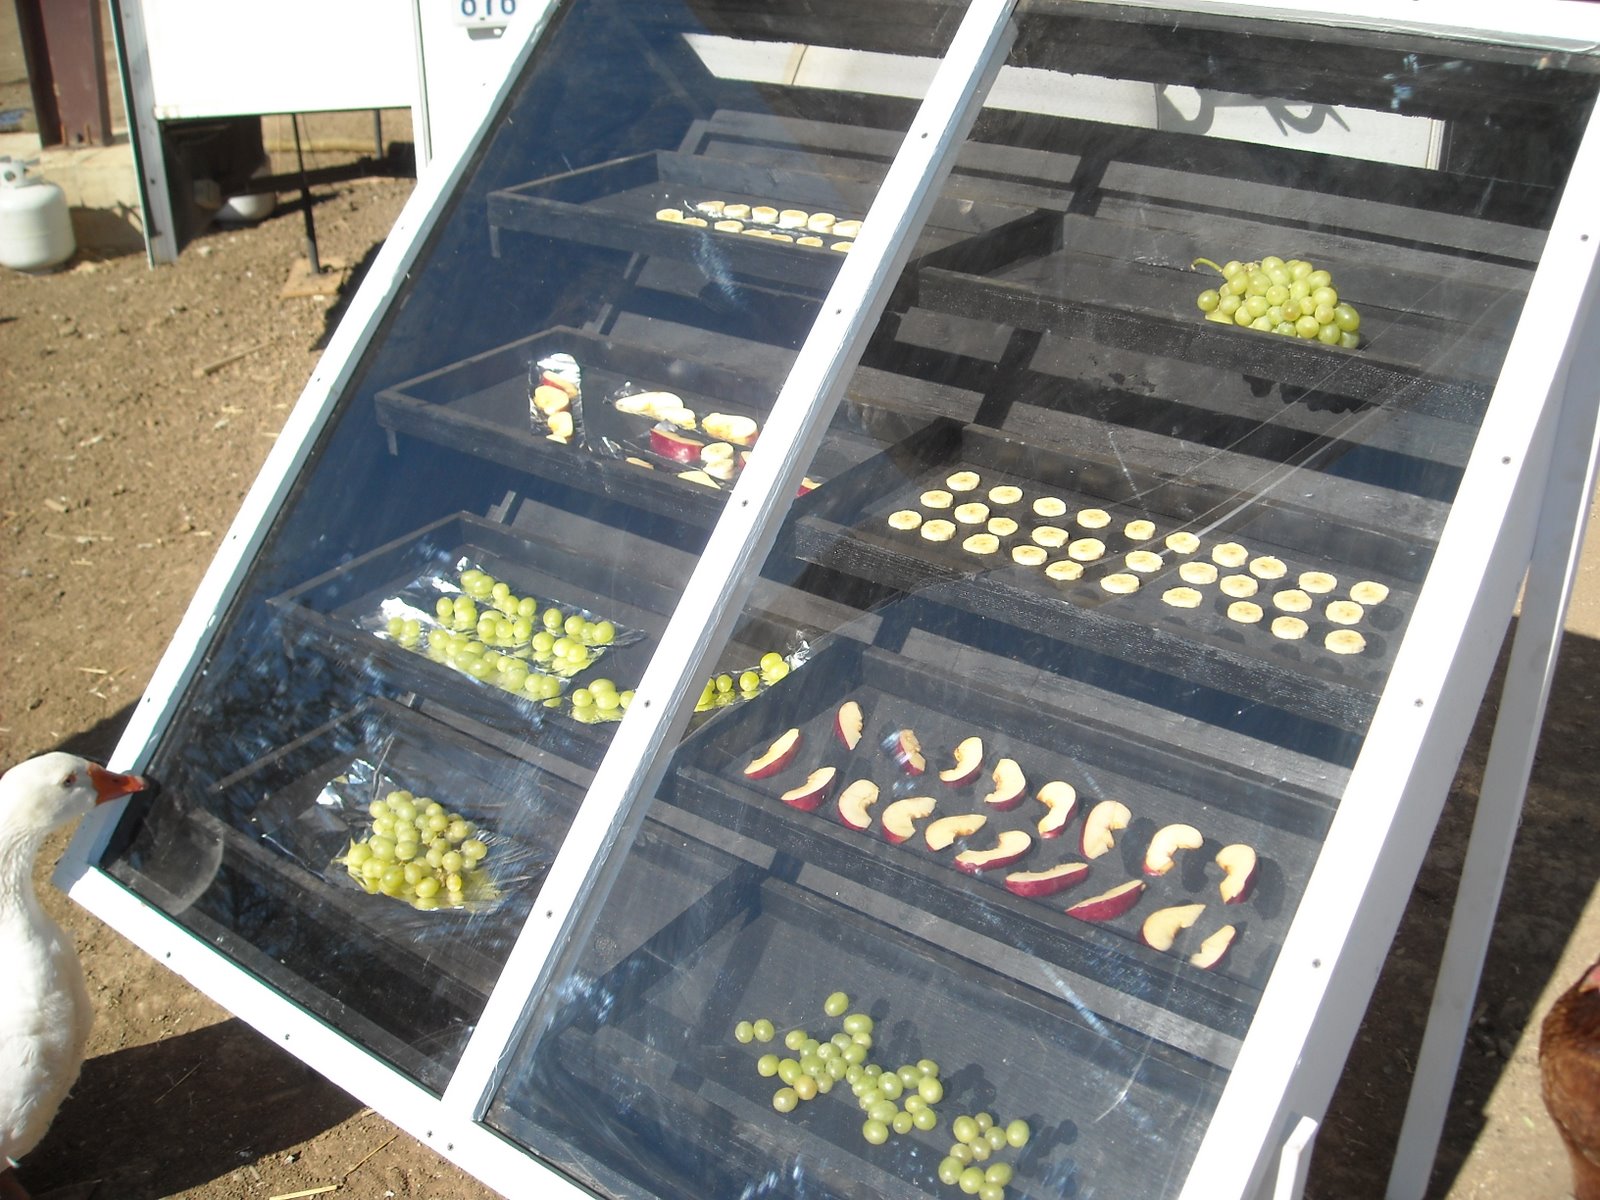
Here is some food drying in it:


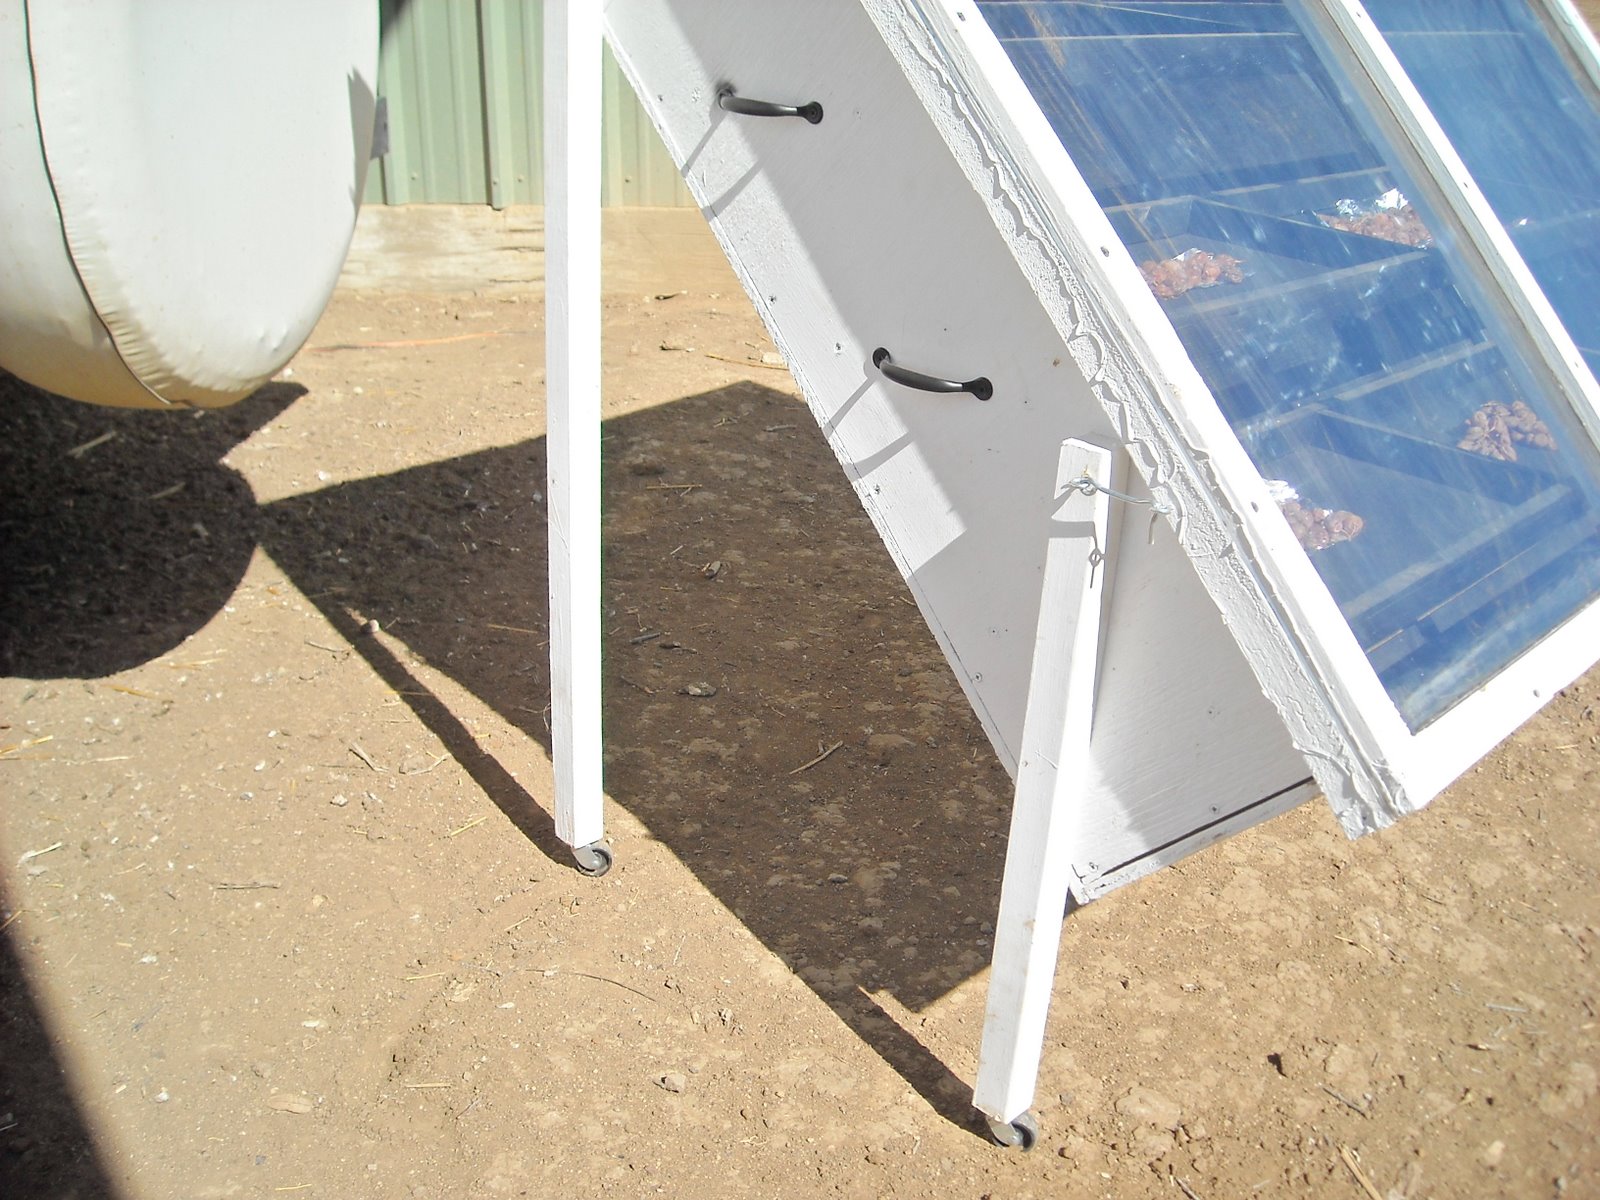
I added casters (swivel wheels) on the bottom of the legs to make it easier to move, and also added some handles which I attached to the sides where the inside food frame supports where located so that the handles would be more firmly secured and the handles' screws wouldn't be poking through the plywood siding:


And here are the banana and apple results. Quite tasty!


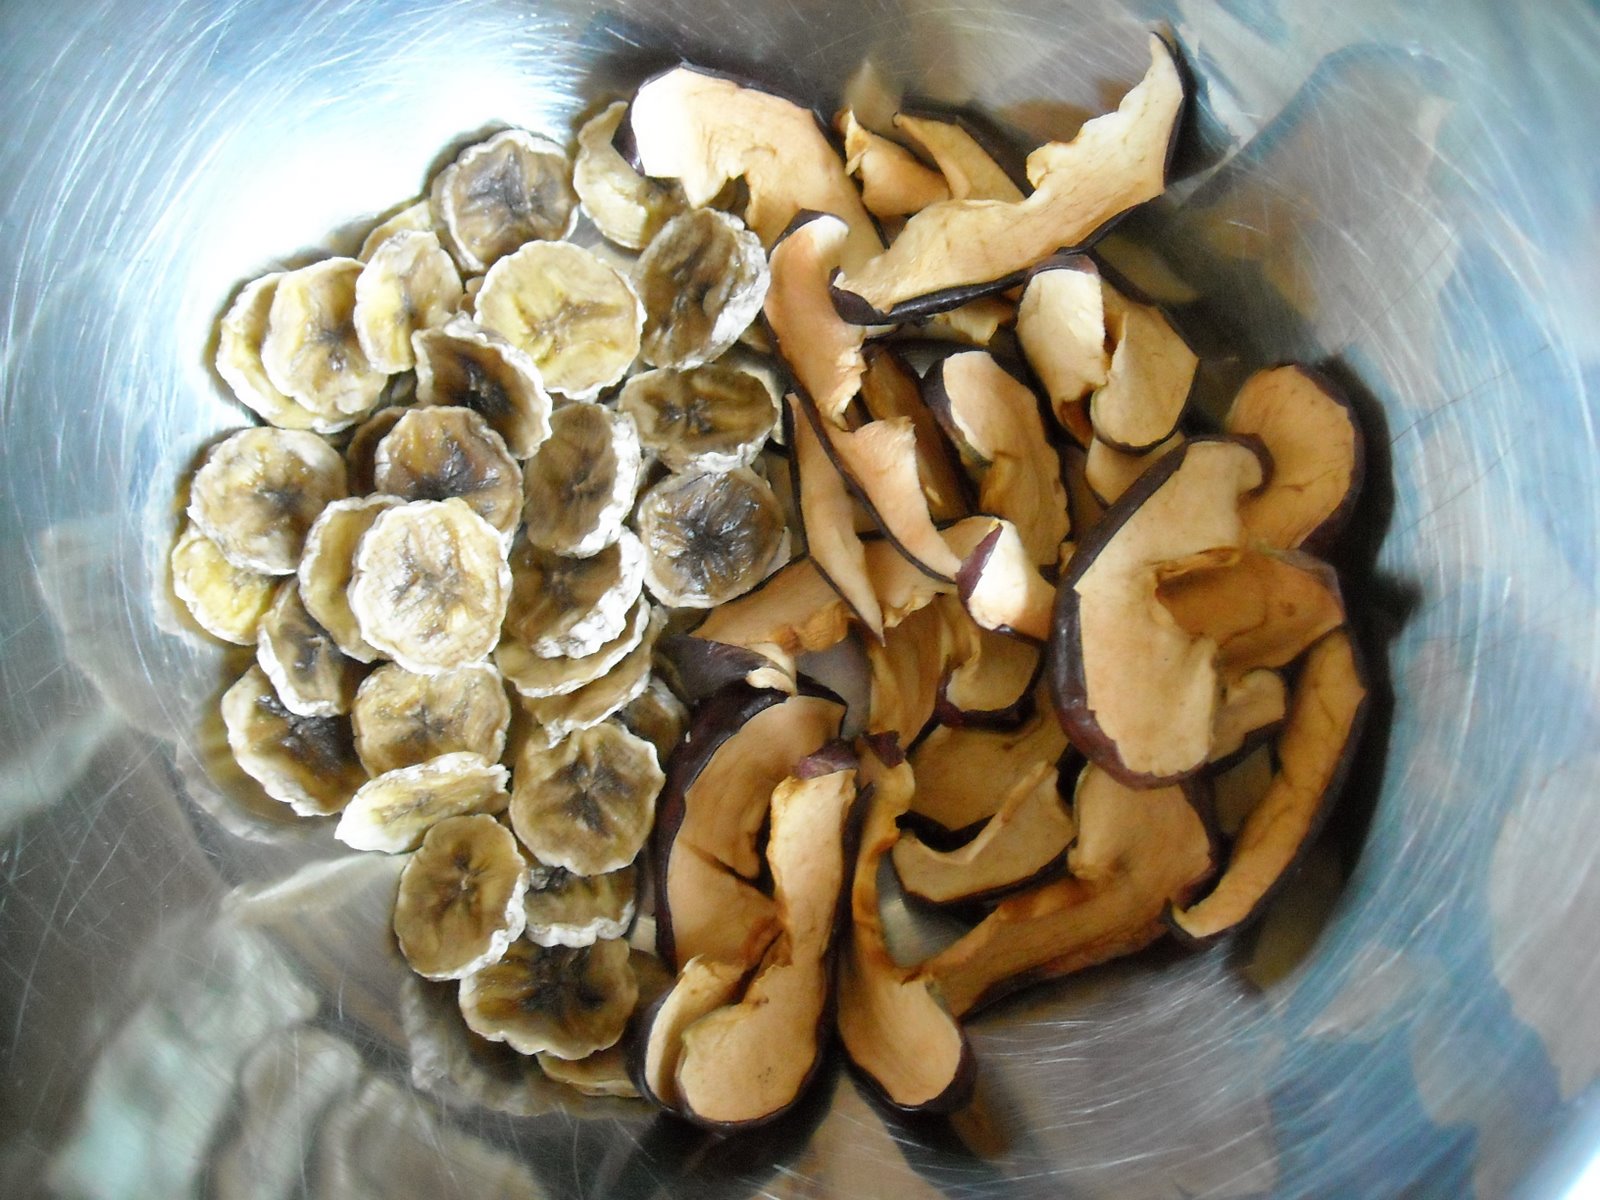
At this point they can be bagged and stored in the root cellar, and should last for some time.

We thank the Lord for His provisions in being able to make this food dryer, and for His provisions in creation to allow us to preserve in this way the food He grants us.

-- David
http://blog.siffordsojournal.com/2009/03/air-it-out.html

Solar Food Dehydrator


Solar Food Dehydrator

Many of you are dehydrating food in order to preserve it.  I bought it about fifteen or sixteen years ago from an advertisement in Earth Garden or Grass Roots (I can't remember which). It is called a Solar Safe and is manufactured in Euroa; the address is RMB 2317 Euroa, Vic 3666. I do not know whether or not they are still in production nor how much they would cost.

I'm thinking that a handy person could probably construct one of these. In deference to the intellectual property of the person(s) that designed it and also because they have a "Patent Pending" sign on the side, I'll just list a few of the measurements. You'll need to work out a detailed design for yourself if you want to make one. There are plans for various solar food dehydrators on Mother Earth News, but all are different to mine, so I thought I'd add it to the melting pot.


Here is the front view. The cover appears to be polycarbonate (laserlite) sheeting. It is held down by battens on the top and sides and by capped screws along the bottom. It seems to be pretty good at keeping any moisture out. There is an overhang of a few cm at the bottom, which shields the bottom vent.

As you can see, the bottom of the drier and the back panel are covered internally with black plastic.


This is the side view. Again, the side is covered with polycarbonate sheeting. The height of the side panel is 24" (61cm) at the apex and it is 28" (71cm) long on the base.


Because of the triangular side design, shelves are staggered and so each shelf gets a bit of direct sunlight. Food placed on the top shelf tends to dry fastest, so I often shuffle the food upwards, as the top layer dries.

I forgot to take a photo of a shelf, but they are basically rectangular wooden structures with plastic mesh attached. The bottom three measure 22" (55cm) x 12" (30cm). The top shelf is 22" x 8" (20cm). The shelves rest on wooden runners and are easily removed or fitted through the open back door.


Here is the back panel. It is 24" (61cm) high and 25" (64cm) wide. It consists of a top meshed part (the back vent), a door and a bottom support. The back vent is about 2.5" (6cm) high and extends across the entire back.

The door is held in place by wing-nut type catches. There should be a knob in the centre top of the door, but mine has fallen off (note to self: replace knob before next drying season!).

Here is a close up of half of the back vent.
Here is a close up of half of the front vent. It is about the same size as the back vent, only positioned at the lower front, under cover of the polycarbonate sheeting.


The principle employed in this drier is that the air is heated by virtue of the sun and the black plastic. Because warm air rises, cool air is drawn in at the bottom, warmed, and expelled at the top. This creates a nice air current for drying the food.

The dehydrator is virtually vermin proof, as everything is fairly tightly fitting. The only issue I have ever had is with ants, but that was solved by having a moat around each leg, so that the ants can't crawl up. The way to do this is to get four average sized tin cans (or similar) and turn them upside down inside larger tins cans (or ice-cream containers or similar). Rest the dehydrator on top of the four smaller tins and place water in the larger vessels. This way, you have water which the ants cannot cross and the wooden legs (which are about 6" (15cm) long) are not sitting directly in water.

Hopefully this is enough to get you started on your own solar dehydrator project. I like this design because it is simple and compact and can be carried by one person. Food dries in a day or two (depending on original moisture content, thickness, etc) and of course, it uses free energy and lowers our impact on the planet.

love and light
naturewitch http://naturewitch.blogspot.com/2008/10/solar-food-dehydrator.html

Solar Dehydrator From Old Refrigerator

Photo: A solar dehydrator made from an old refrigerator. :)
 
[Check out our CD with 24 books about canning and preserving. Over 4,500+ Pages! Only $5.99. http://bit.ly/x3R5Jj]
A solar dehydrator made from an old refrigerator. :)

[Check out  CD with 24 books about canning and preserving. Over 4,500+ Pages! Only $5.99. http://bit.ly/x3R5Jj]